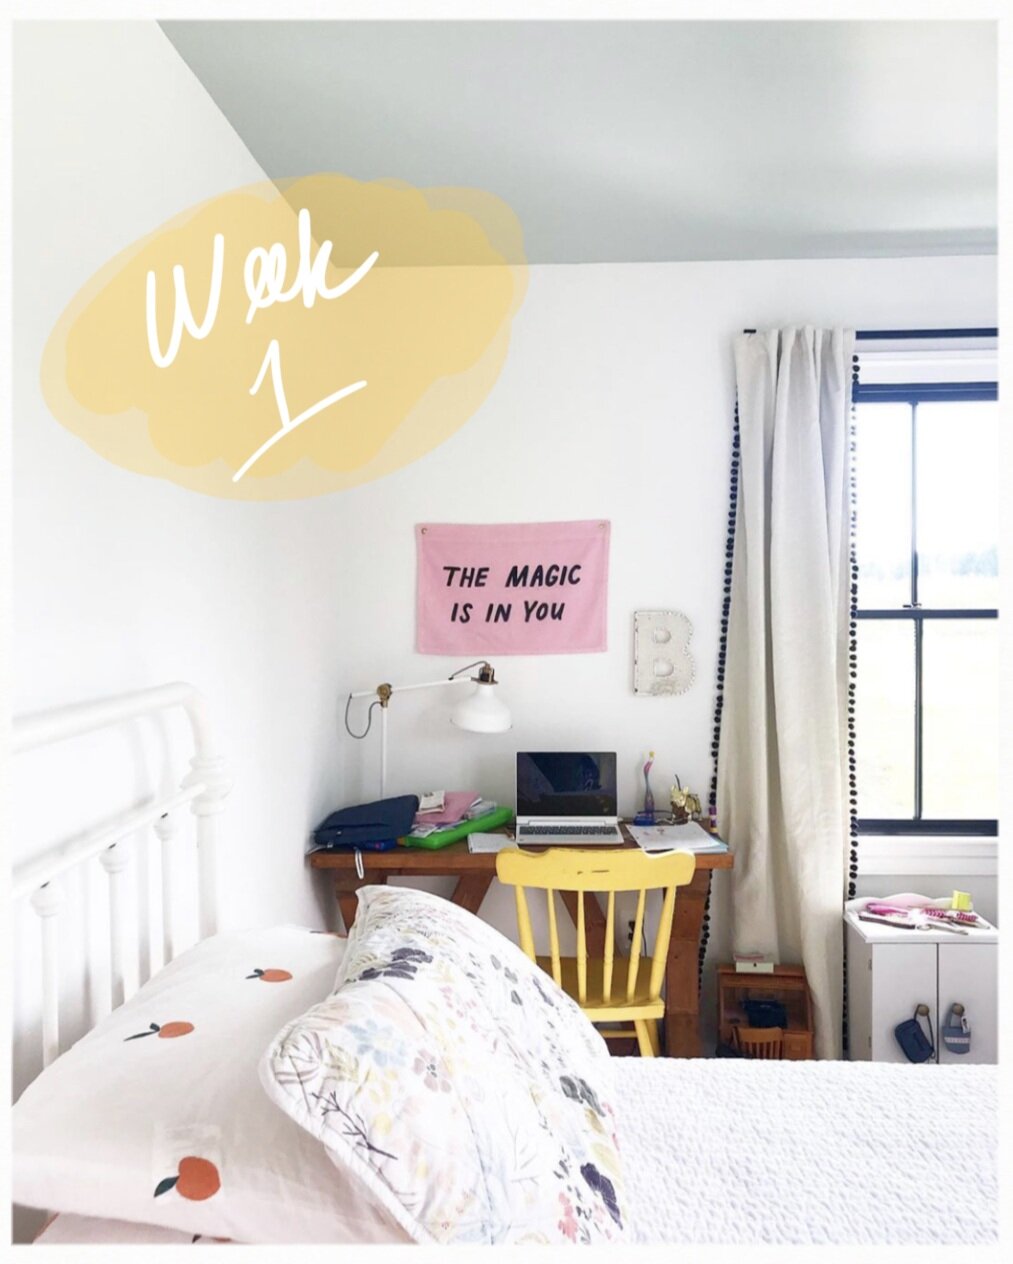
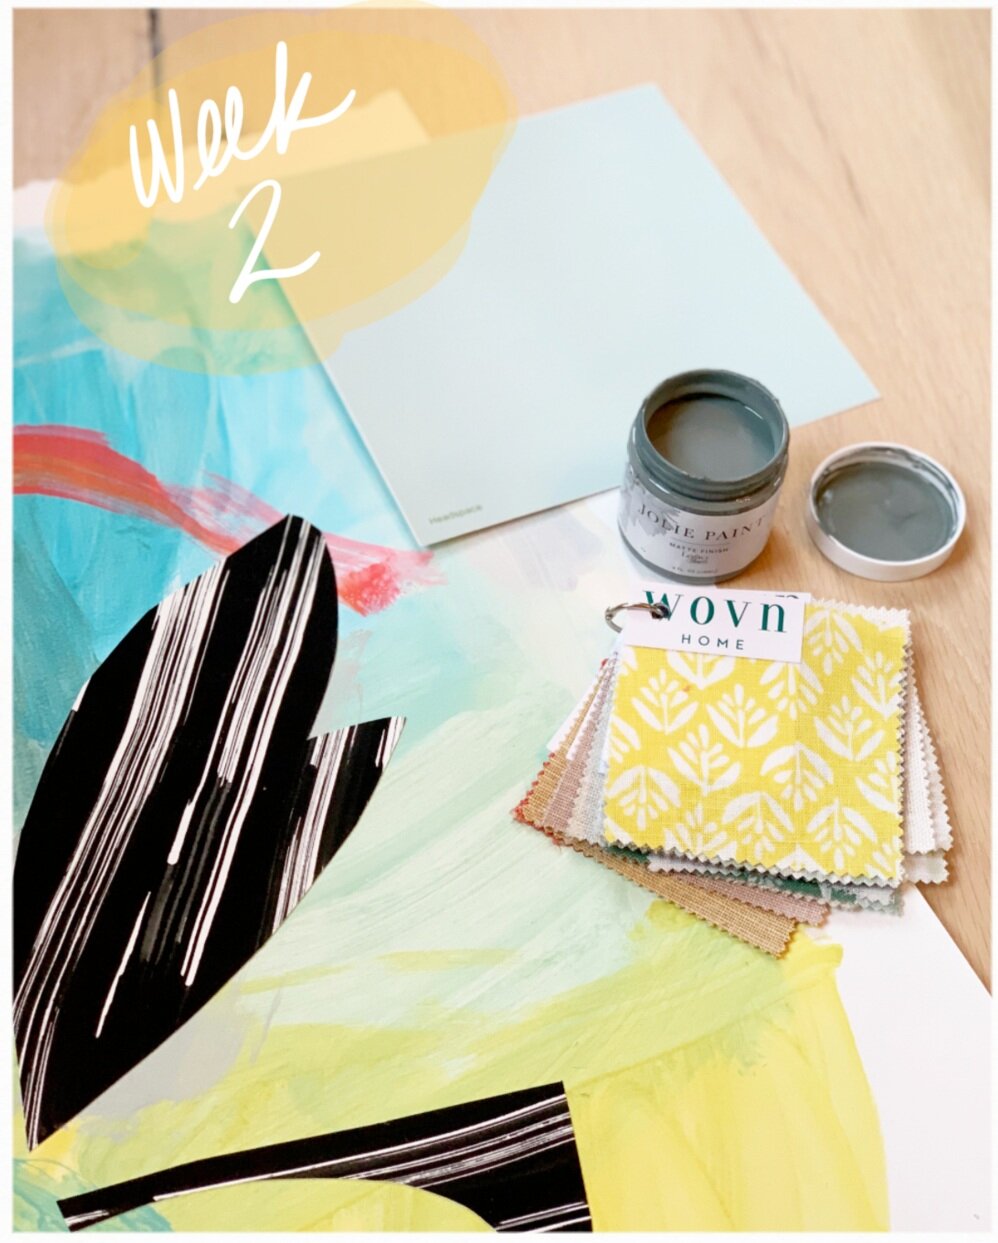
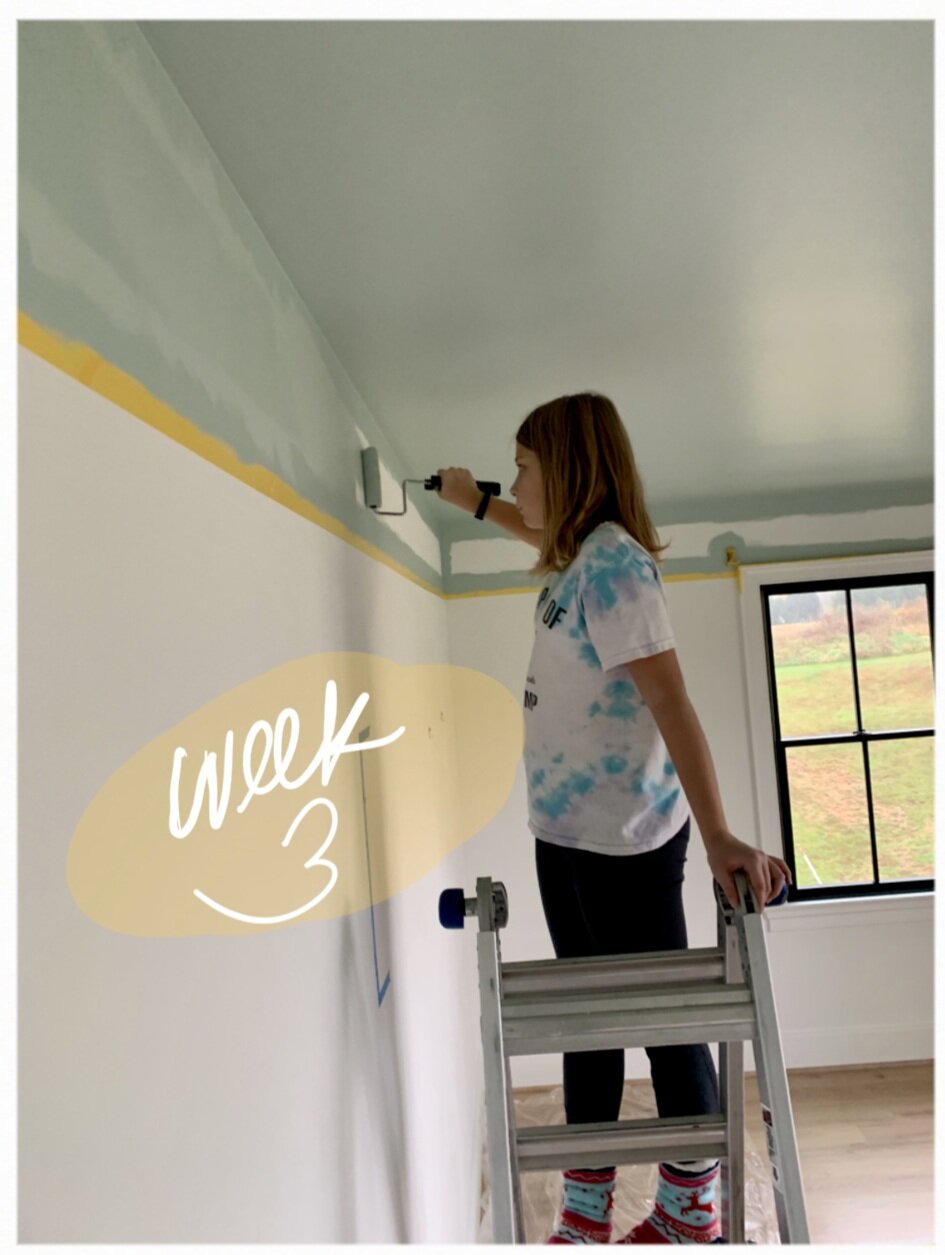
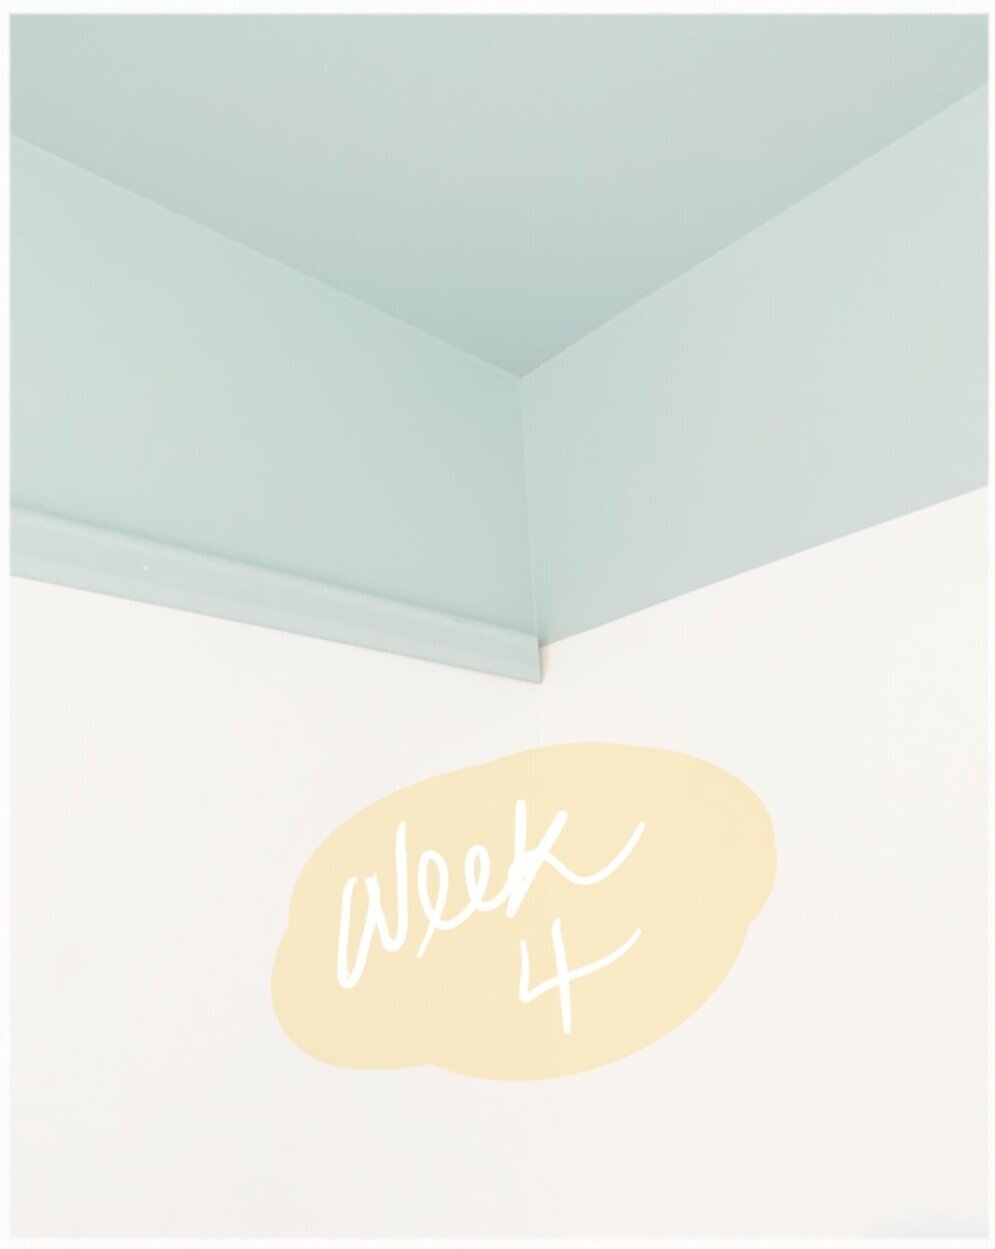
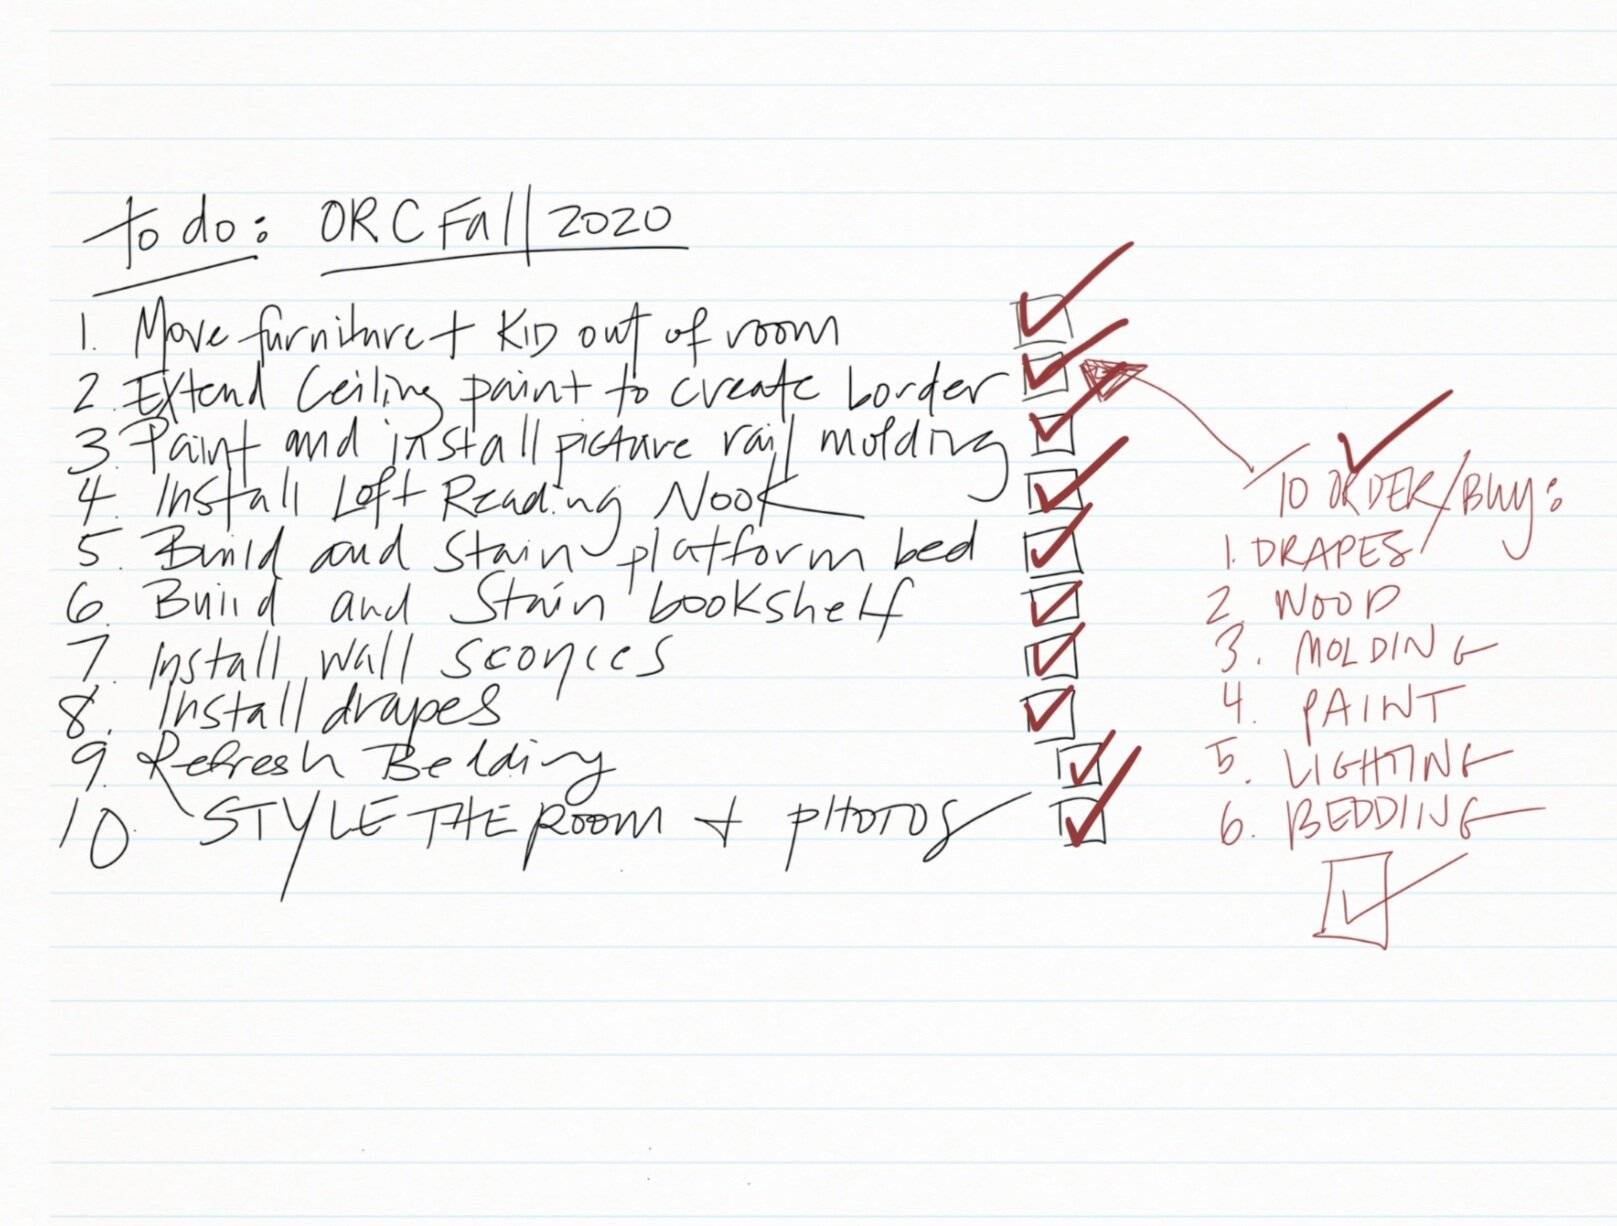
And just like that, 6 weeks of planning, designing, building and styling ‘A Bedroom Fit for a Tween’ has come to an end. What fun we’ve had and I am excited to share it all in this wrap-up post. If you’ve been following along, thank you! If you haven’t, see below for a summary and links to weekly project progress:
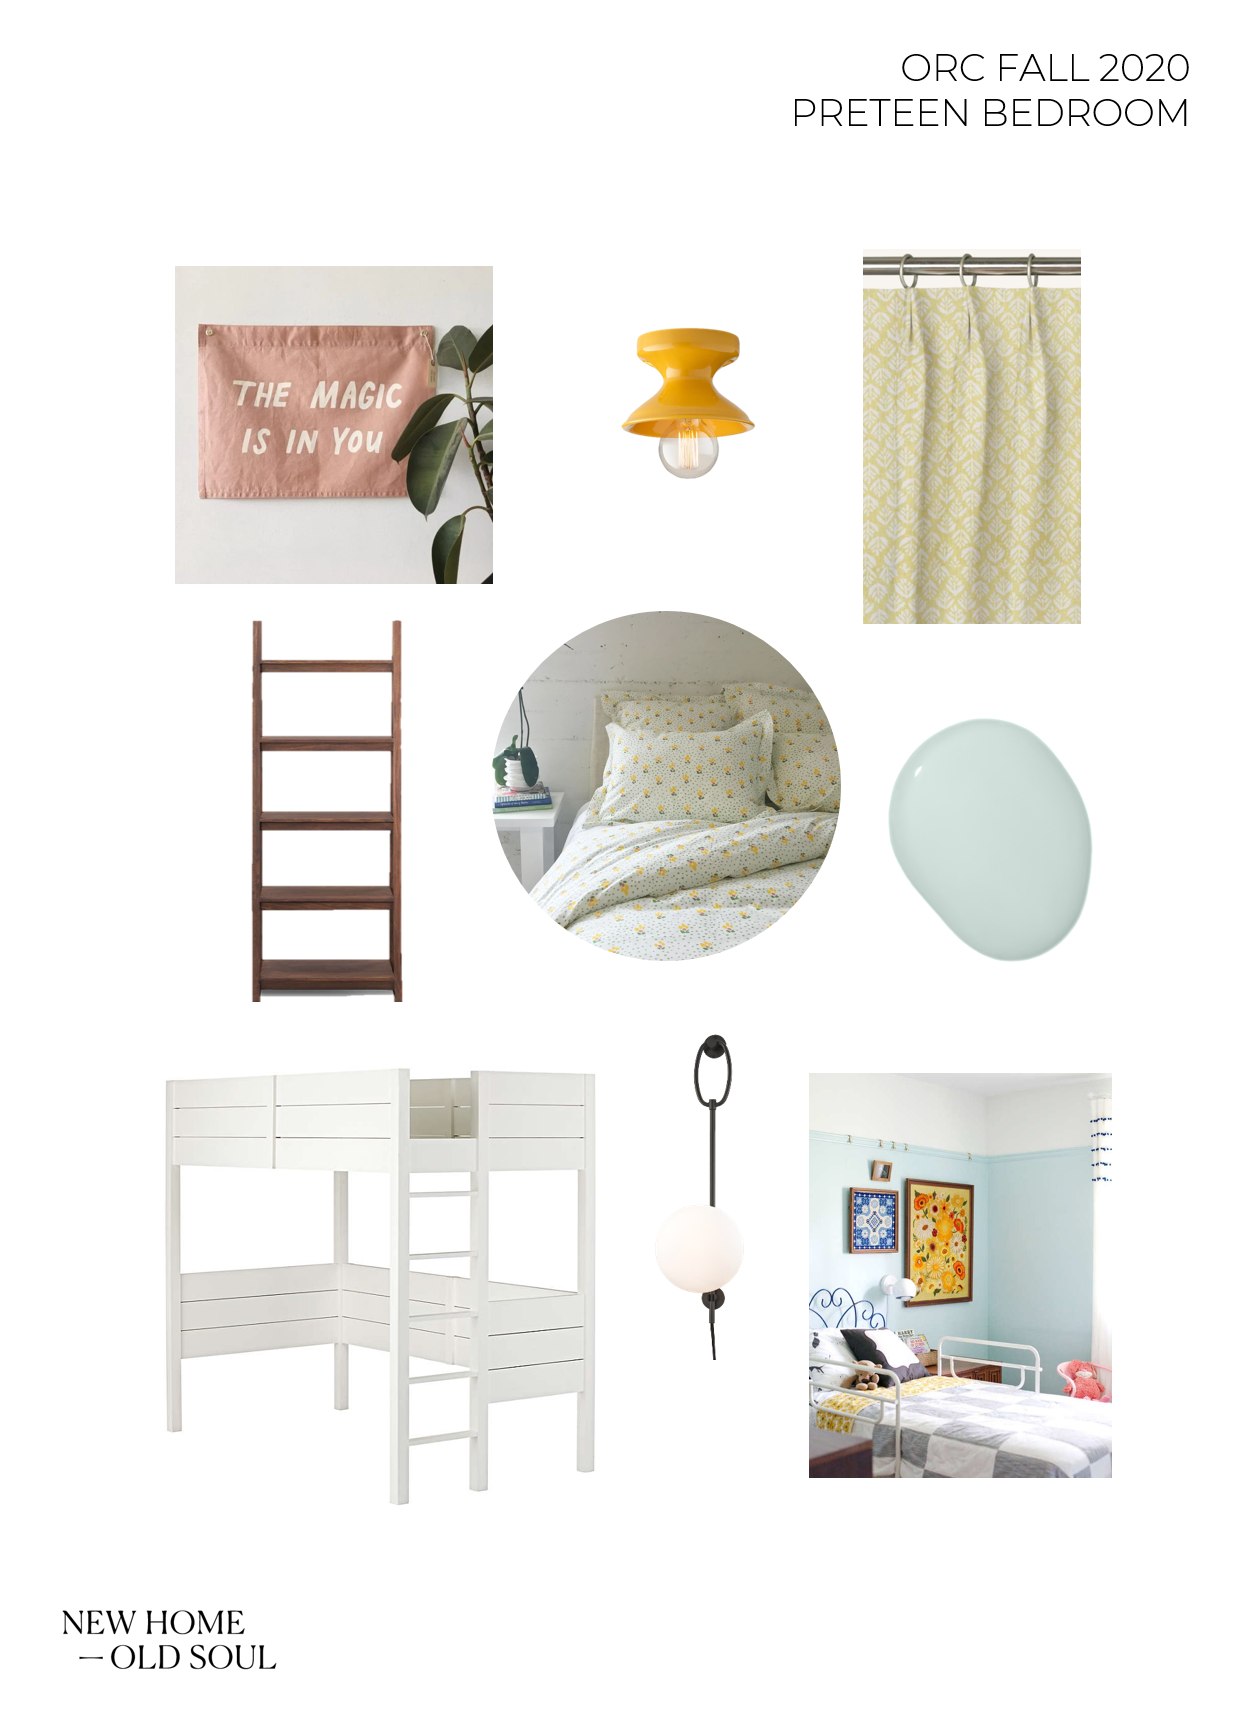
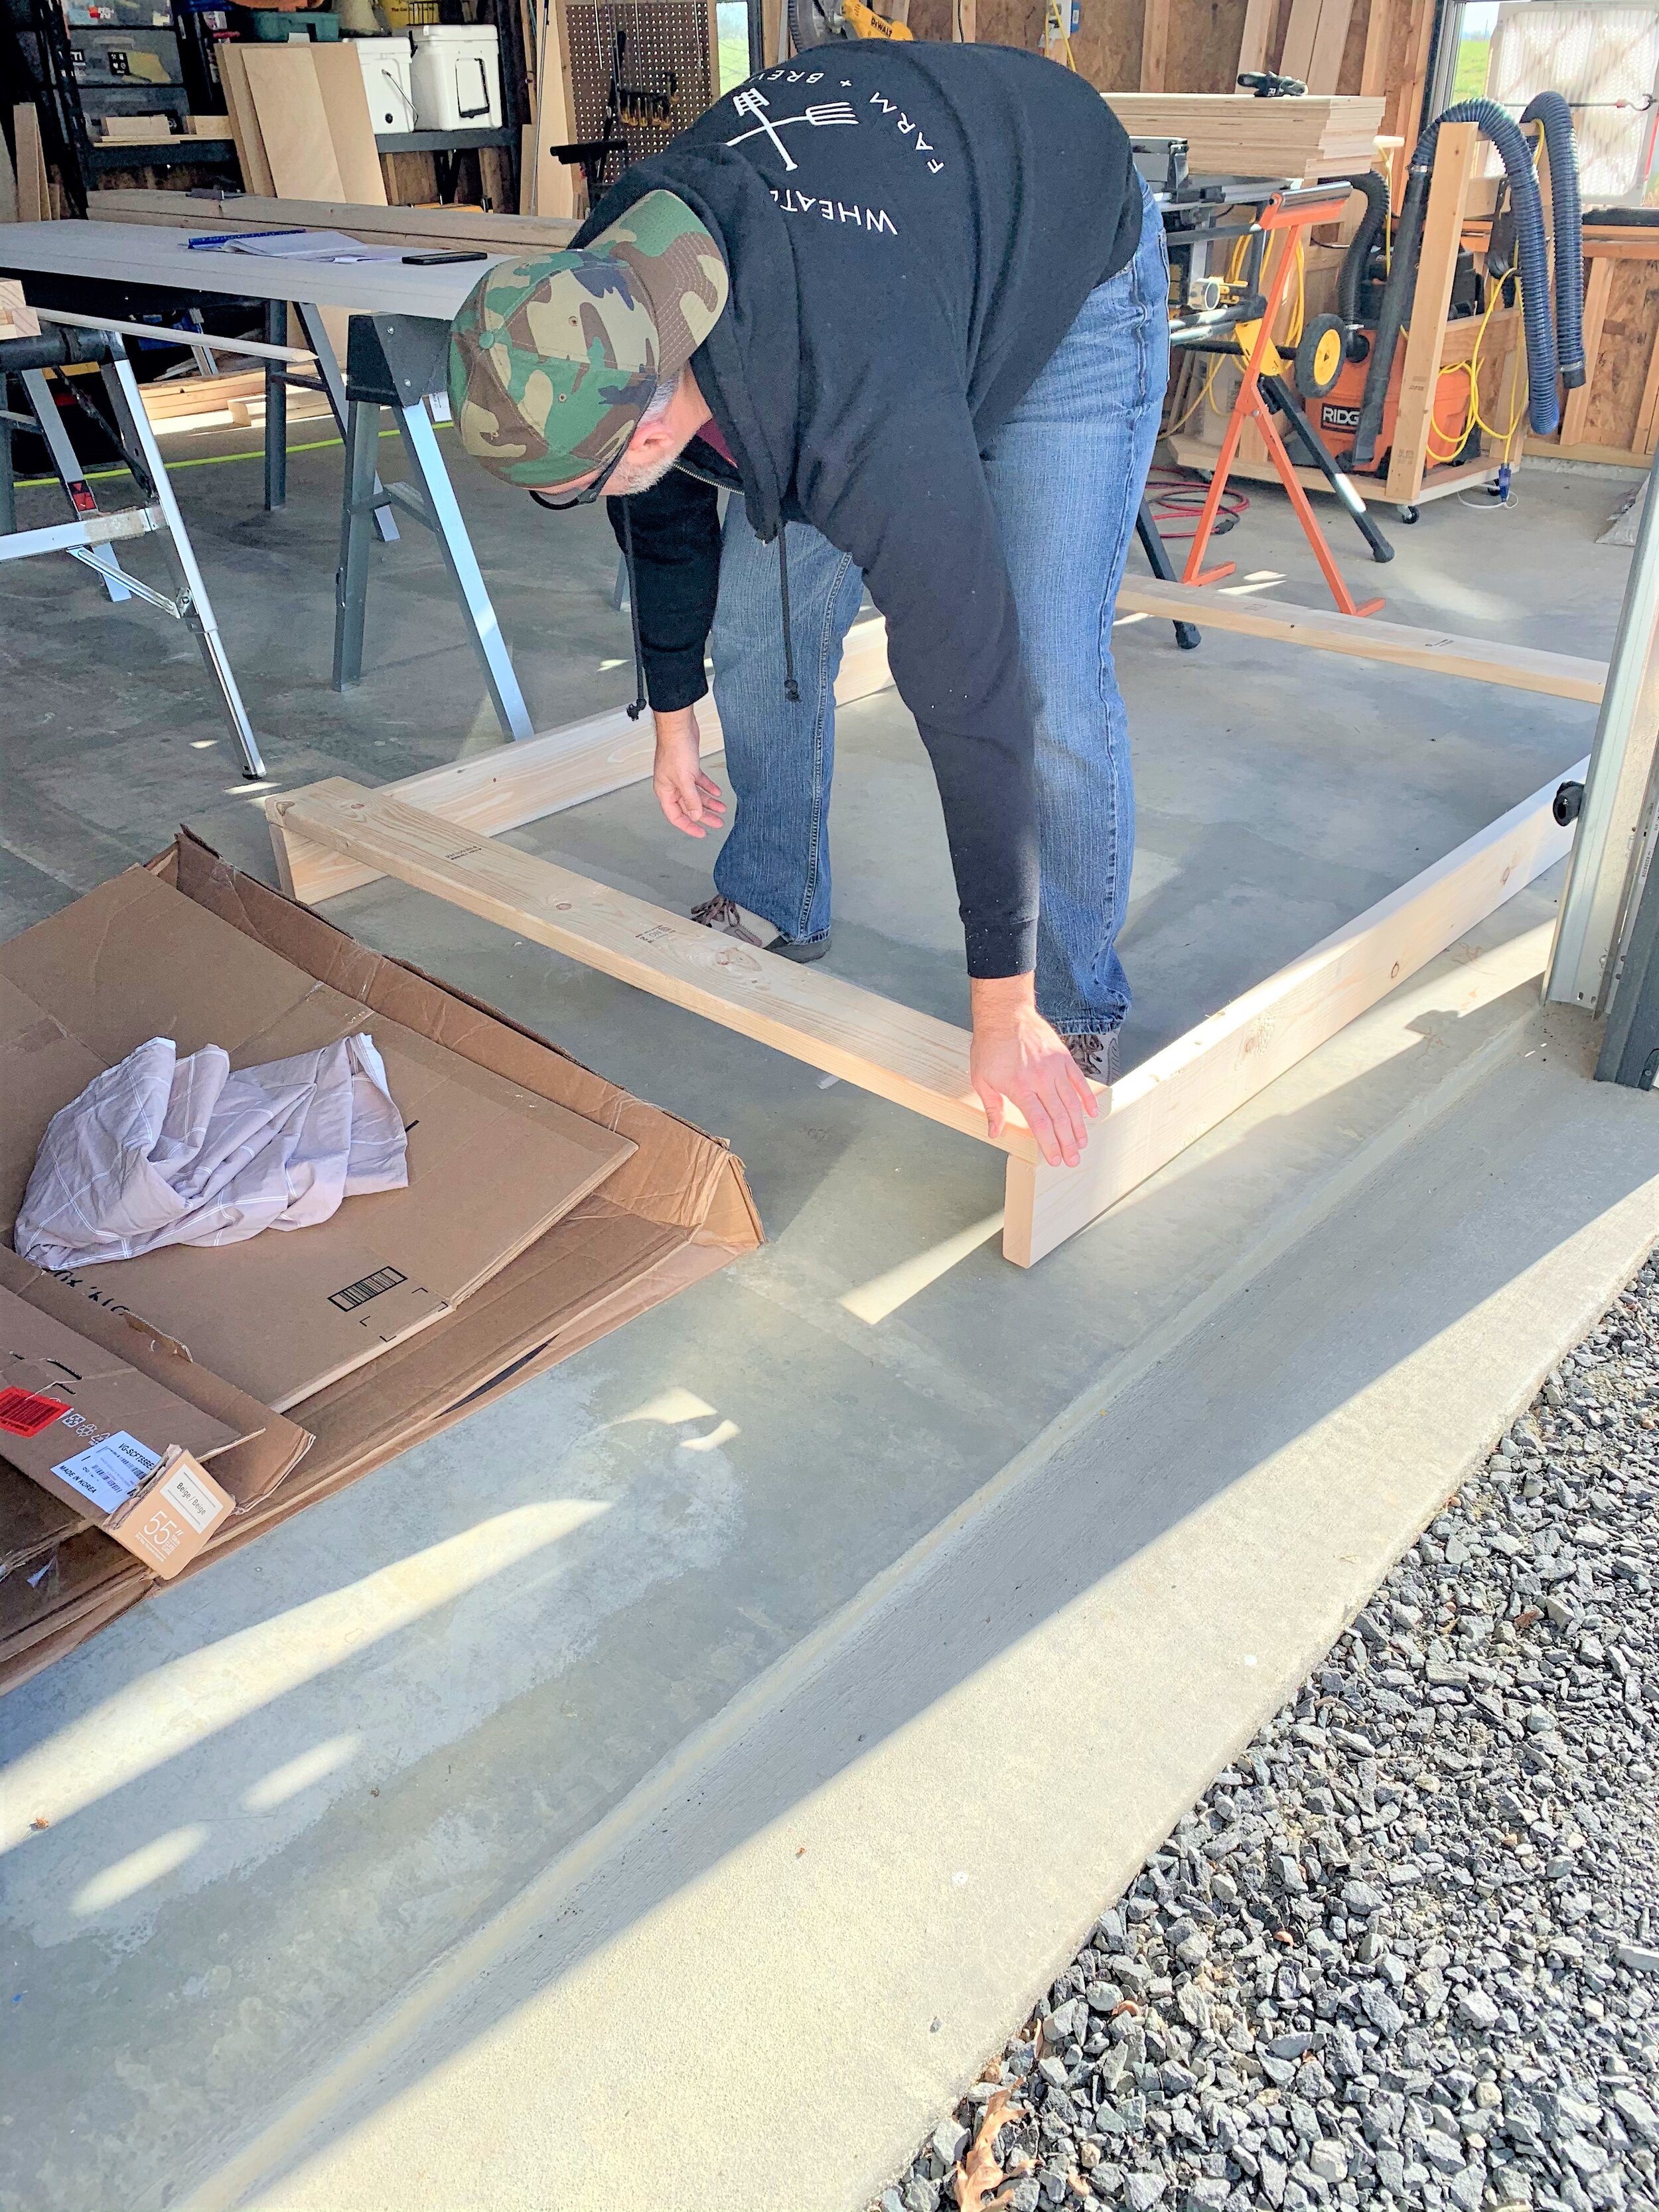
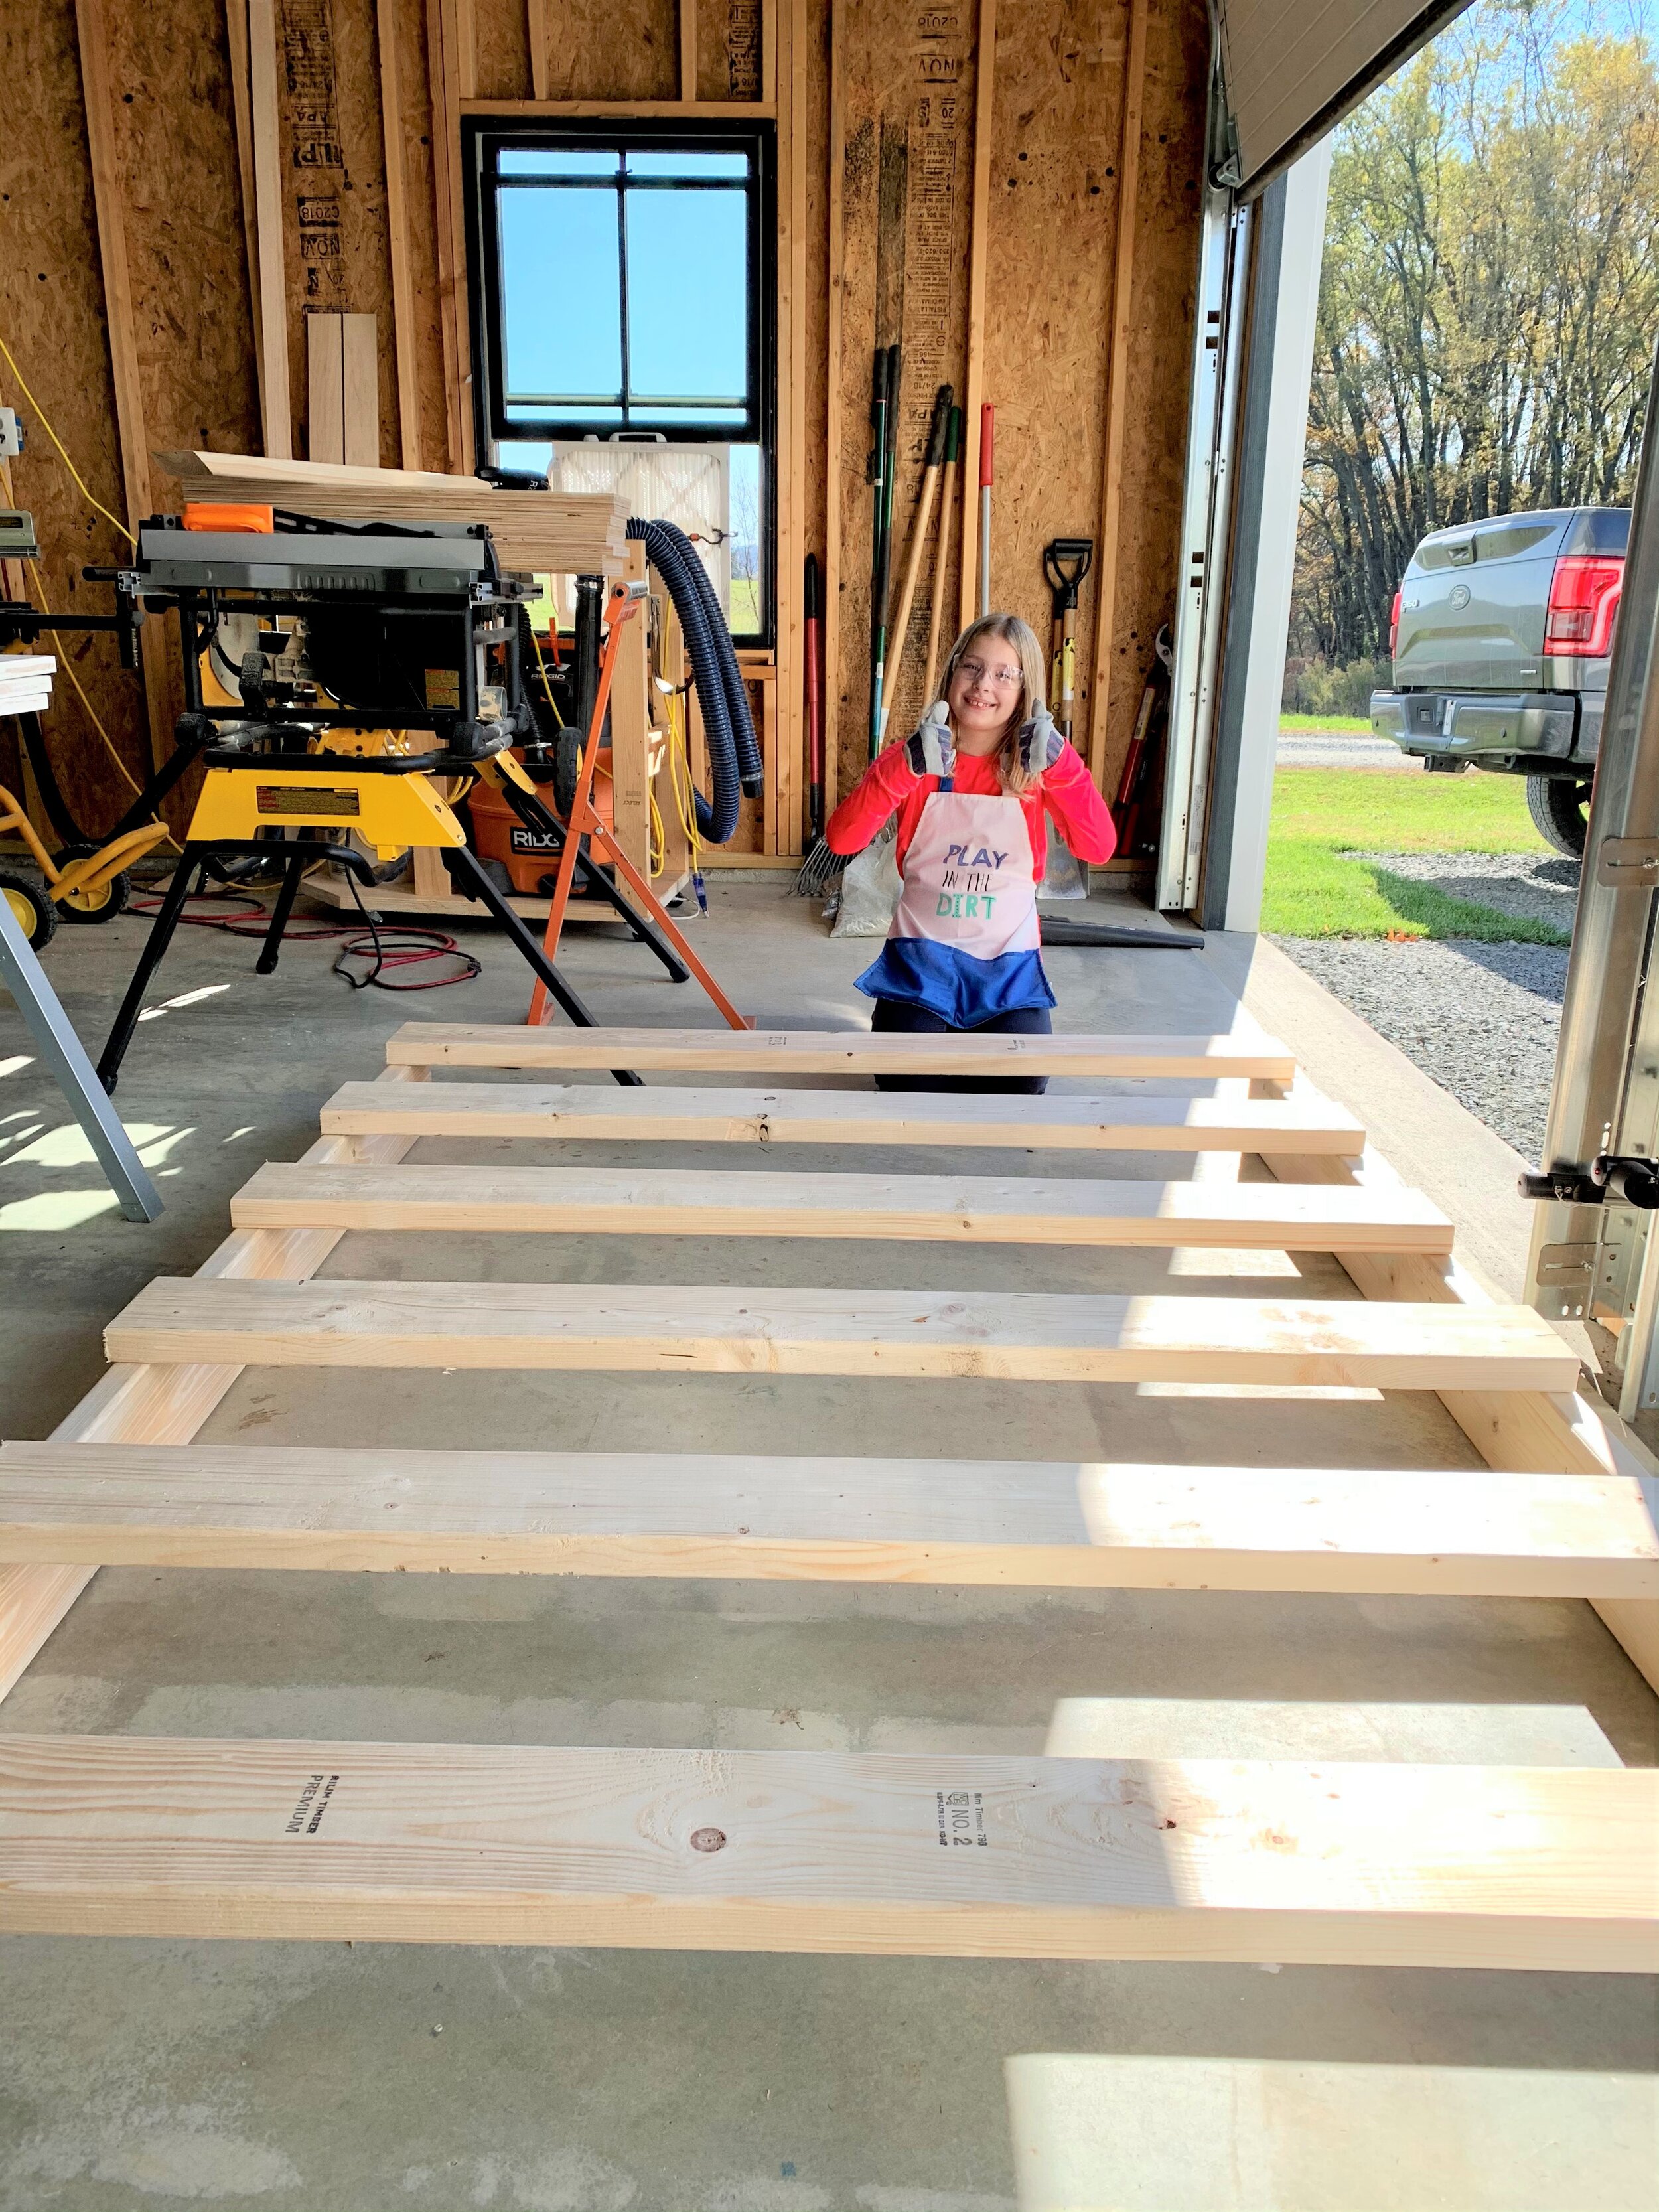
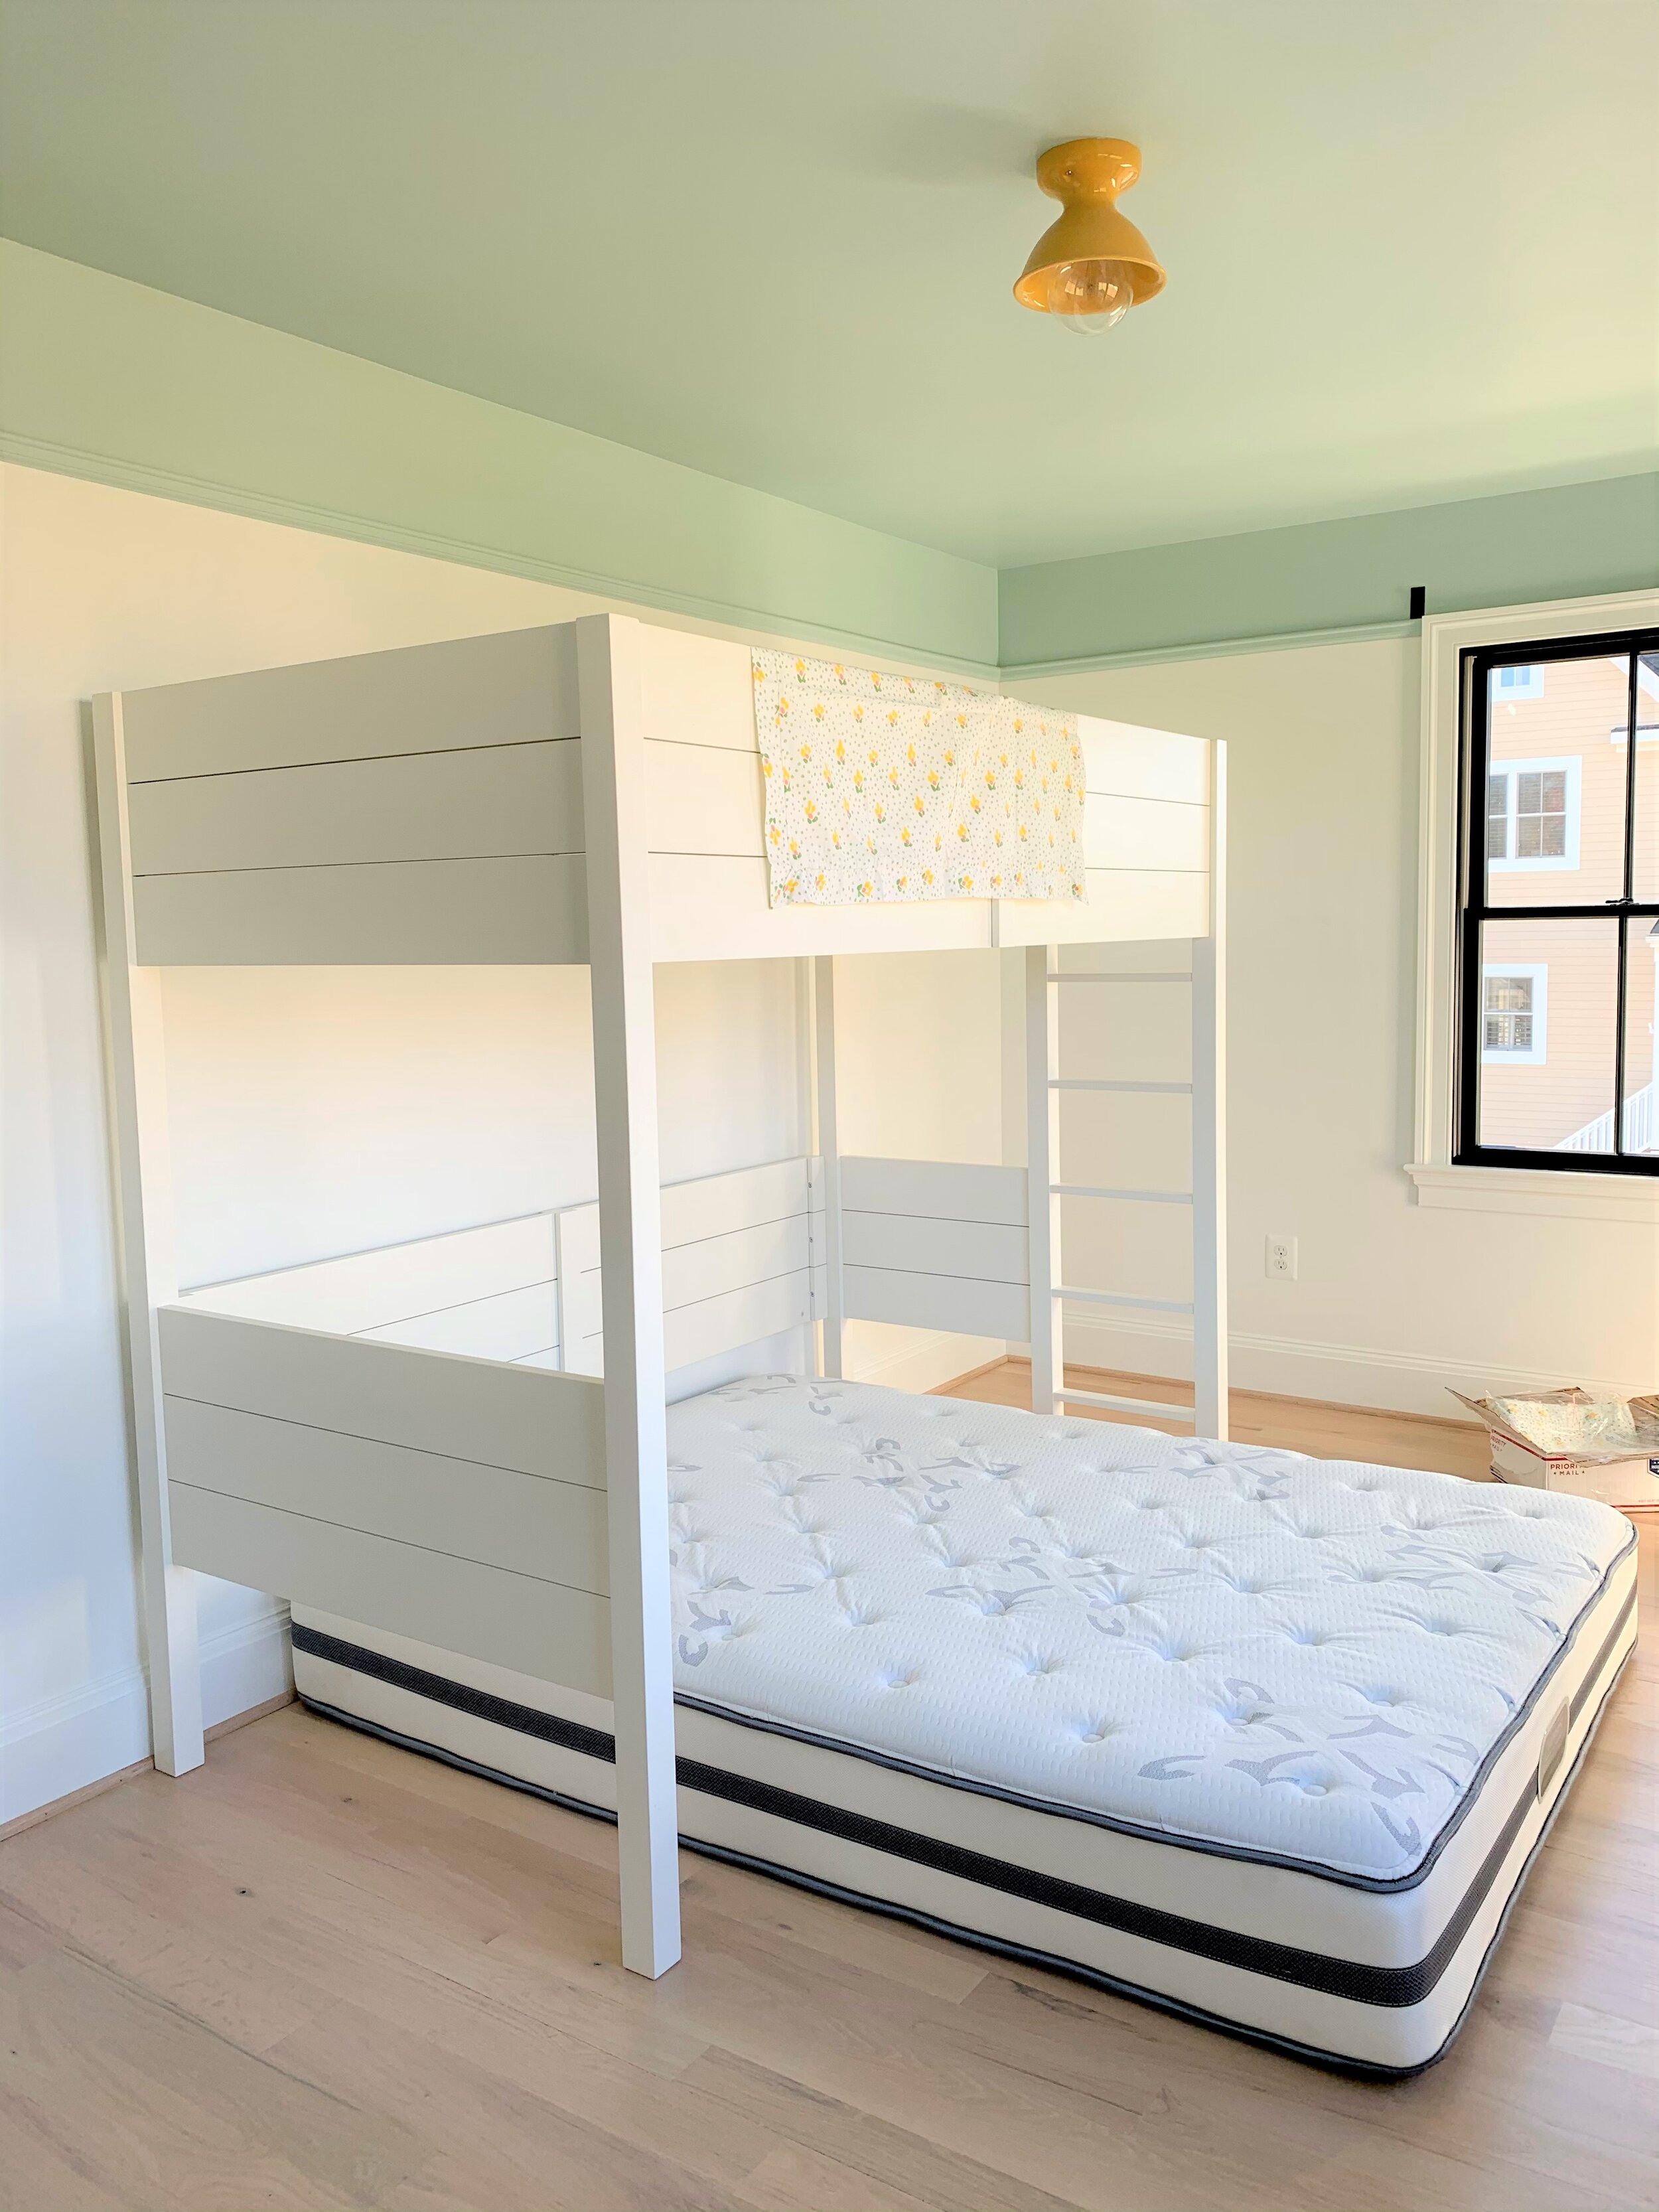
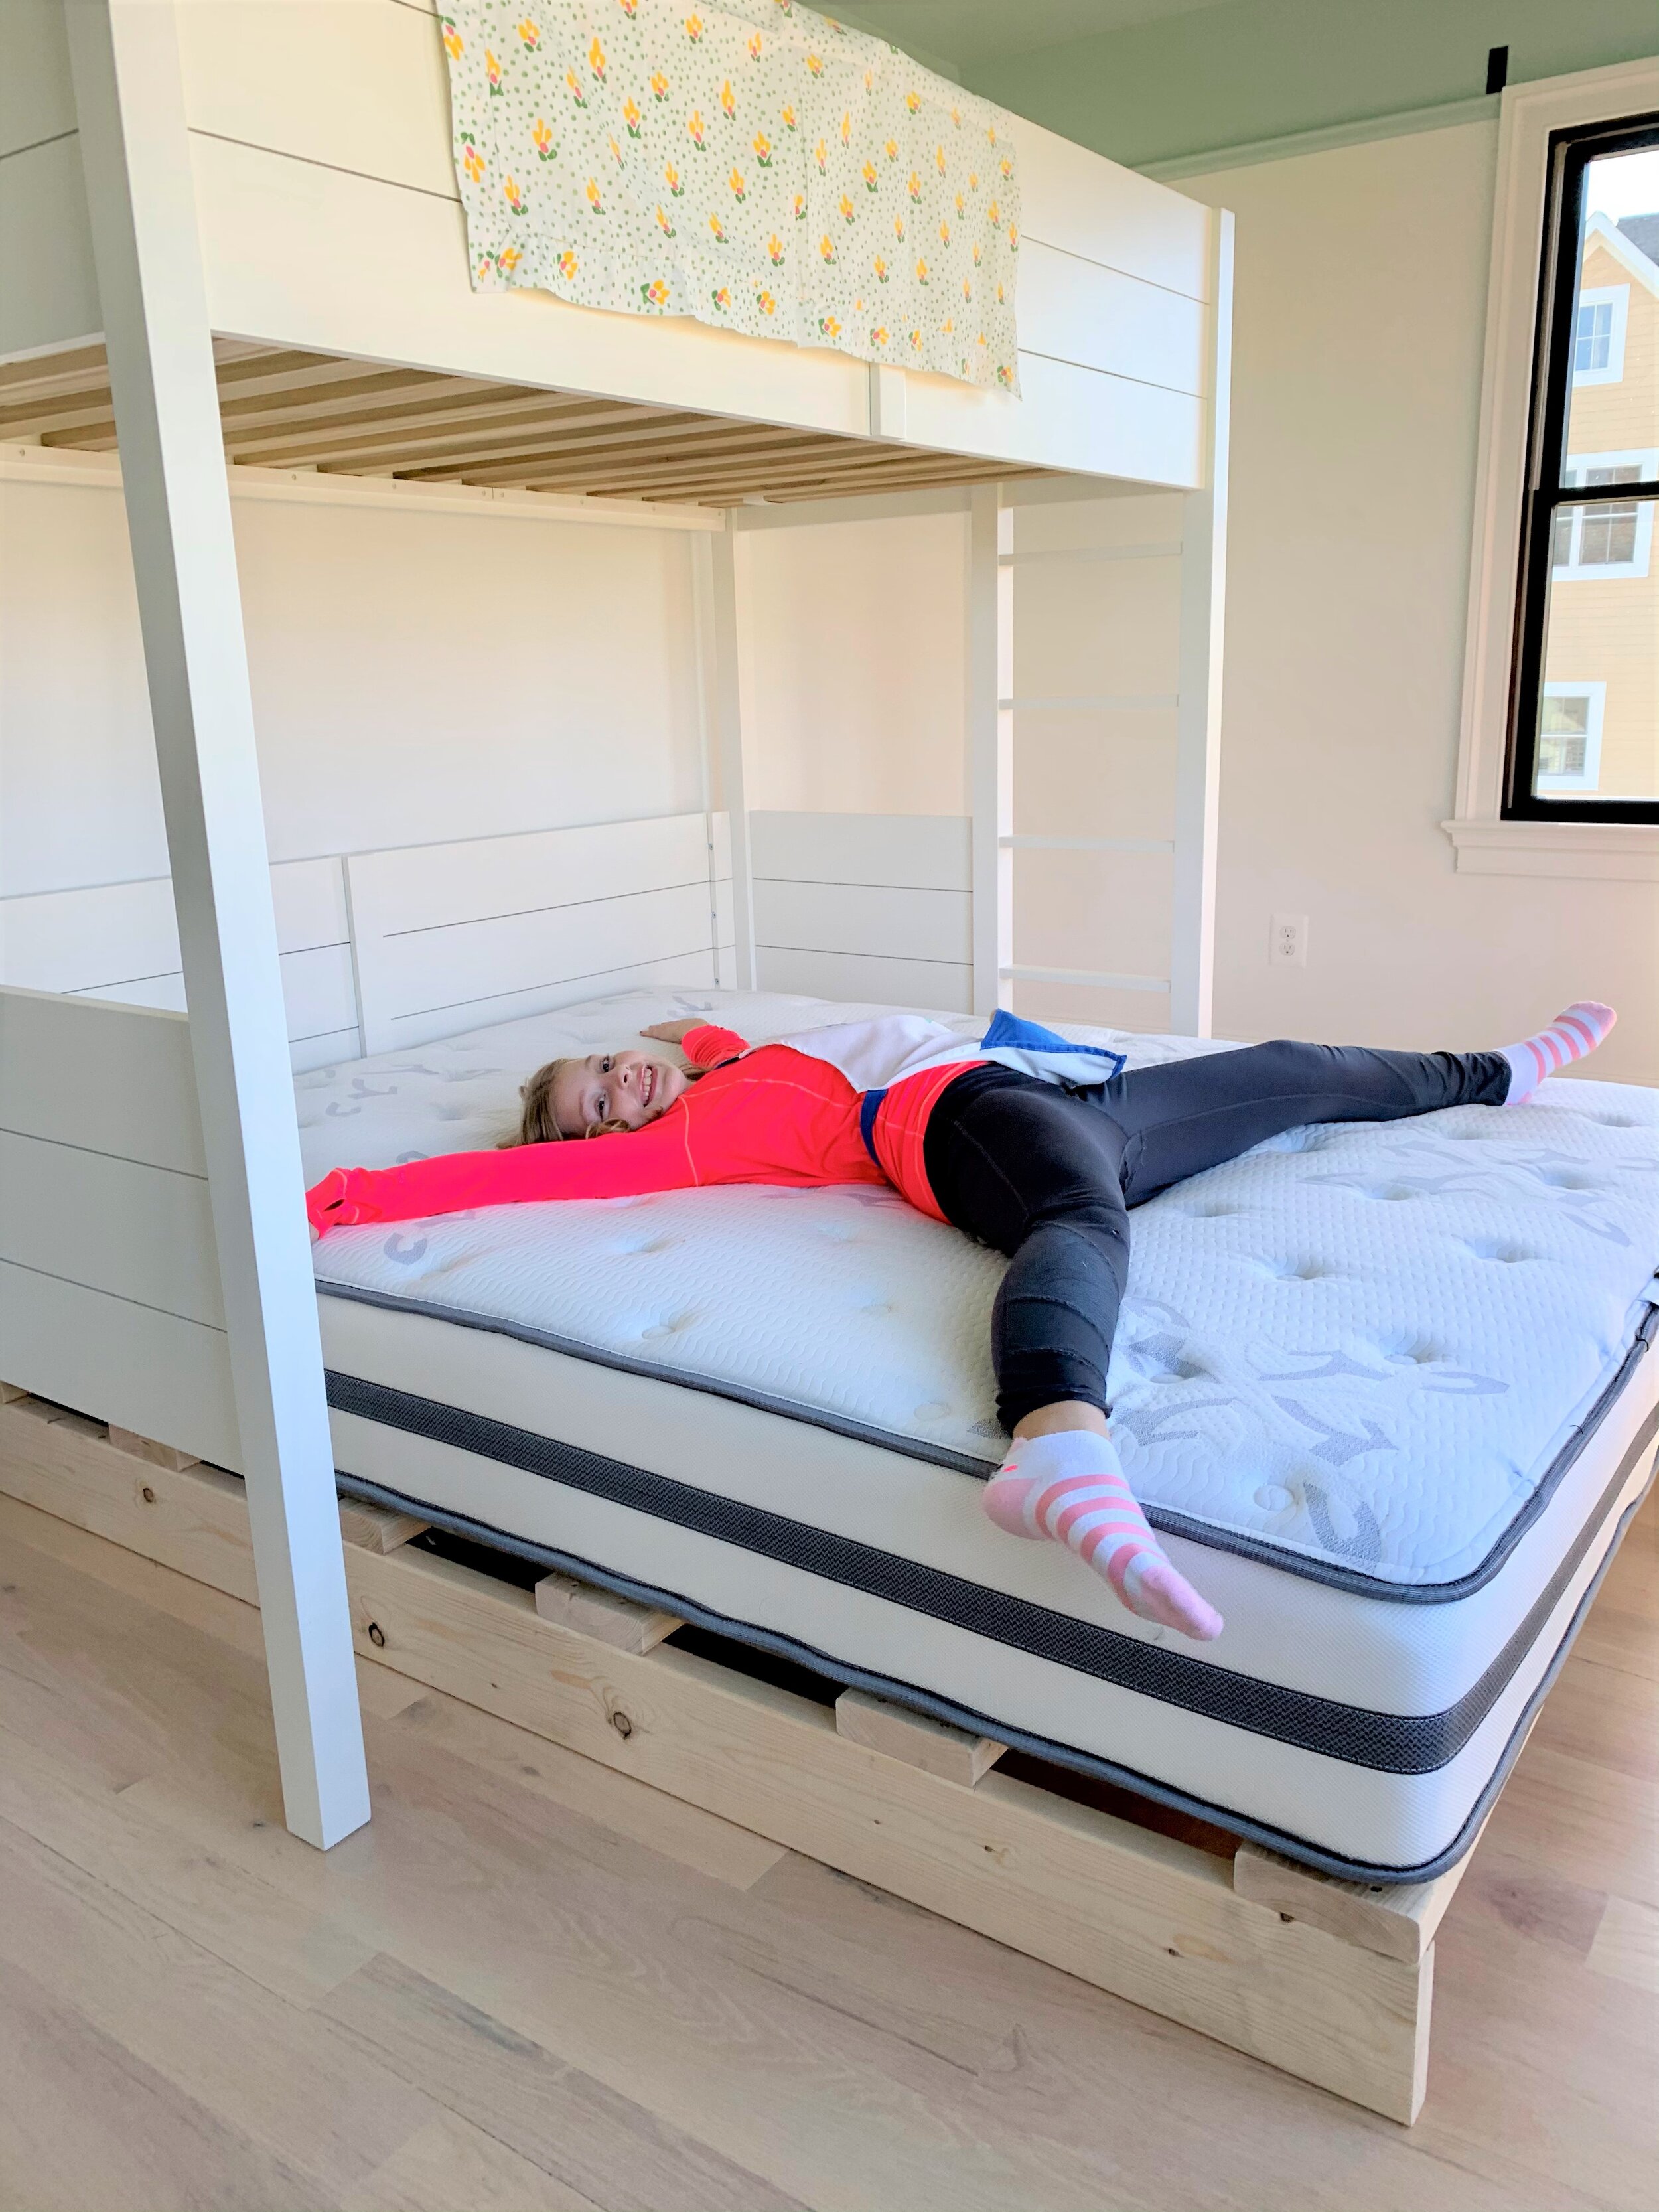
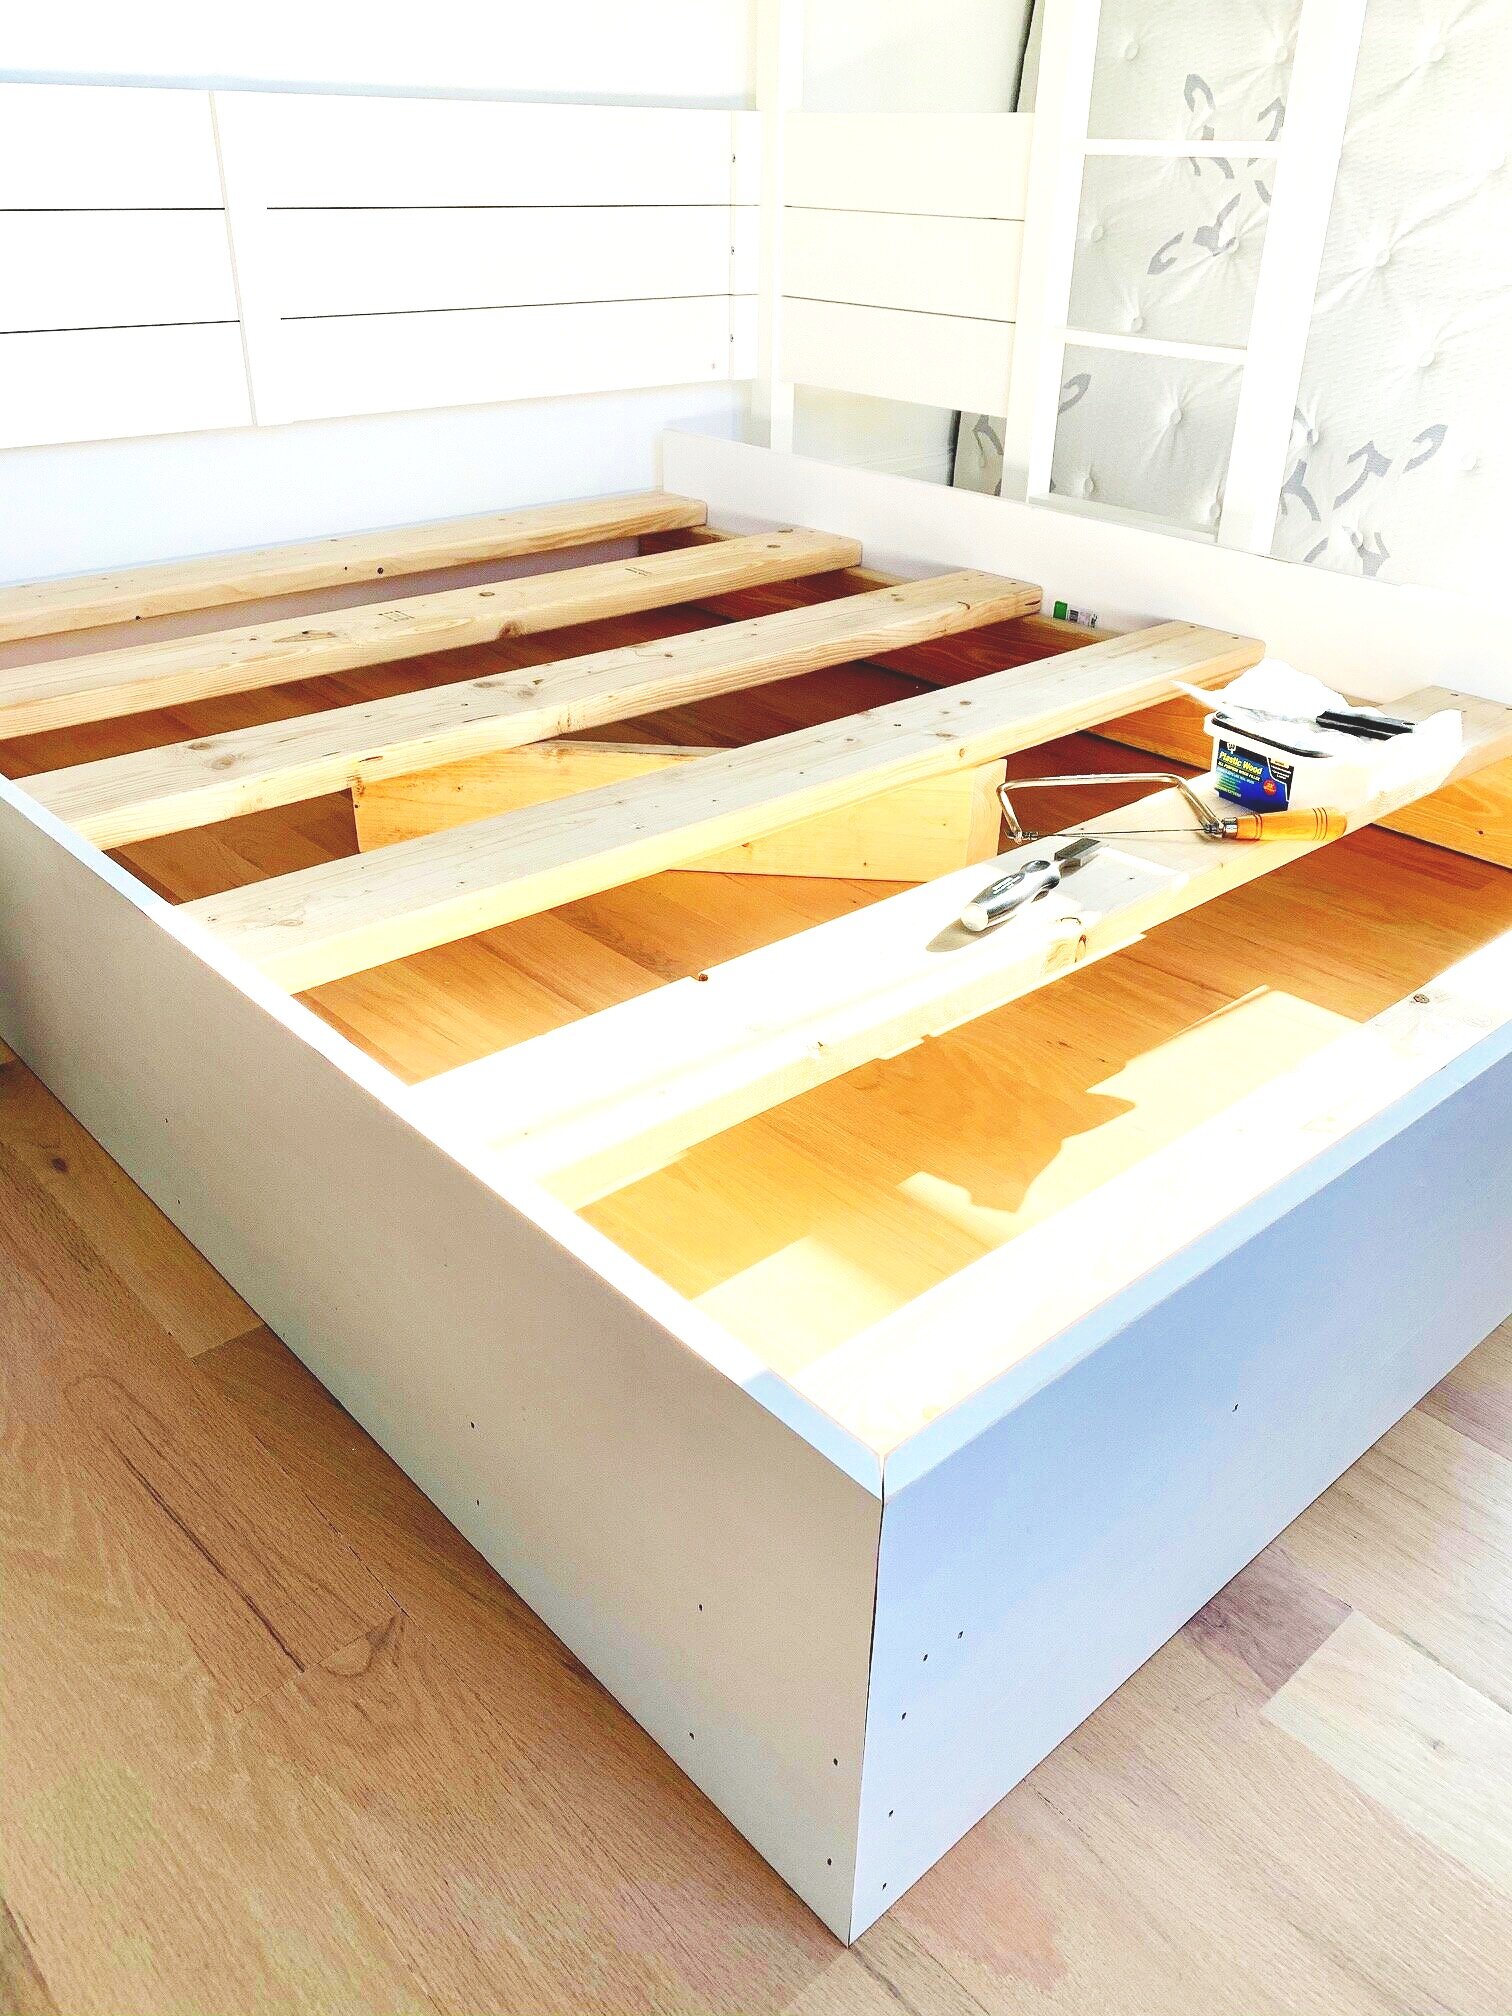
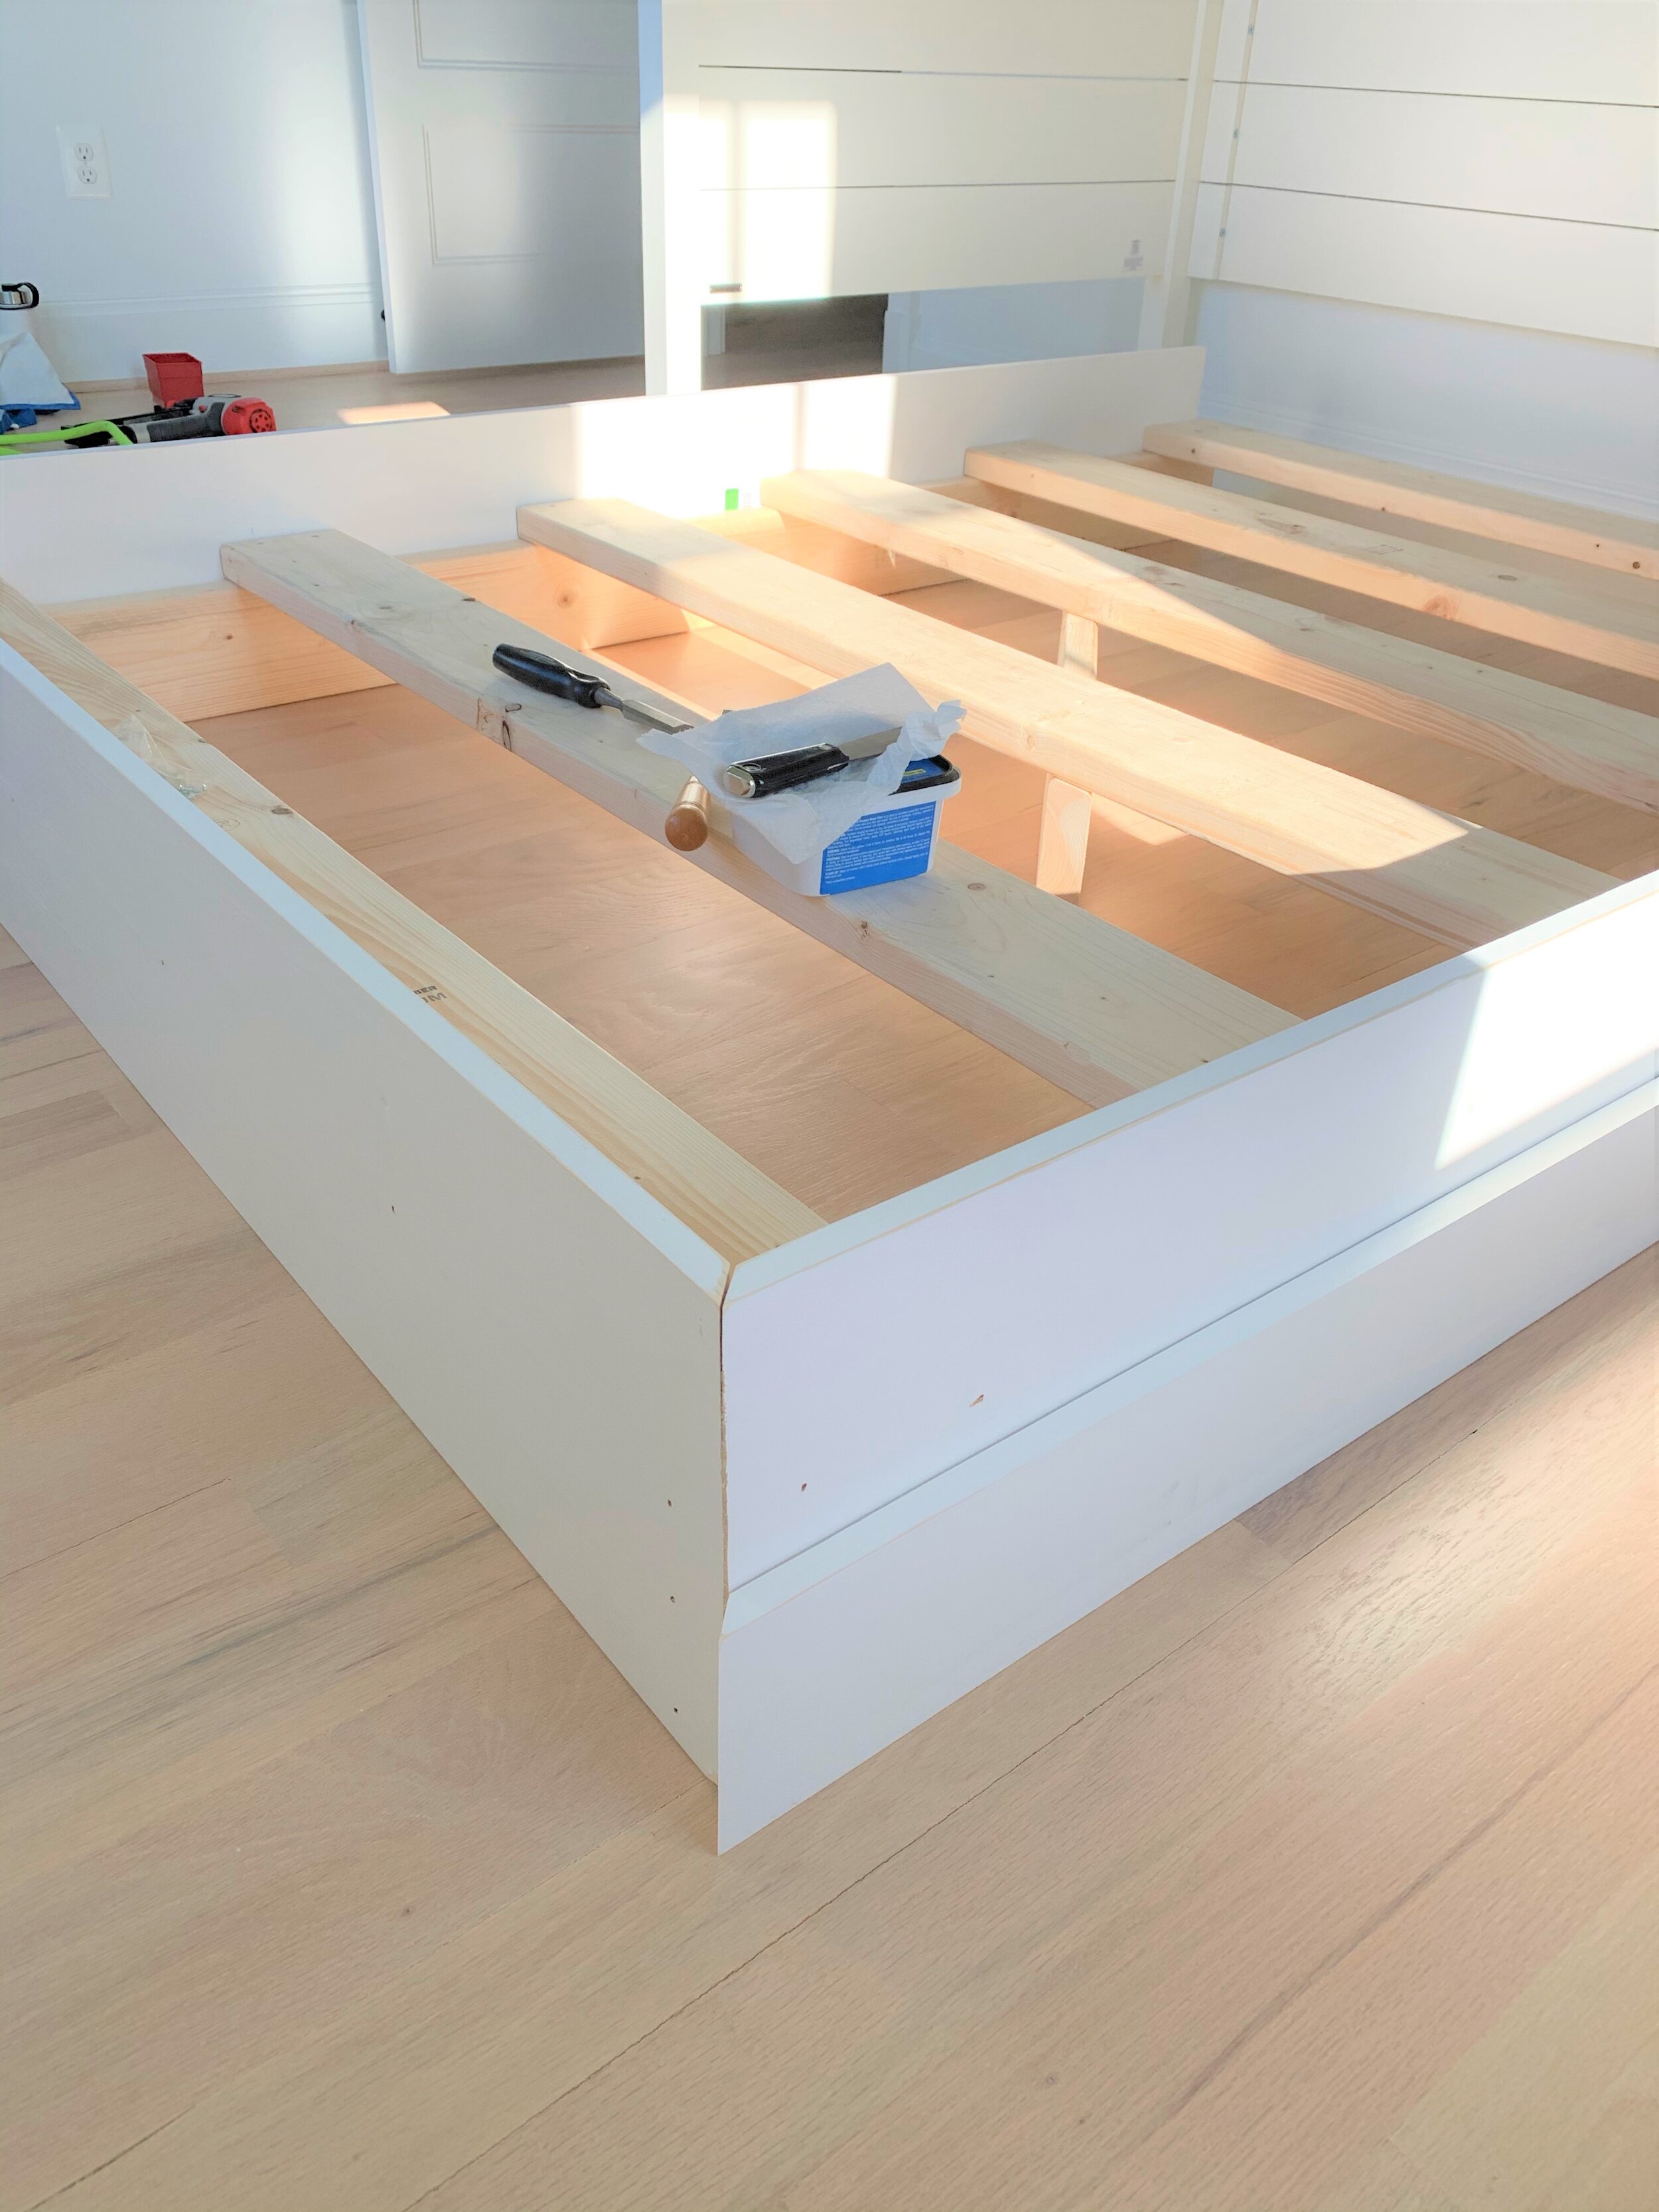
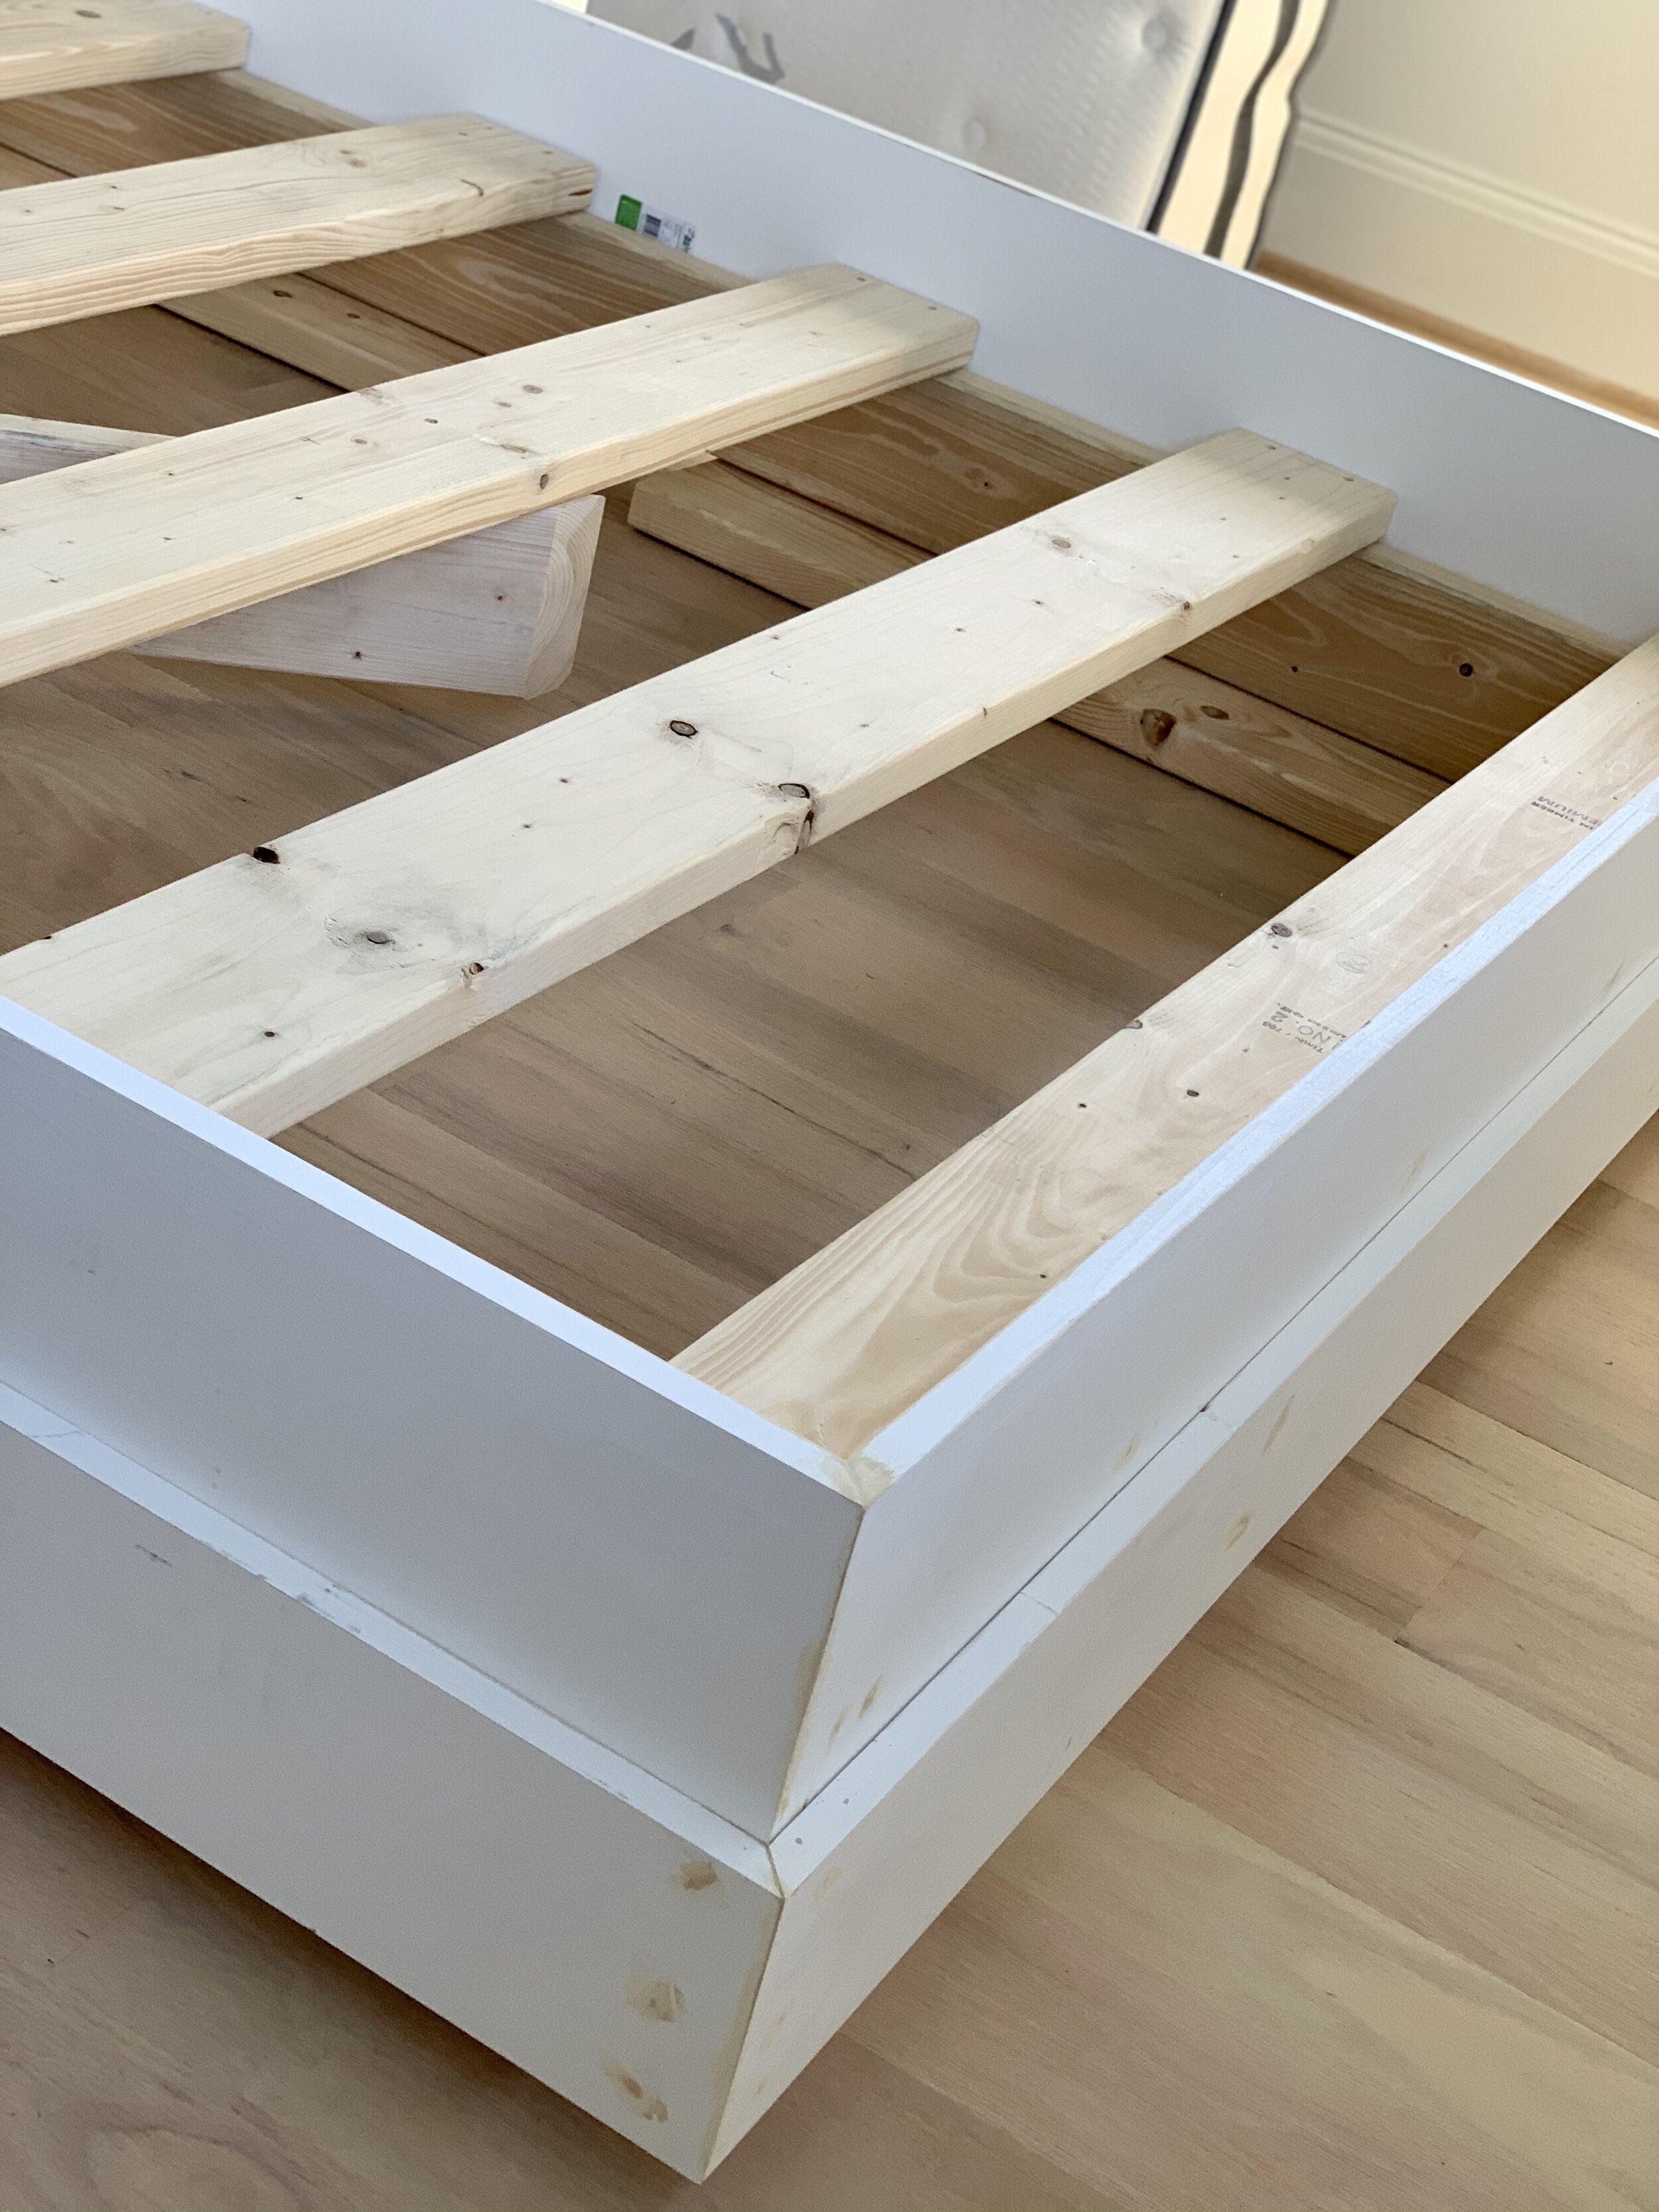
My little client for this project (soon-to-be 10 year old daughter) played a huge role in her room design. She picked out most of the design elements, was eager to help with all the build projects, and was generally just so excited throughout the process aka the best client ever! And she has a favorite color - can you guess what it is?! Pops of yellow played a big role in the design and it’s all just so cheery and bright. She wanted a loft bed/reading nook - we found hers at Crate & Kids - but we also thought it important to keep her queen bed because let’s be honest, sleeping on a loft bed is not always the most comfy option. So now she has a lounge bed, sleeping bed AND can invite little sister to her room for sleepover anytime she wants.
Photo by Lucy Anderson
The beautiful yellow patterned drapes are from a small startup company called Wovn Home and I must say they were a breeze to work with. From measuring help to sourcing hardware, they delivered a beautiful custom product in 5 weeks. This room gets so much natural light which can be a challenge in a kid’s bedroom situation. We had off-the-shelf blackout curtains in this room before but they never really blocked enough light and my daughter was always up with the sun. BUT these blackout curtains actually work and the room is now cavern-like when they are closed, which has made for some good sleeping-in mornings for Blake. Custom drapes are an investment but one I feel totally worth it to make a room feel special.
The pop of yellow is carried through to the patterned duvet. Both my daughter and I instantly loved this pattern by Carly Home. The green color on the duvet complements the blue green Clare Paint on the ceiling and using it as a bed topper really pulled all the design elements together.
Special thanks to Clare for gifting me the border and molding paint and to Wovn Home & Carly Home for treating my ORC project as client work. All three are wonderful small businesses that you (and I) can feel so good about supporting.
Wovn Home Drapes // Clare Border and Picture Rail Paint // Carly Home Duvet Cover

The painting is from Wink Wink Studio and fits so perfectly with the other design elements. I am a huge fan of Suzy’s work which is evident when you tour our home. I love the combination of abstract modern art, with a traditional piece of furniture and a sentimental object - a quilt made by my Grandma on display, sitting pretty, on top of the bookcase.
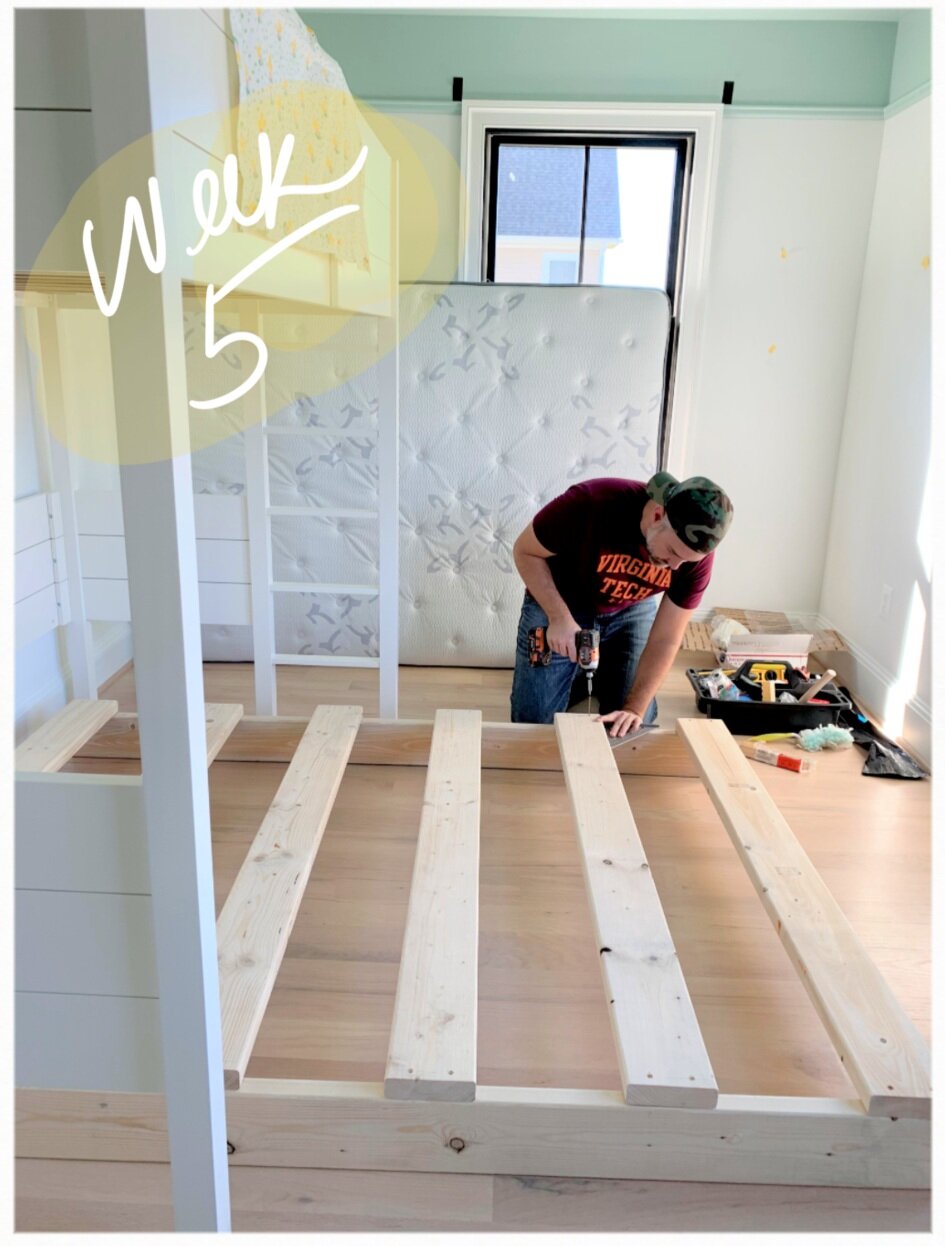
This bookcase was made by Greg (the little client’s Dad and my hubs) and it is so beautiful and even includes a built-in treasure drawer. He designed it to fit the space (narrow width and front legs only so we didn’t have to cut the baseboard or notch the furniture piece). With his help, I plan to write a future blog post with the materials list and build plan + modifications.


I think it’s important to add wood elements to modern spaces so the room doesn’t read so one dimensional. Each wall of this room now showcases a wood element - a bookcase, desk, bedside ledge (all made by Greg) and a printer drawer turned trinket display shelf - like a natural wood hug around the room.

Photo by Lucy Anderson

BATTERY OPERATED SCONCE LIGHTS
A quick DIY project we added during this final week was the black reading light sconces. Instead of getting a plug-in option, we used remote controlled battery powered puck lights and simply mounted the sconce base to the wall without any wiring.
Photo by Lucy Anderson
To make the ‘Battery Operated Puck Light Bulb’, we superglued the back of the puck light to a PVC Plug, screwed the PVC Pipe Adapter into the sconce, then secured the plug into the adapter. To change the batteries, all we need to do is unscrew the top part of the Puck Light and replace the batteries when needed.
Photo by Lucy Anderson
Photo by Lucy Anderson

SCONCE DIY MATERIALS LIST (click photo for source link:)

Matte Black Armed Sconces
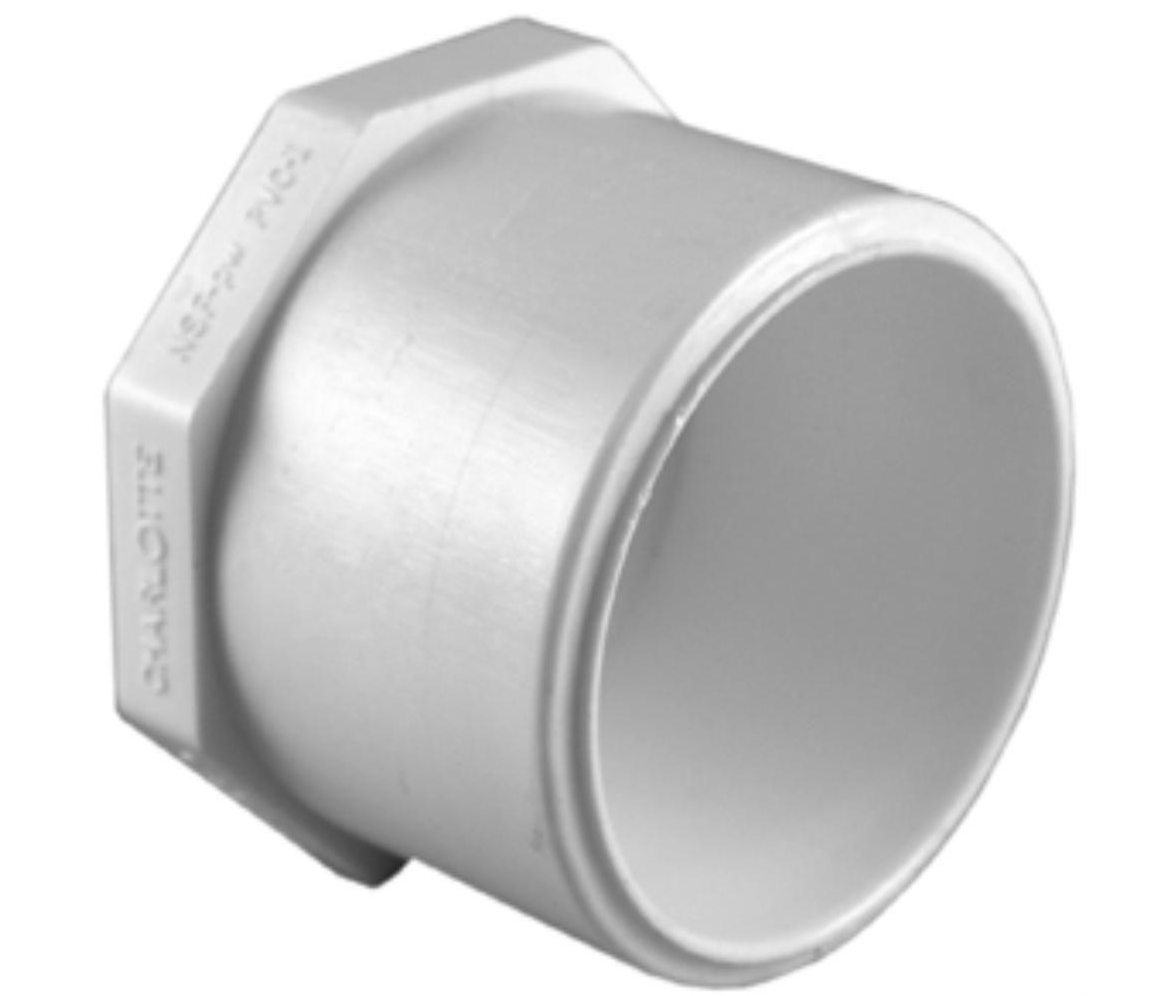
PVC Plug

PVC Pipe Adapter
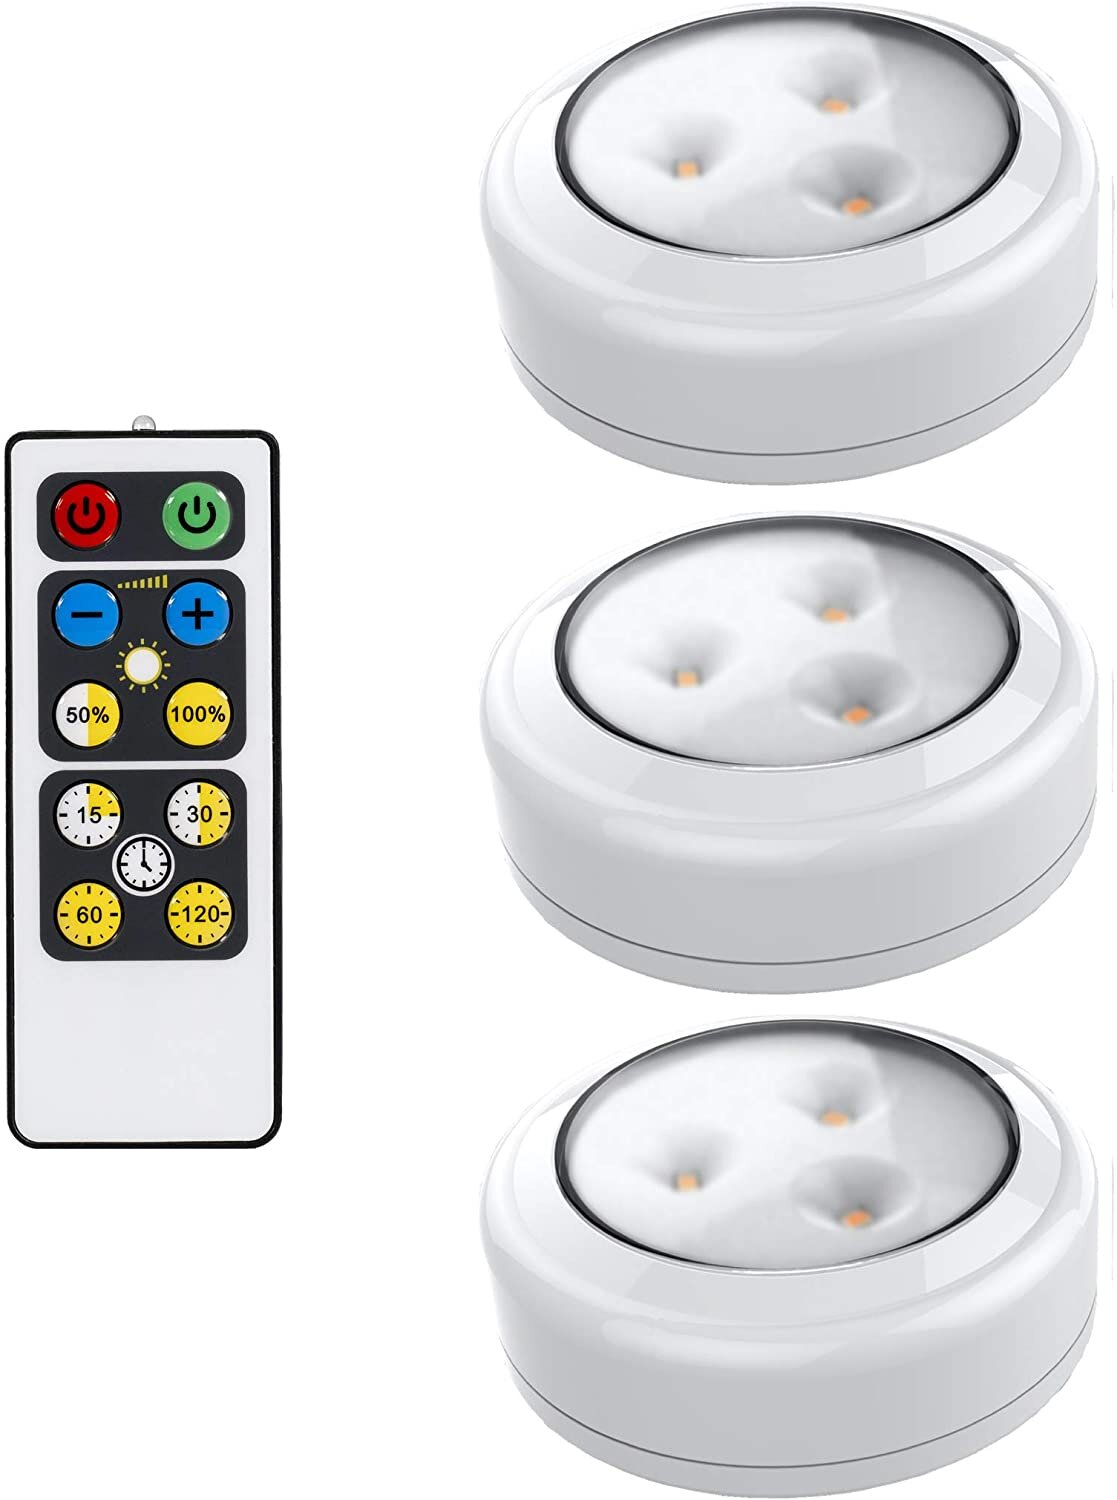
Remote Control Puck Lights
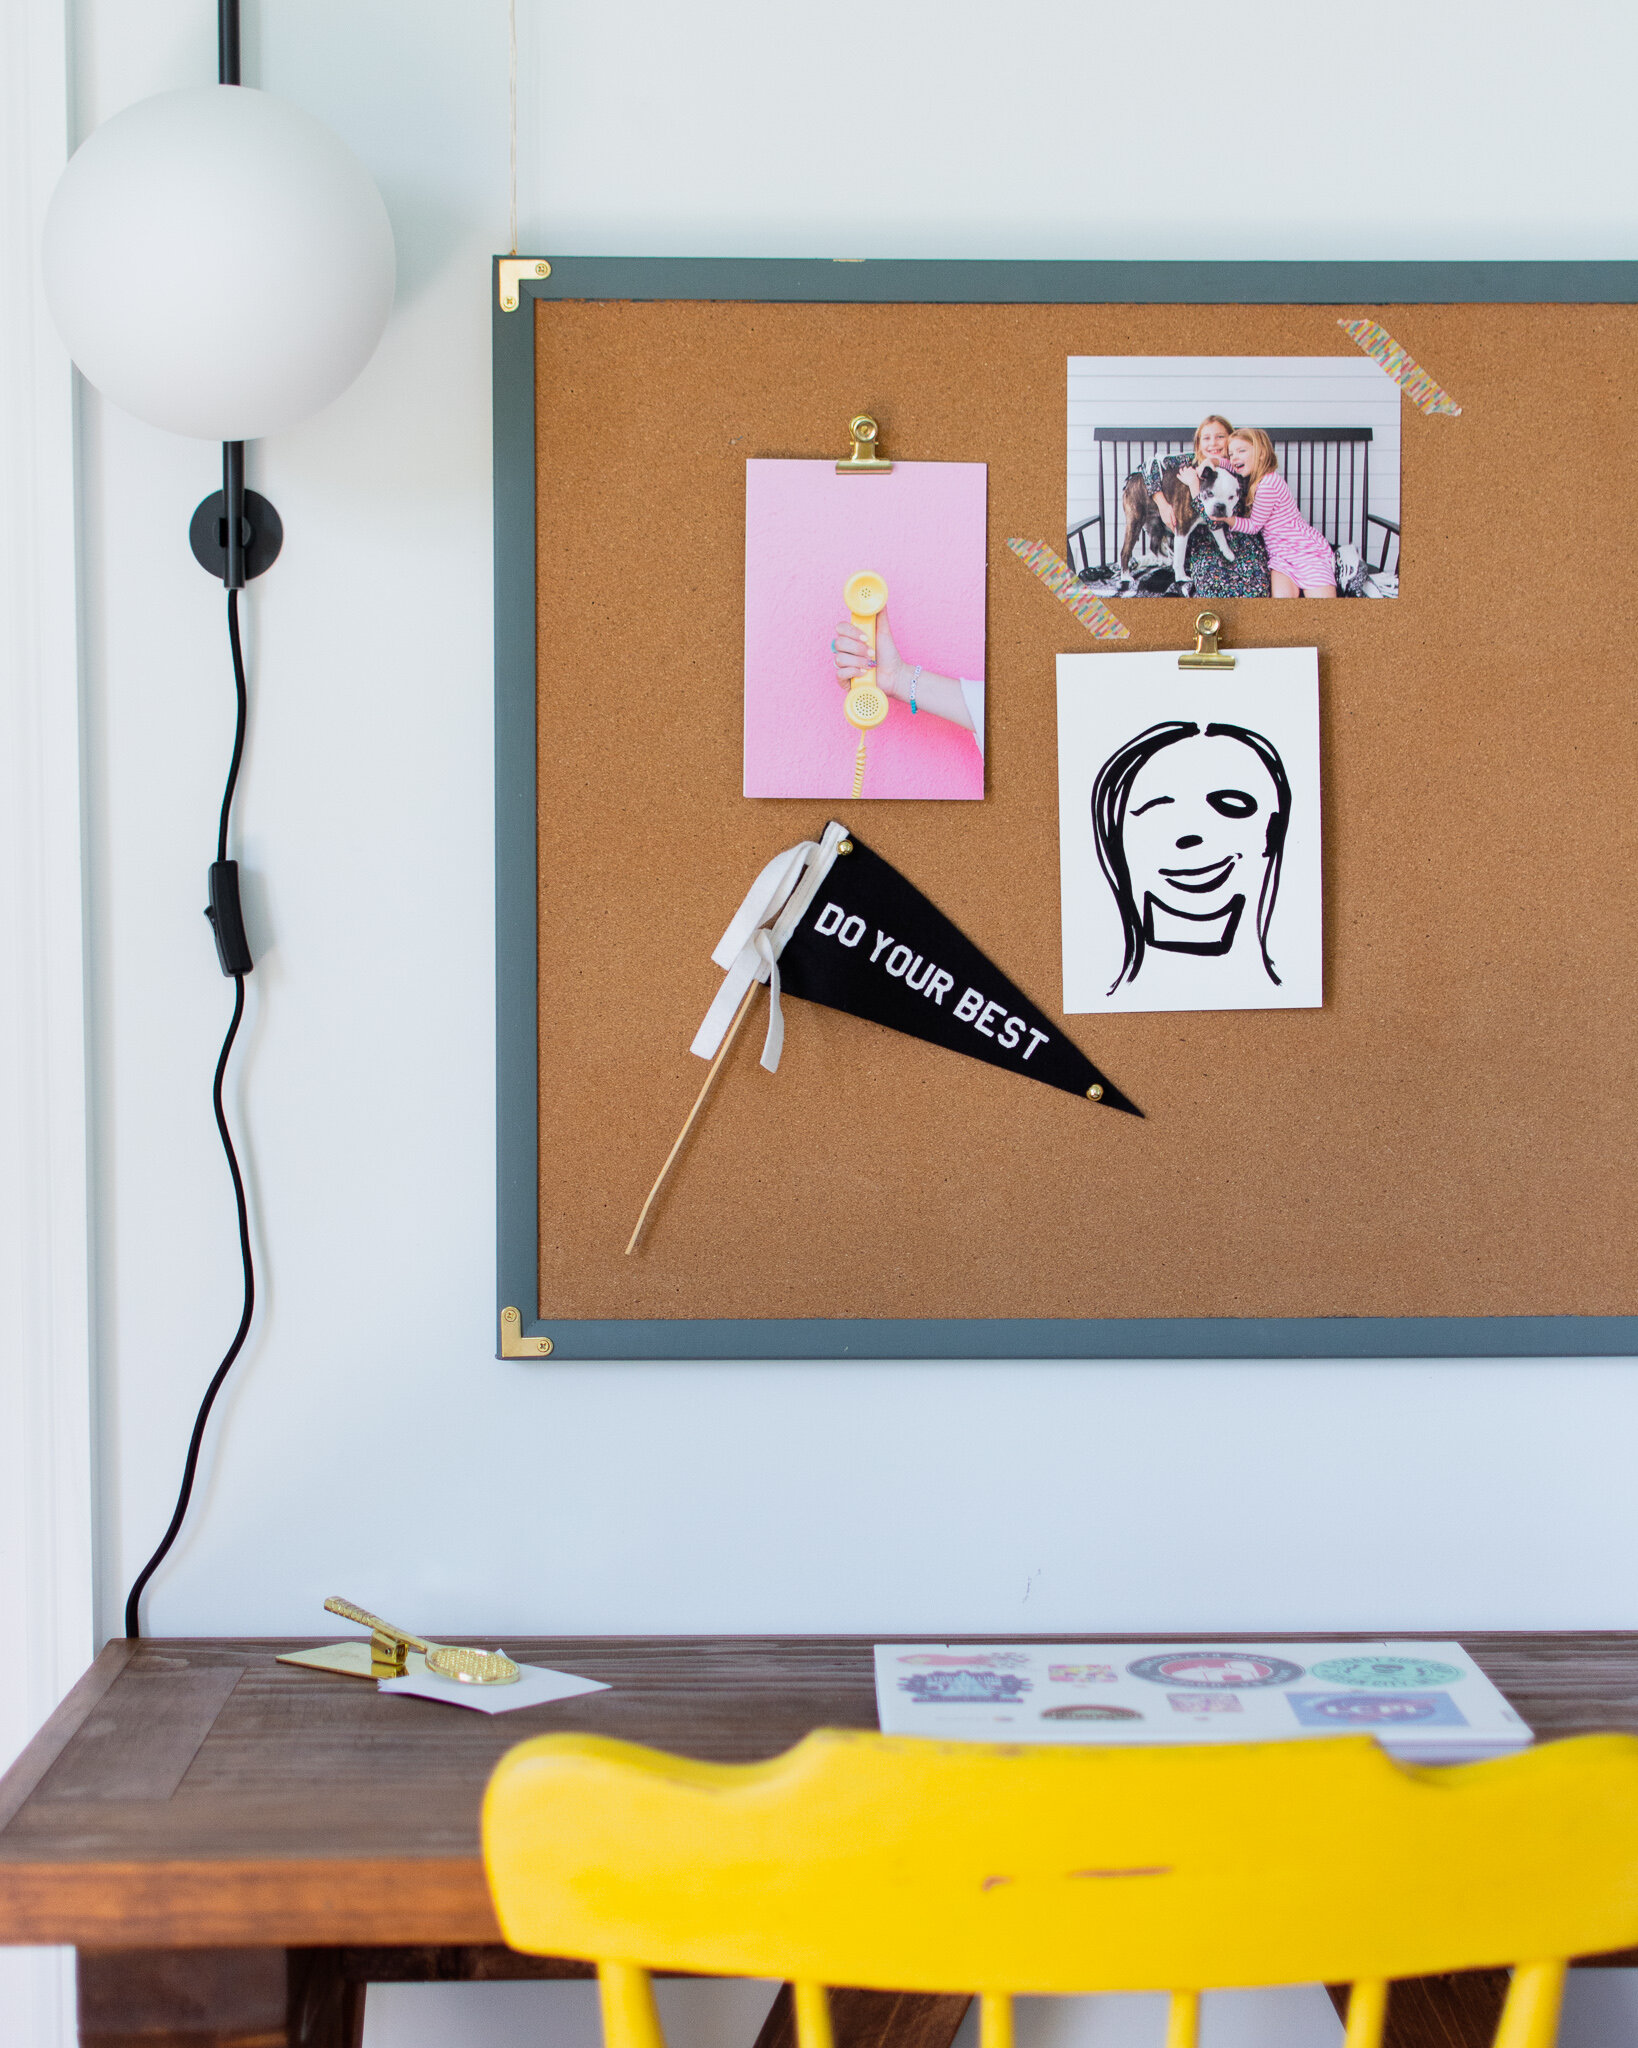
Photo by Lucy Anderson
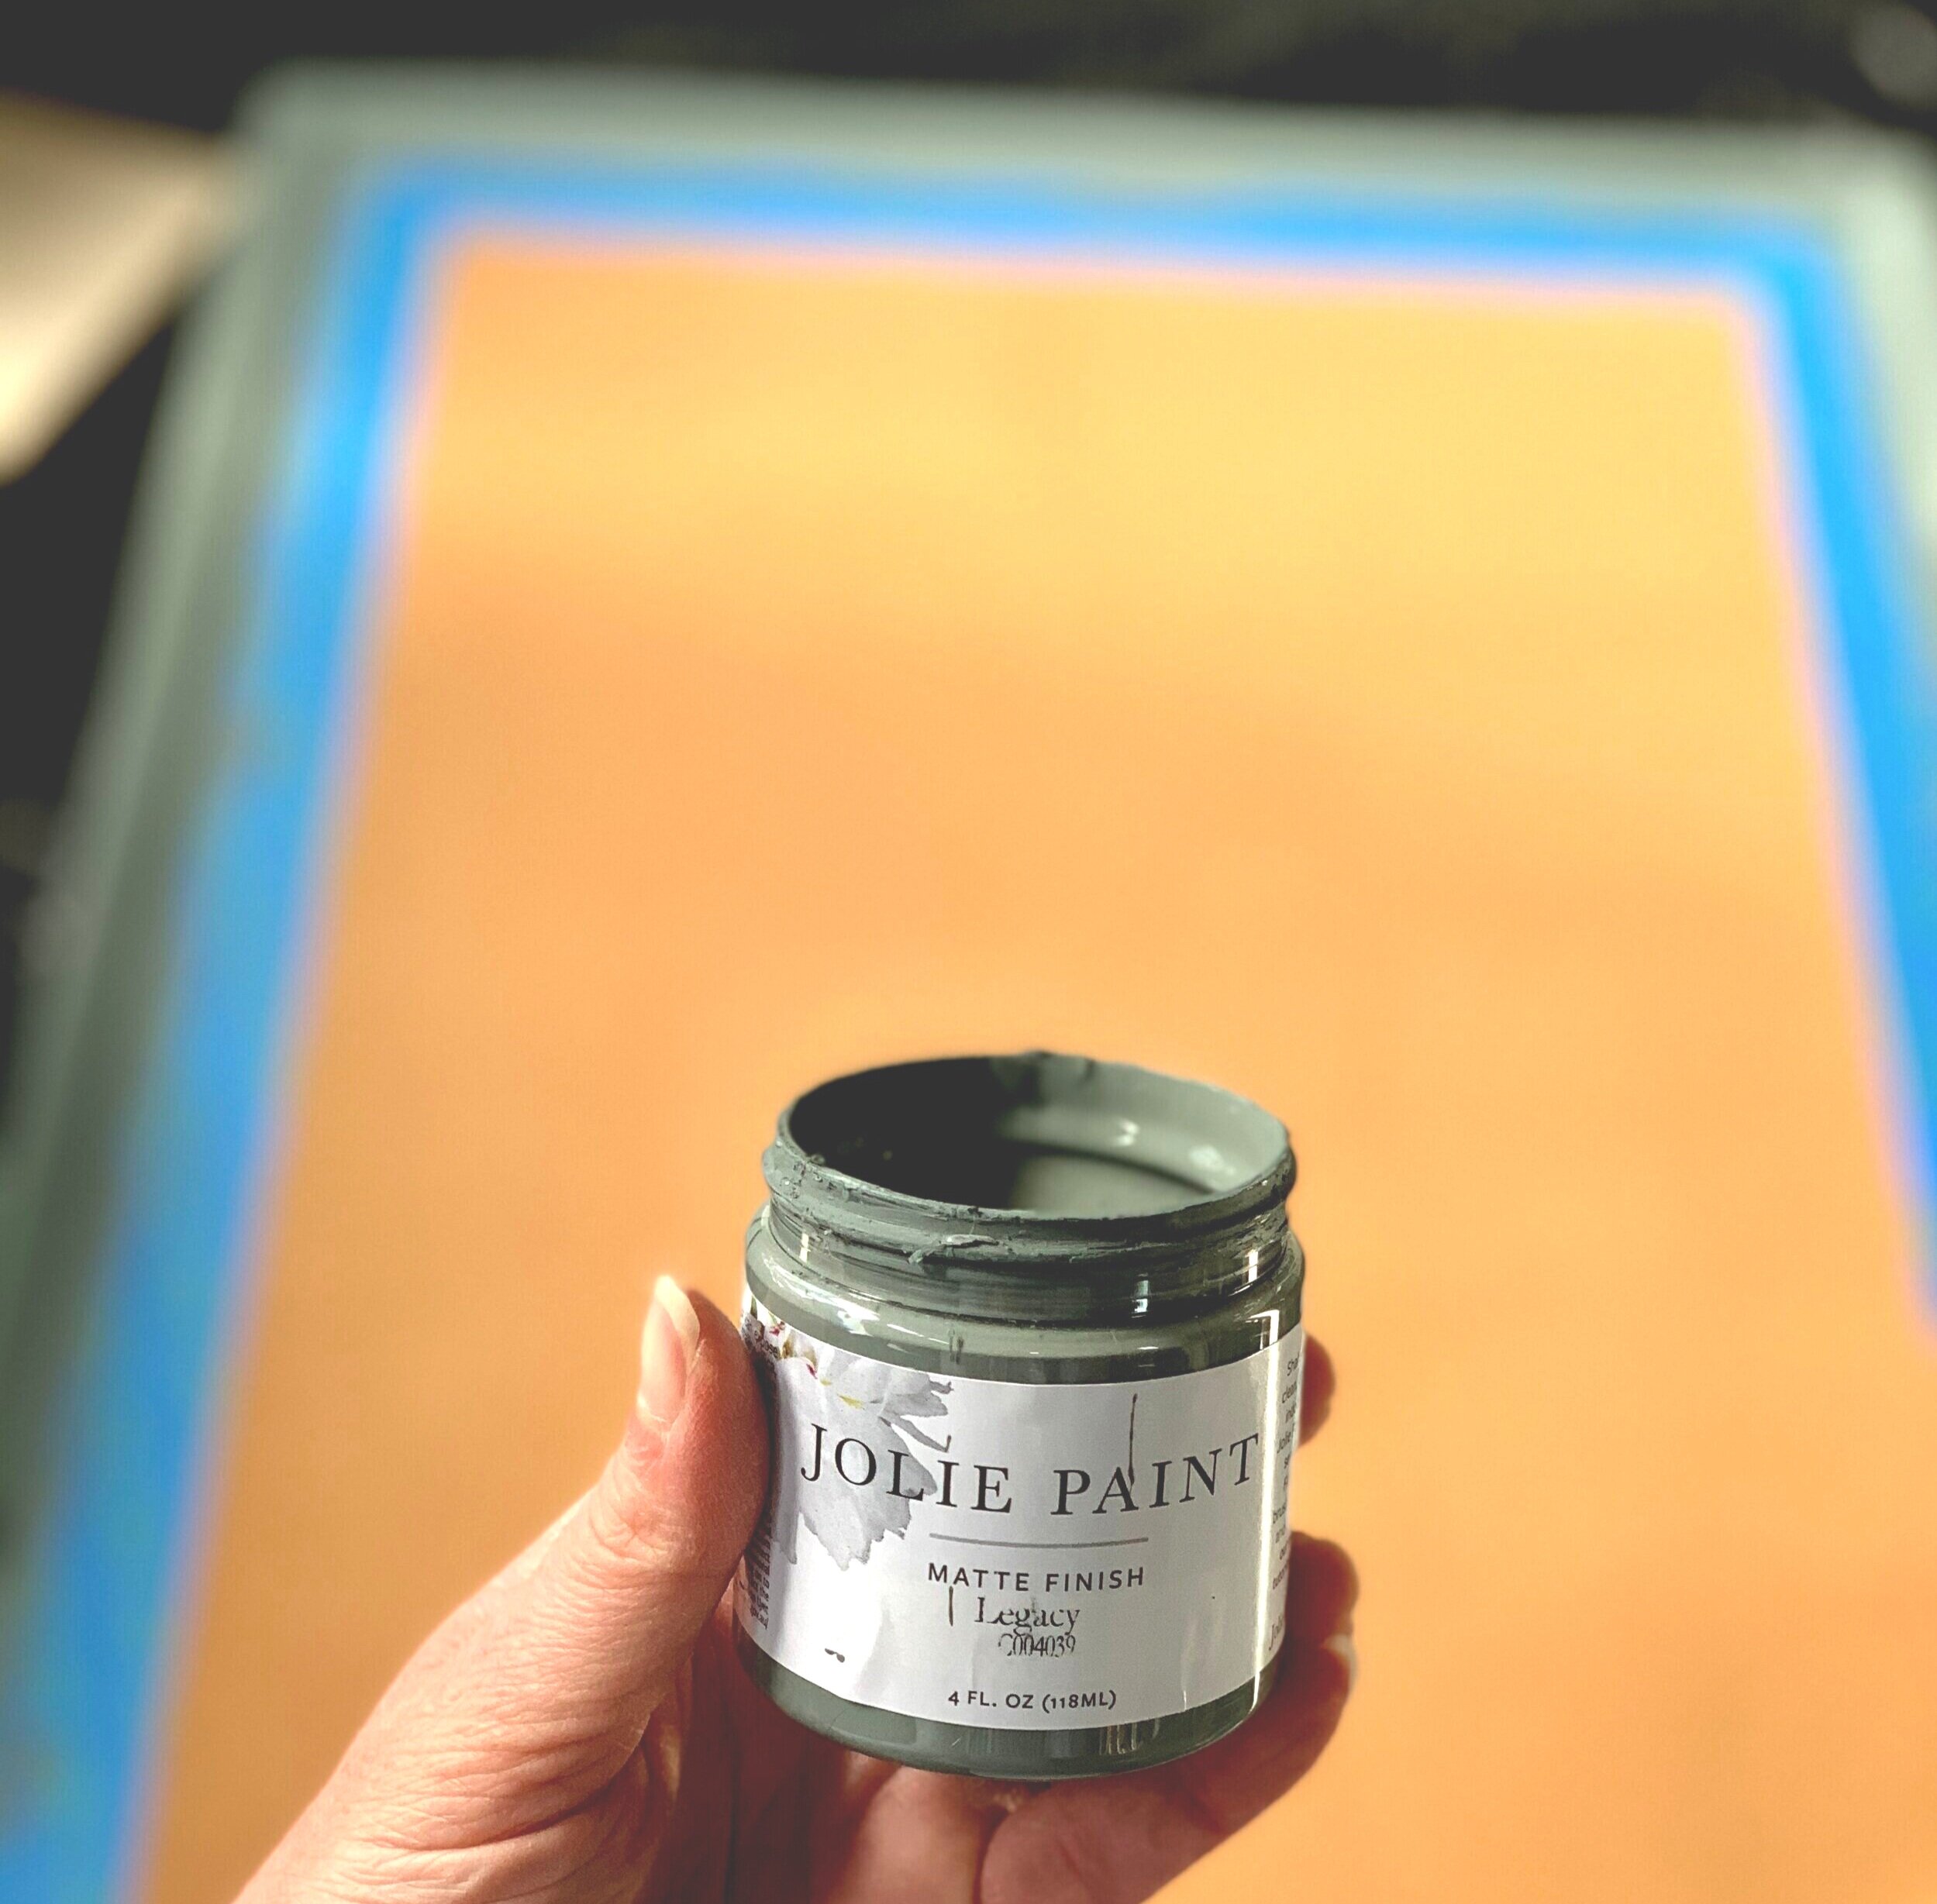
I also decided to add Brass Corner Bracket hardware to the cork board we painted earlier in the project with Jolie Paint in Legacy (gifted by Stylish Patina). This was an easy way to add some zhush to a boring cork board.

Corner Bracket Hardware - click photo for source link.

Photo by Lucy Anderson
Finally, I’d like to report that the picture rail molding is just as functional as it is pretty. The hooks and copper wire are doing a great job of holding even a heavy printers tray.
Phew…this ended up being a long post but we did accomplish a lot during the final week of this project. But really, the most important part of the reveal is that our little client is just thrilled with her refreshed room! For the next month, you can find me curled up in the corner coming to terms with her turning 10 at the end of December.
Photo by Lucy Anderson

Finally, I am extremely grateful to Linda and the whole ORC Team for organizing another fun season of the One Room Challenge! What a great way to keep us accountable to finishing a home project while providing encouragement along the way. Click on the logo above to get a dose of serious inspiration from all the other Guest Participant reveal posts.

DISCLOSURE: Some Of The Links Above Are Affiliate Links, Meaning, At No Additional Cost To You, I Will Earn A Commission If You Click Through And Make A Purchase.