
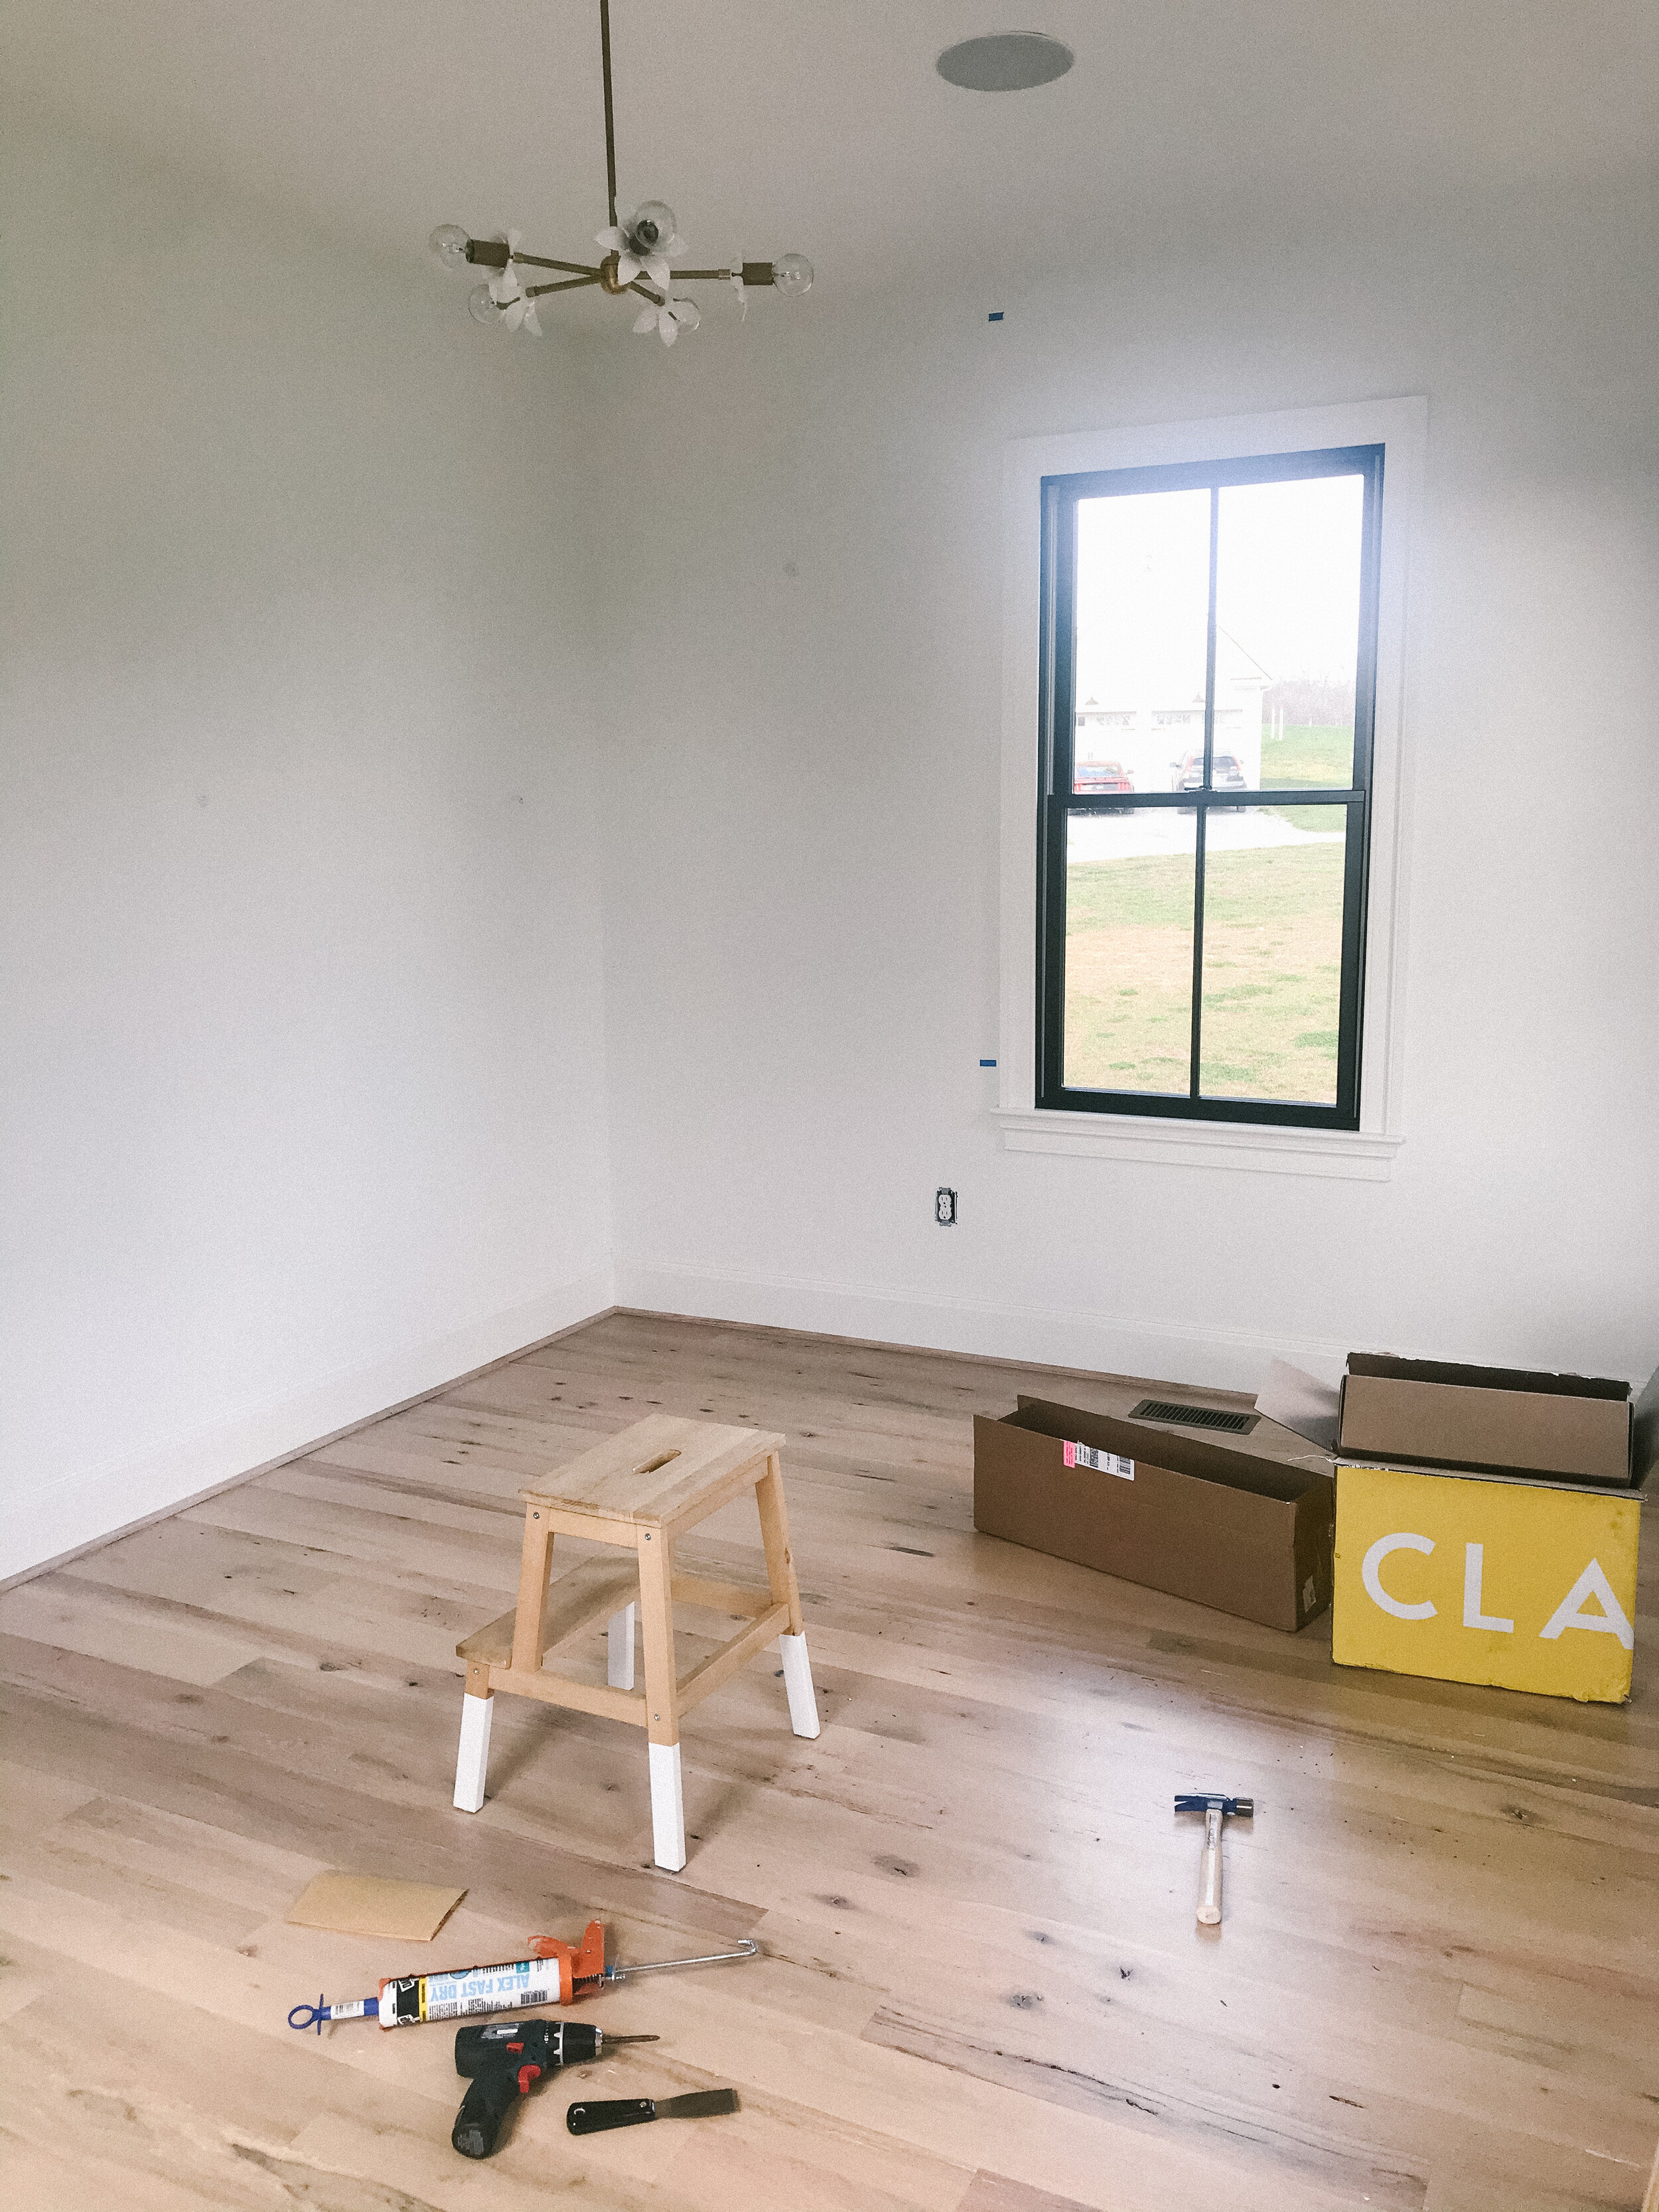
Let’s recap Week 1, shall we? Back in 2018, my family and I bought a small piece of land and started building, what is today, our little dream home in Northern Virginia. After spending over a year immersed in design decisions and project plans, I decided to share our home with the hope that you will find some practical inspiration for your own dream home.
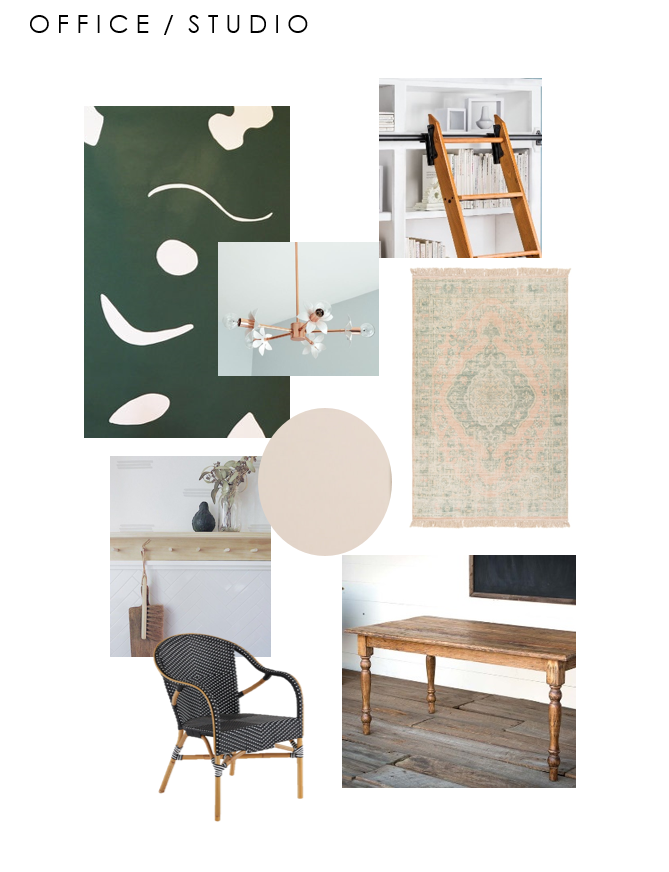
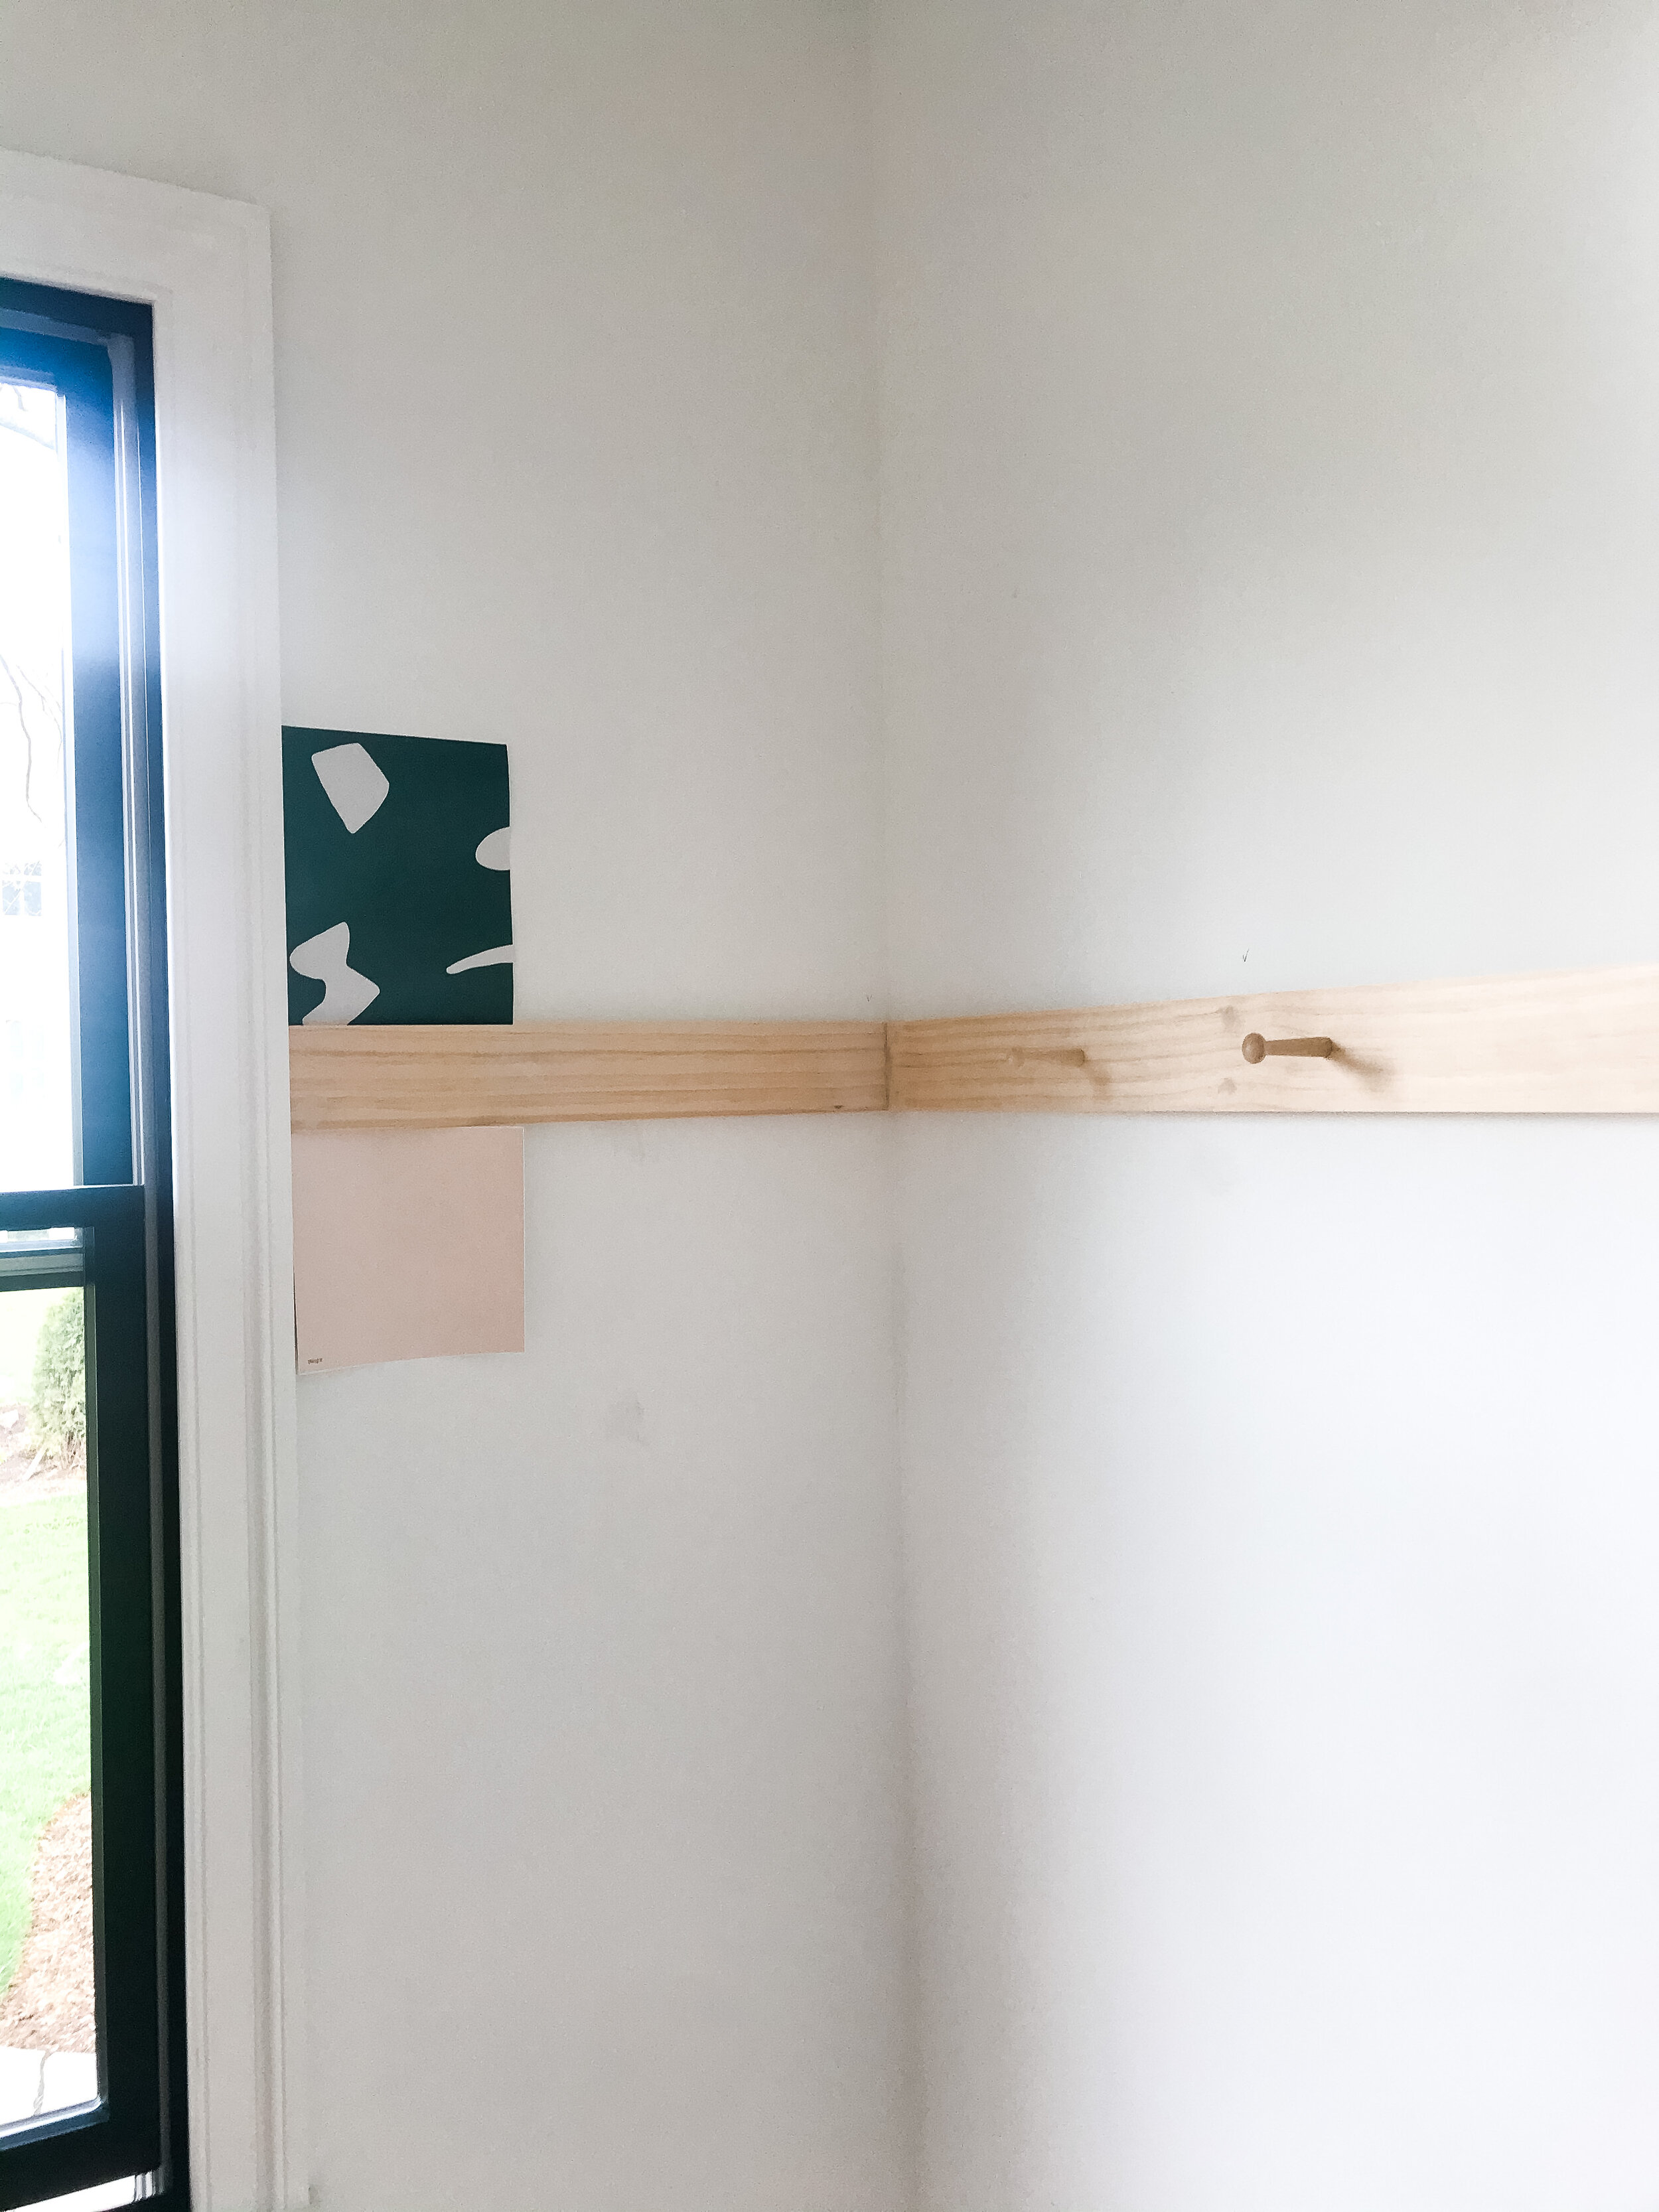
For the Spring 2020 ORC, I’m a first-timer, I am renovating and refreshing my office/studio space in our home. My mood board is bold and feminine including pale pink paint and dark inky green wallpaper. Last week we installed decorative trim, picture ledges, and peg hooks to three of the office walls (the other wall will be filled with built-in cabinetry).

Click on logo to checkout other guest posts!
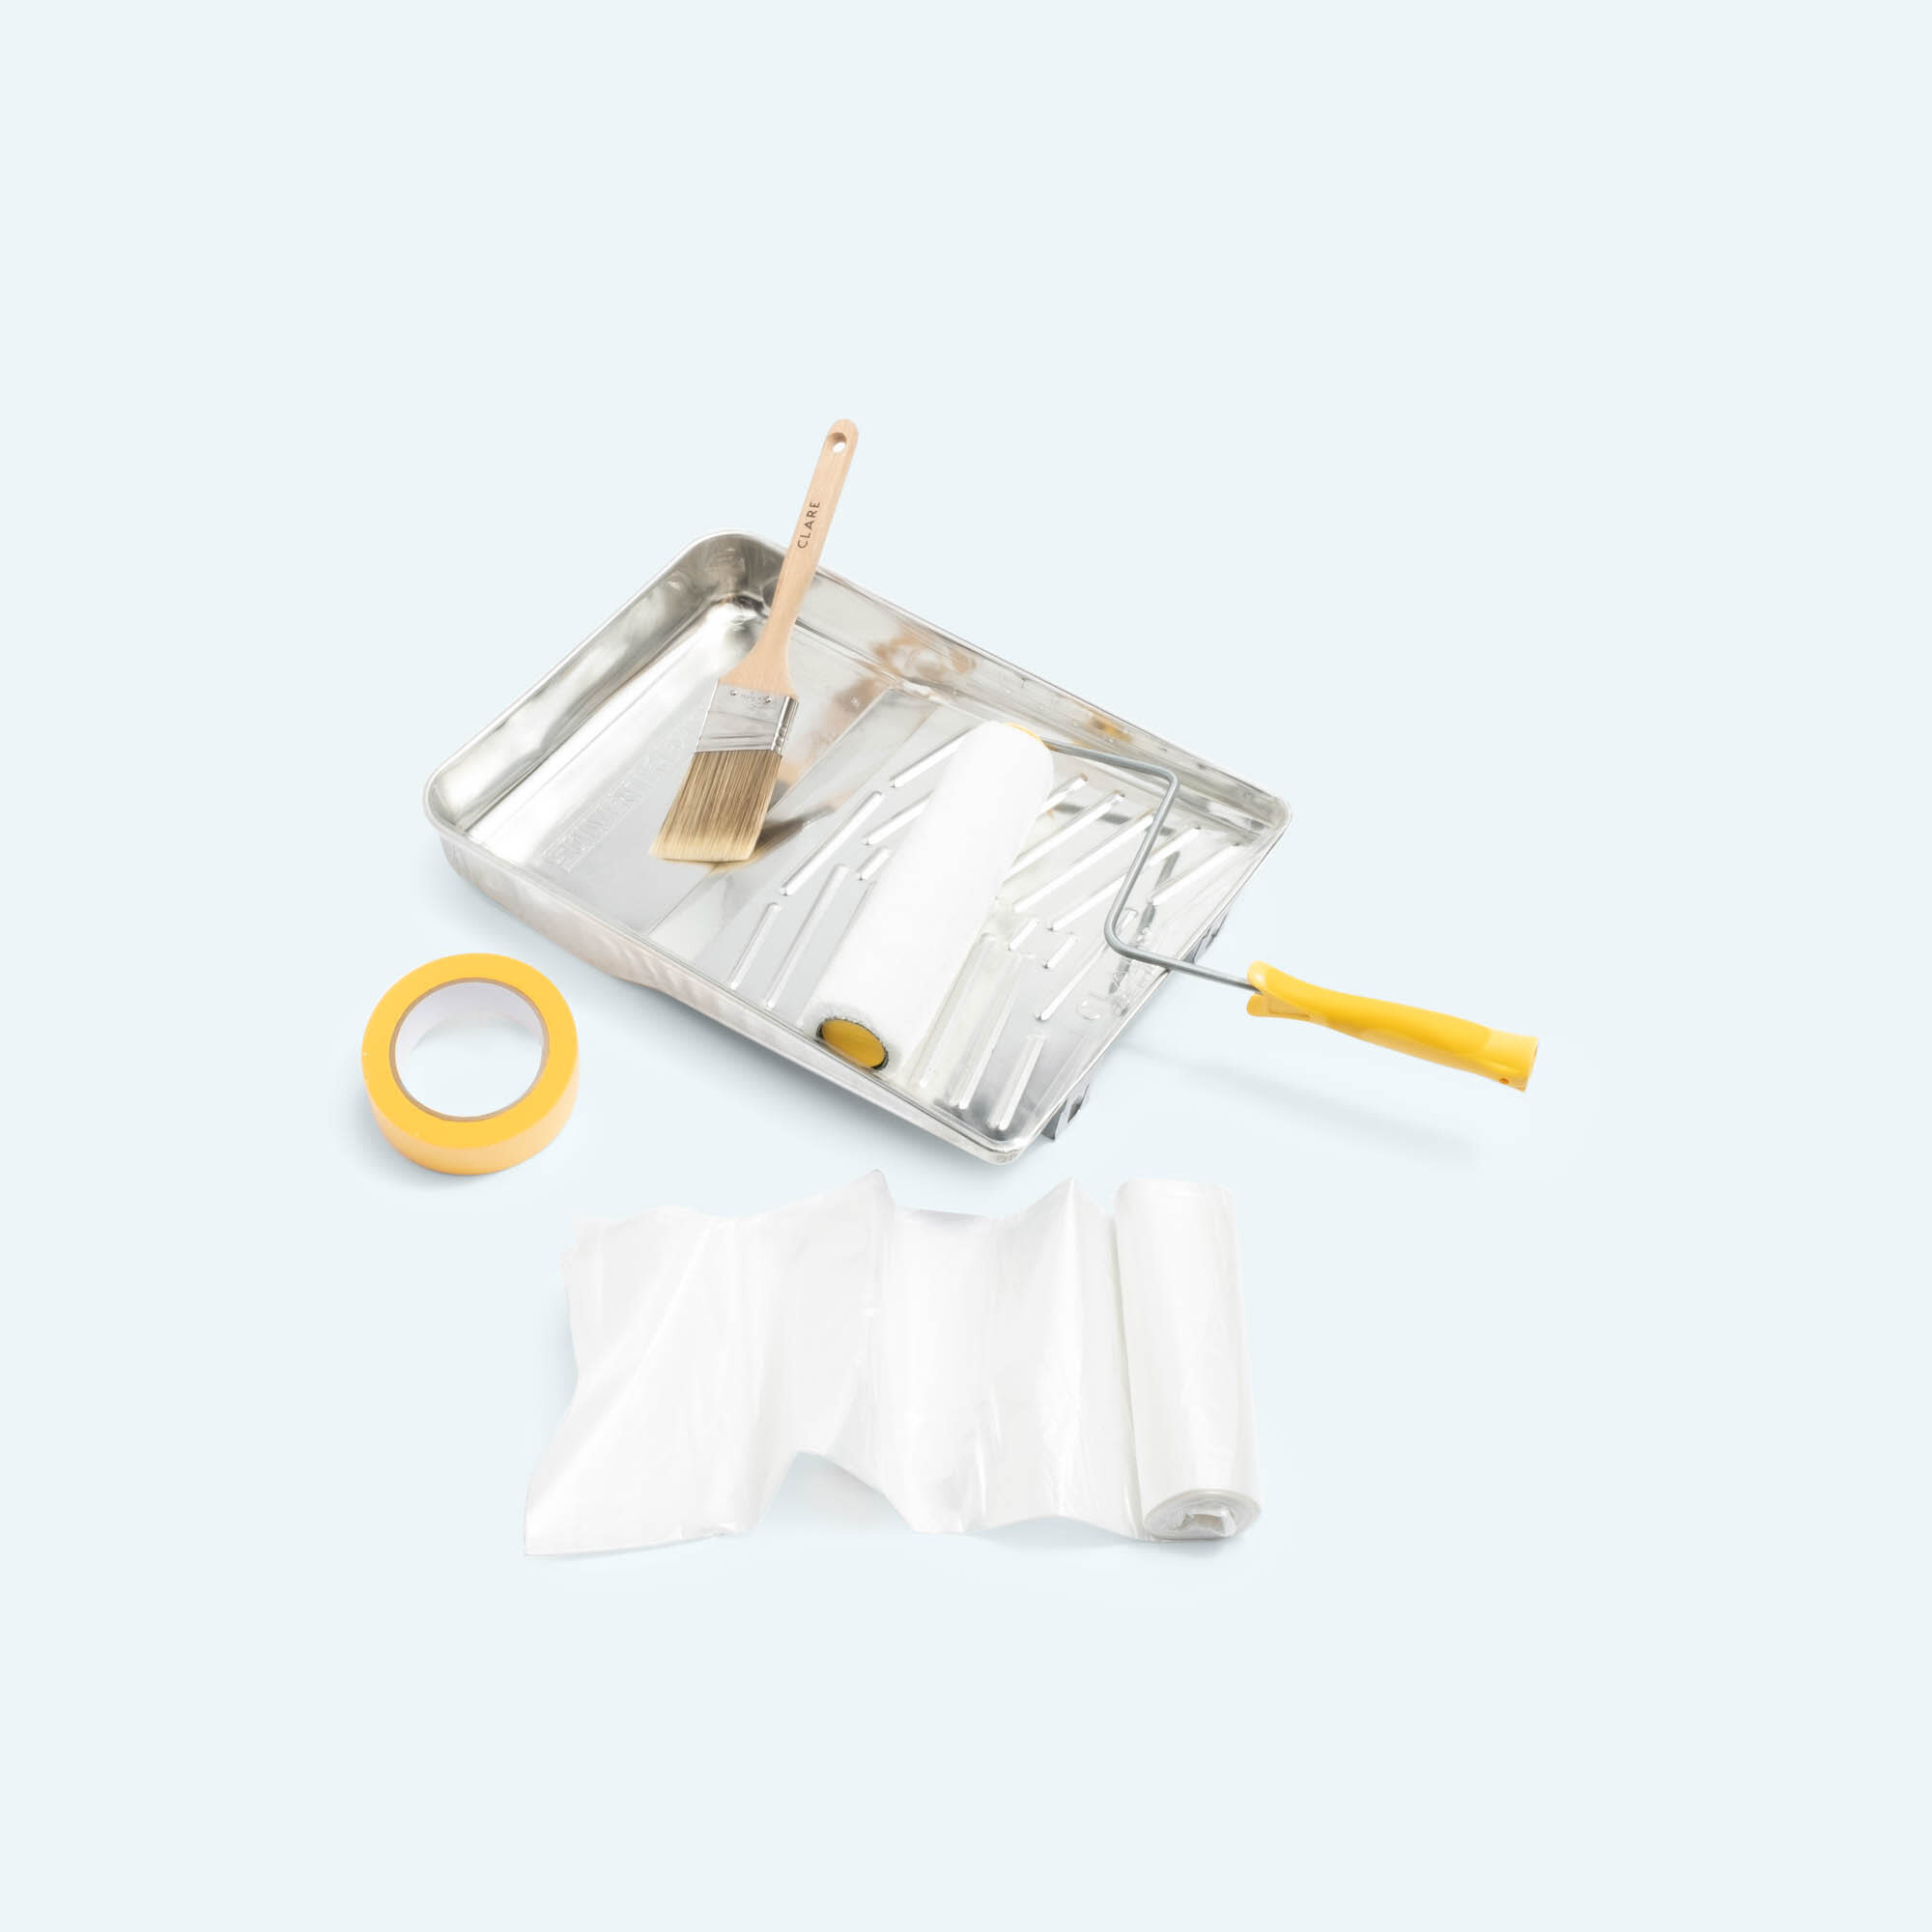
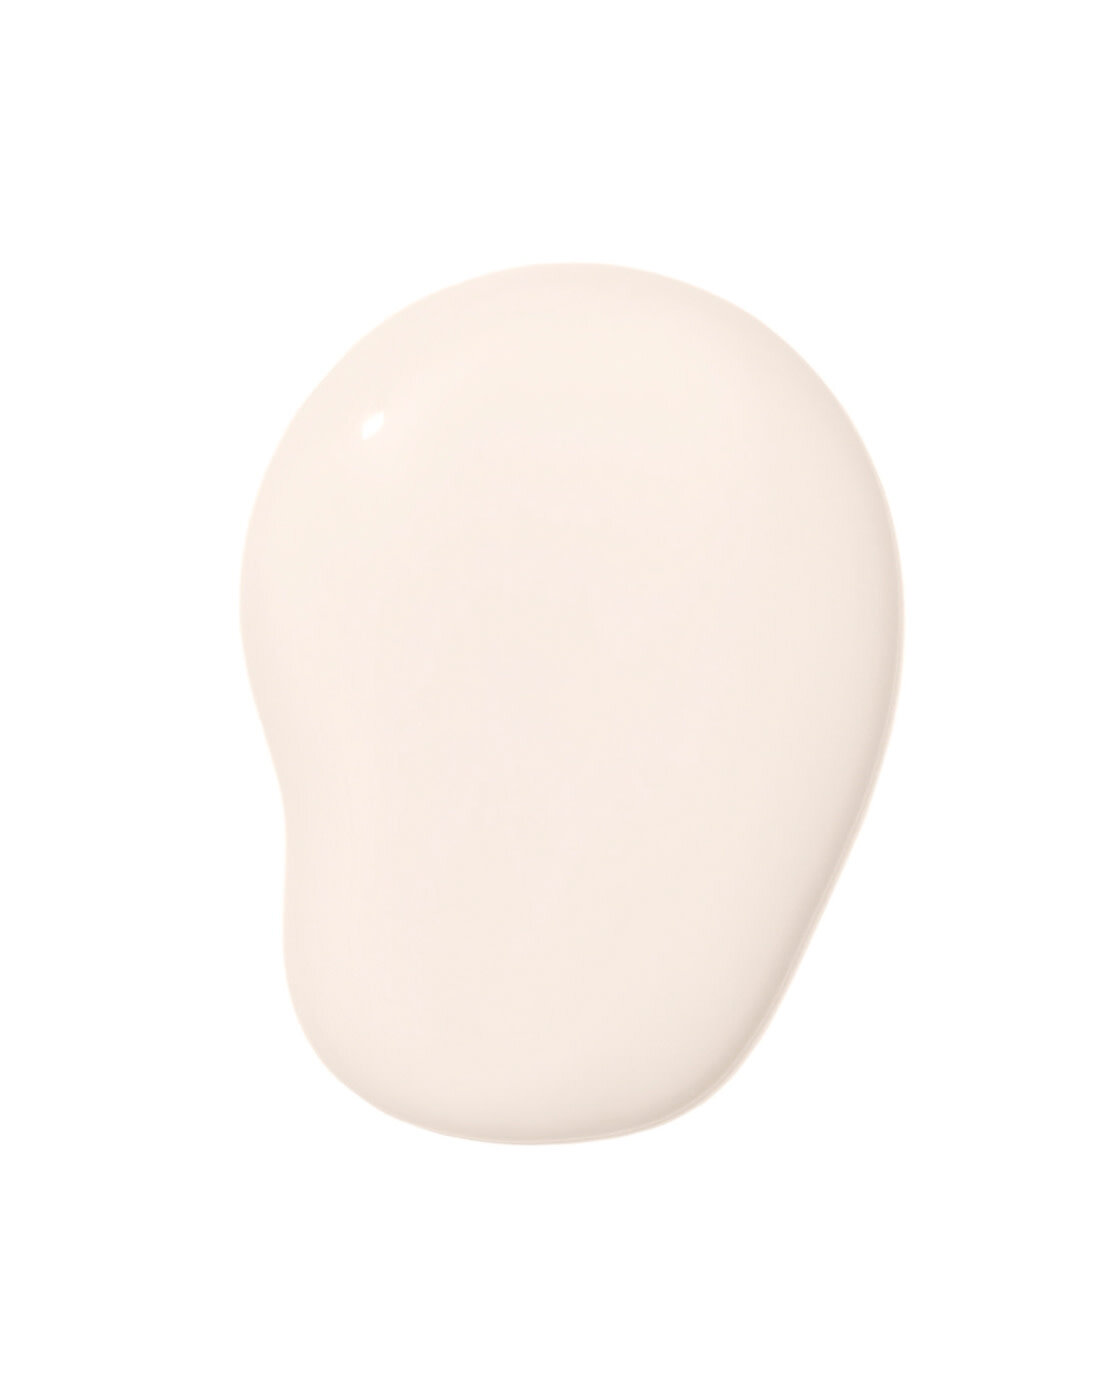
Week 2 of the One Room Challenge is complete and I must say, I feel very accomplished. This week was all about paint and I got to crack open that big yellow Clare Paint box and get to work. I have used Clare paint products before in our home and just love the finish of the wall paint and have used Clare’s trim paint color on planked accent walls on a recently finished bathroom project. Given my positive experience with the brand and the direct to consumer online ordering (very ideal in the time of covid), I decided to use Clare’s Wing It Color, a soft peachy-pink, for my office design.

DISCLOSURE: Some of the links above are affiliate links, meaning, at no additional cost to you, I will earn a commission if you click through and make a purchase.


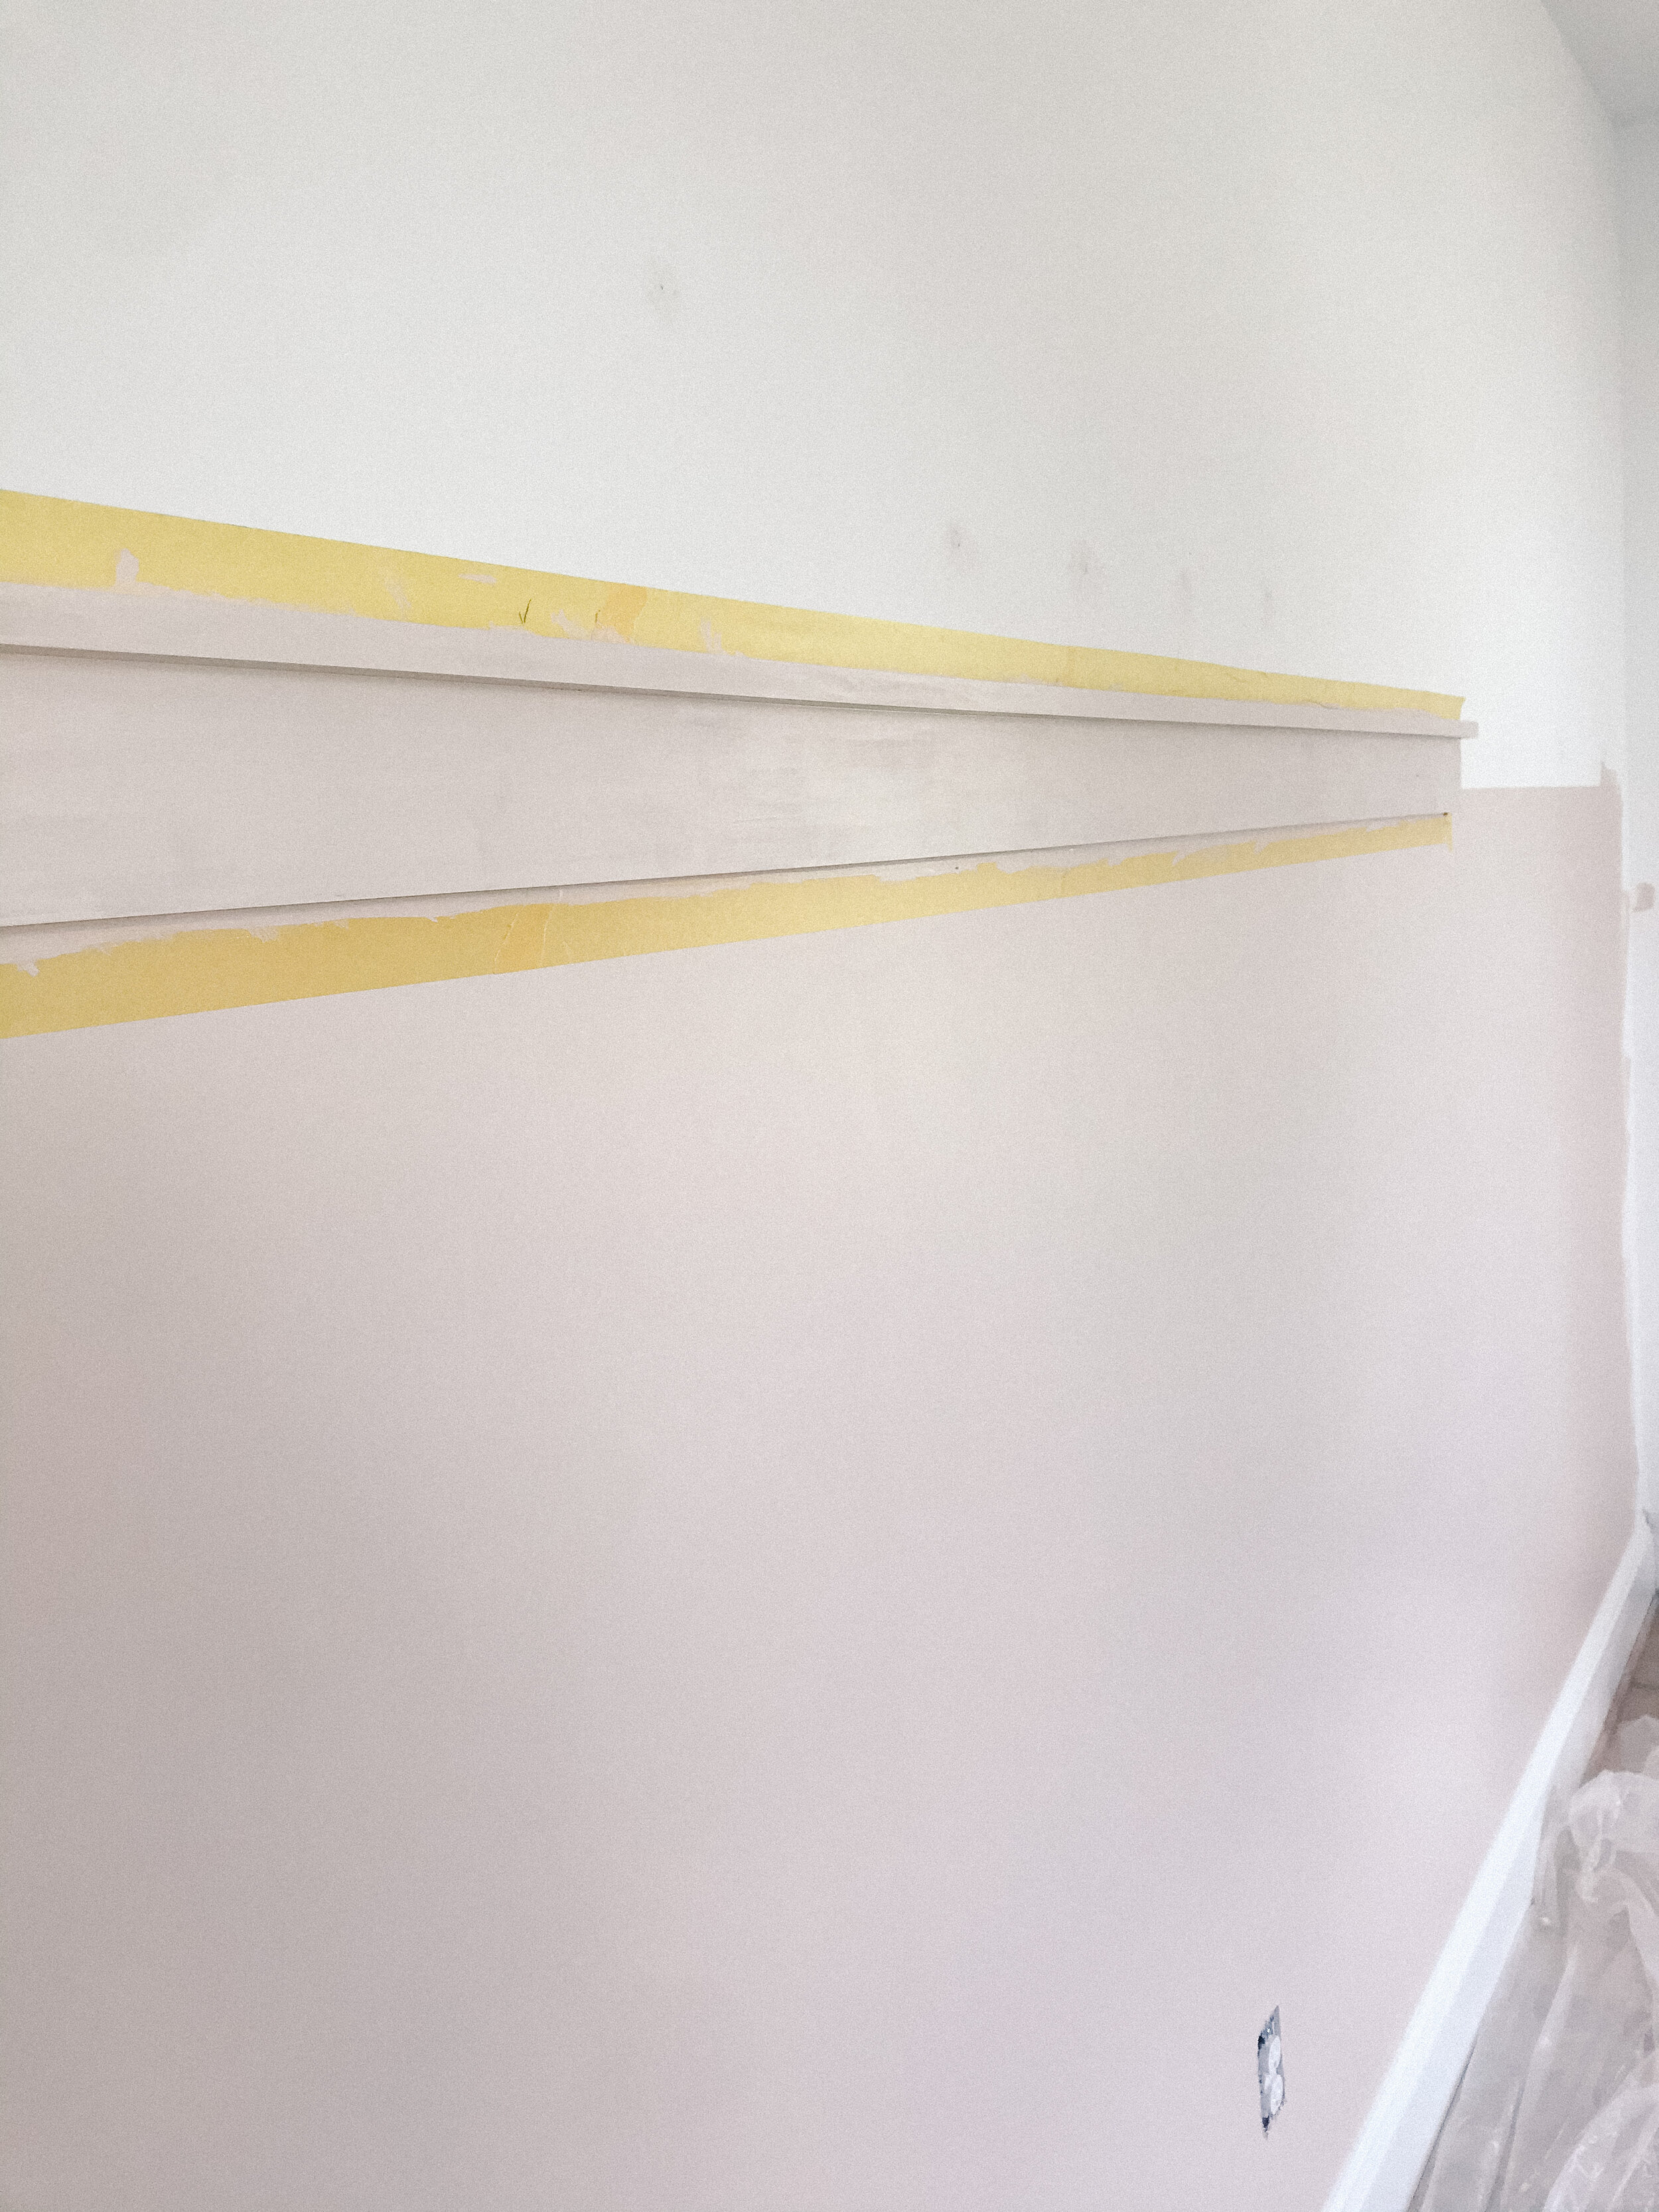
There was some debate about whether to paint the decorative trim and ledges first or walls but we settled on walls and got to work taping , cutting-in and rolling. Because the studio walls were already white, no priming was necessary. It took two coats of paint cover the bottom 5 feet of 3 walls (the ceiling is 9 feet high in the office) and there is about 1/2 of the can of paint leftover which we will use as a primer prior to the trim paint on the built-in cabinetry.
Lots of tape, overgrown cut, and a sunburned neck
Two coats vs. One Coat comparison
Glowing up over here
With the walls covered in the softest pink glow, I moved on to painting the decorative trim, peg wall, and photo ledge. I was so close to having the whole room taped using just one roll of tape, but ended up needing to grab a roll of blue tape (so not on-brand) to finish taping the photo ledge. After one coat of trim paint, I used a fine grit finishing sand paper to sand down the brush marks and I am happy the hubs suggested this step because the second coat went on so smooth, with the perfect faint gloss finish.

I was soooo close!

See that out of place blue painter’s tape?!
One coat on the trim…prior to a light sand.
I ended up adding a third coat on top of each peg on the peg trim because the raw wood just sucked up the paint…and then I basked in the pink glow!

Just over here thinking of all the things to hang on the pegs….and being stalked by the dog.
I had planned for week 3 to be wallpaper week but our built-in cabinet components are arriving Friday (earlier than expected!) so we might tackle the painting of those units this weekend…stay tuned to see what week 3 actually brings.