The addition of a beautiful new wallpaper to the walls of our living room kicked off some other updates and now the room feels layered, cozy and dare I categorize it as…Swedish cottage-esque?! Maybe more English cottage but I am in love with the work of the Swedish artist and wallpaper designer, Hanna Wendelbo, so let’s roll with it. Read on for all the details - the whole room is the sum of each layered part.
WALLPAPER - Pomona Green Fruit Tree Wallpaper from Brewster
Thank you to Brewster Home Fashions for gifting me this beautiful wallpaper. Brewster carries a variety of lines ranging from budget-friendly to luxury designer and their customer service is great - samples are available through their website and this particular wallpaper design is available in 4 different colorways (I had all 4 sample options taped to my LR wall for about a week before deciding on the GREEN).
As for install, this wallpaper required paste application so we hired a professional for the installation (worth every penny!).

Photo by: Alicia Bruce
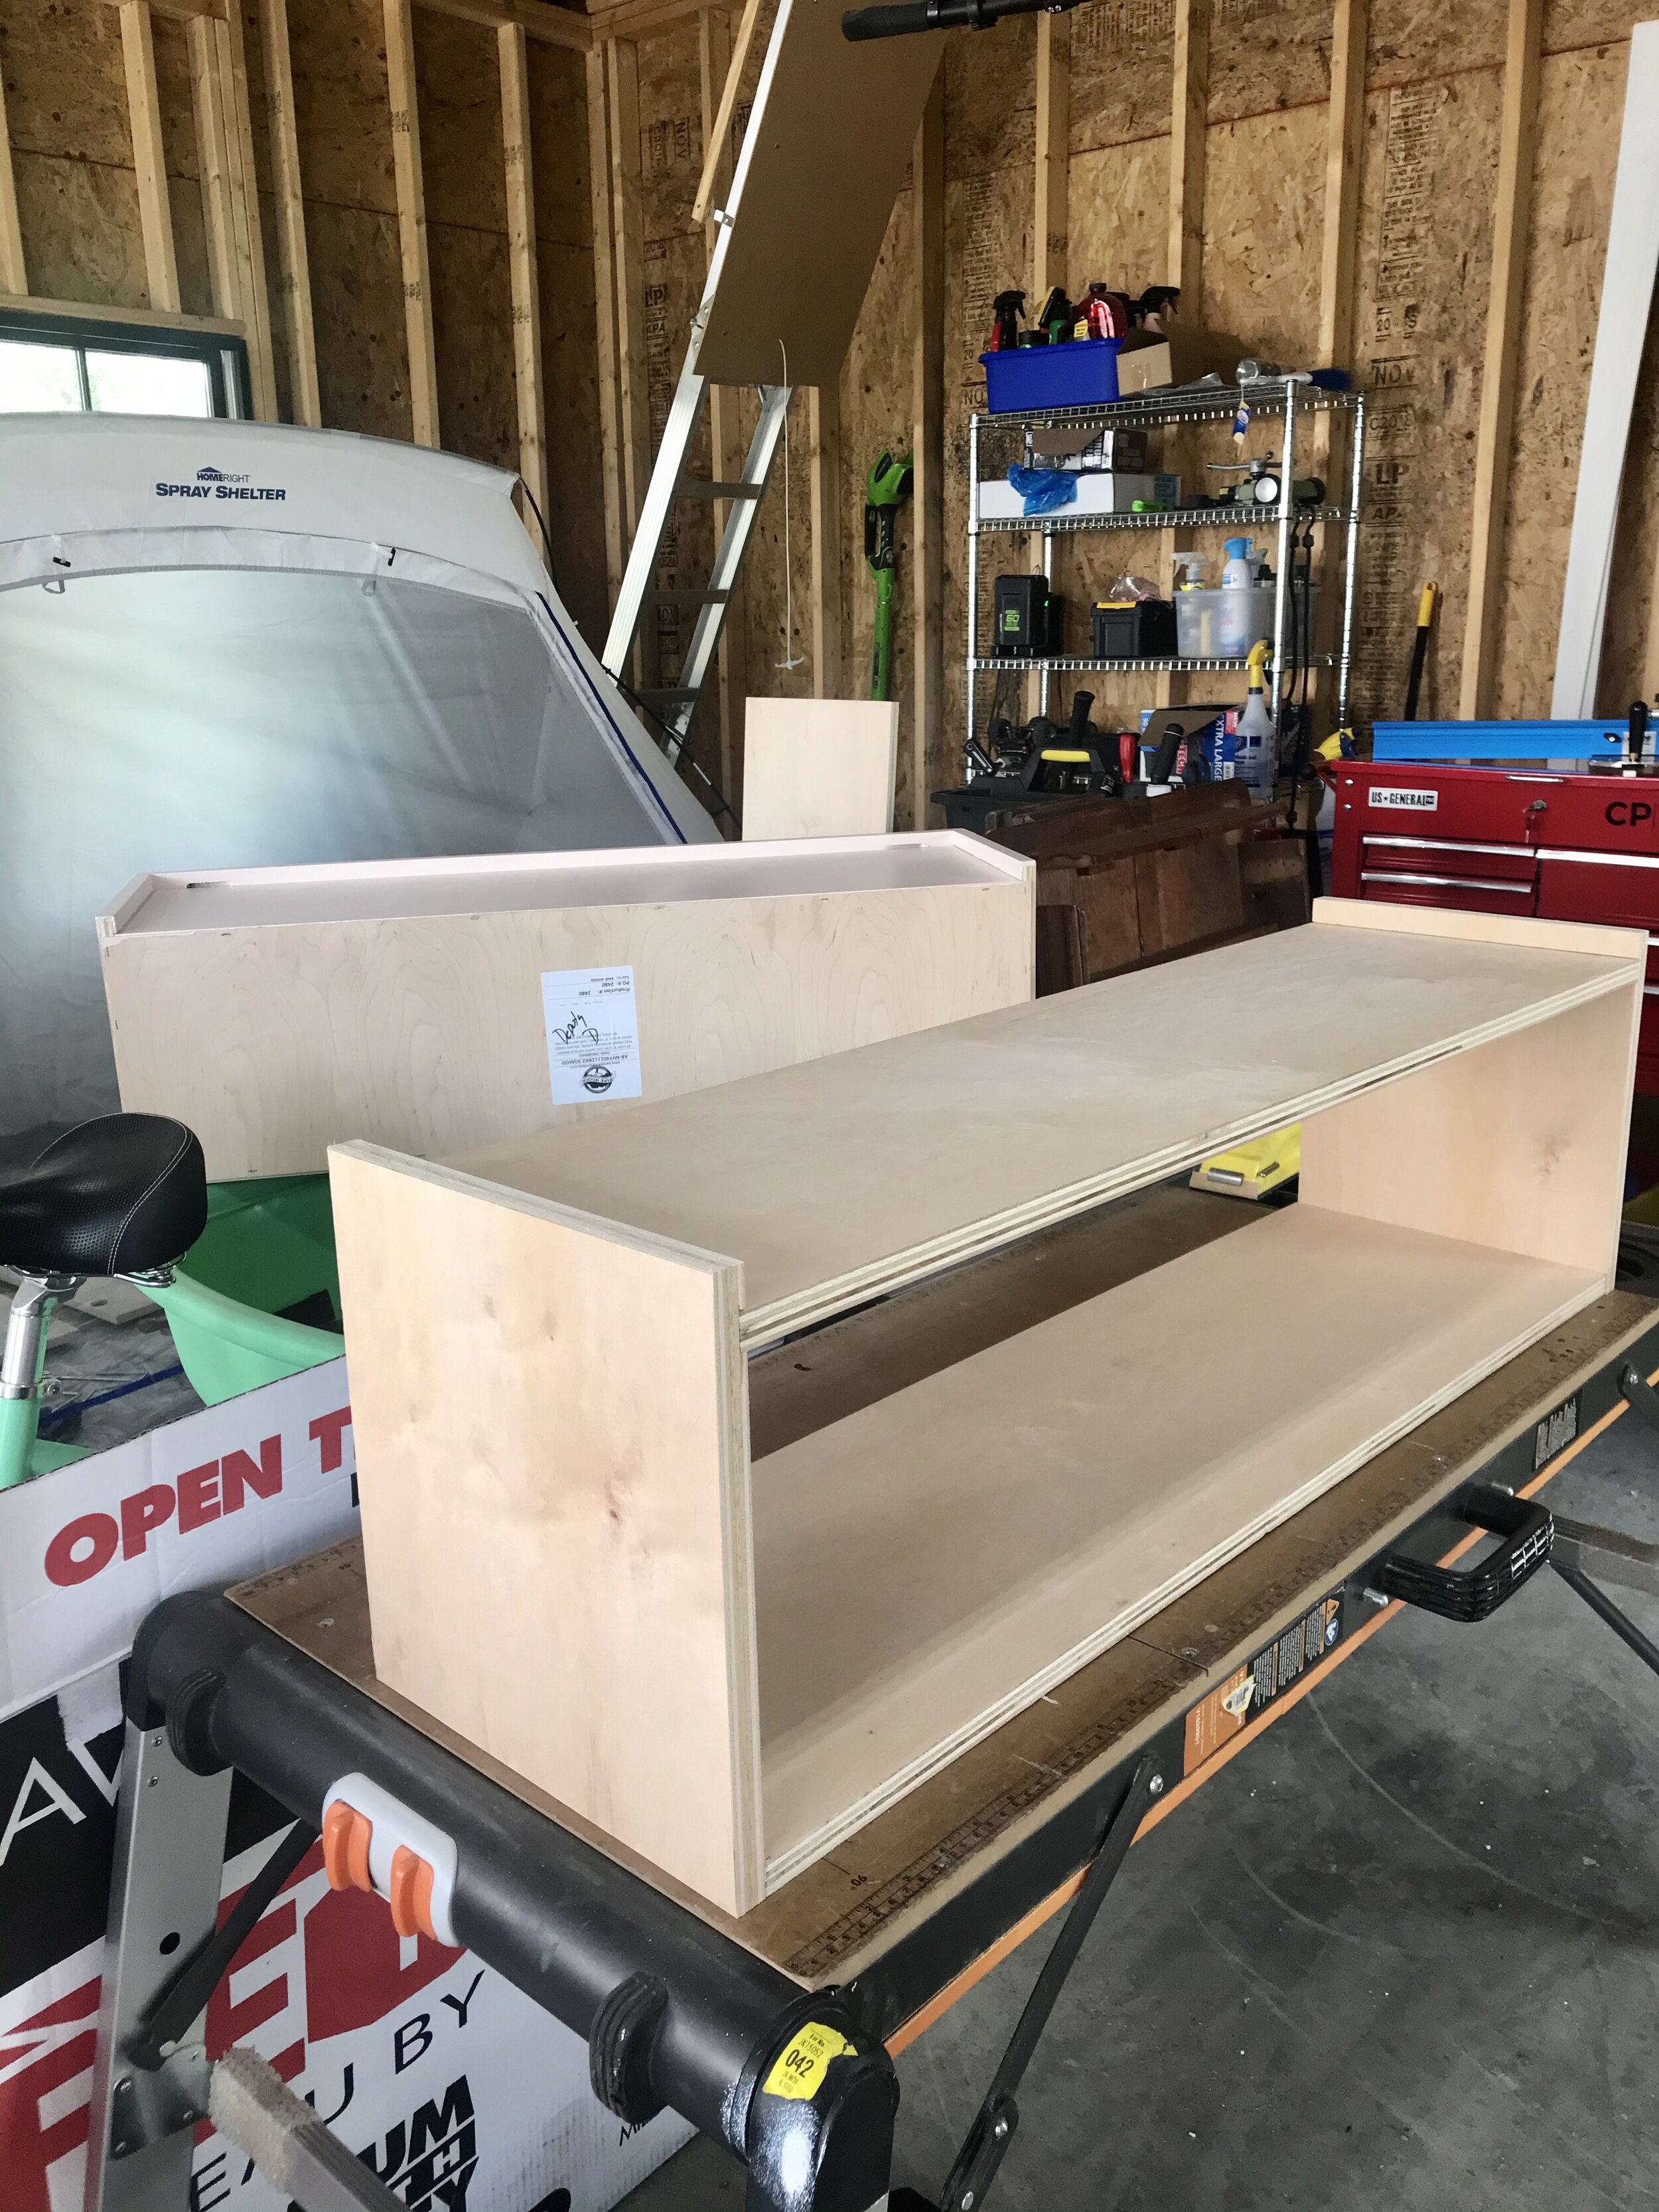
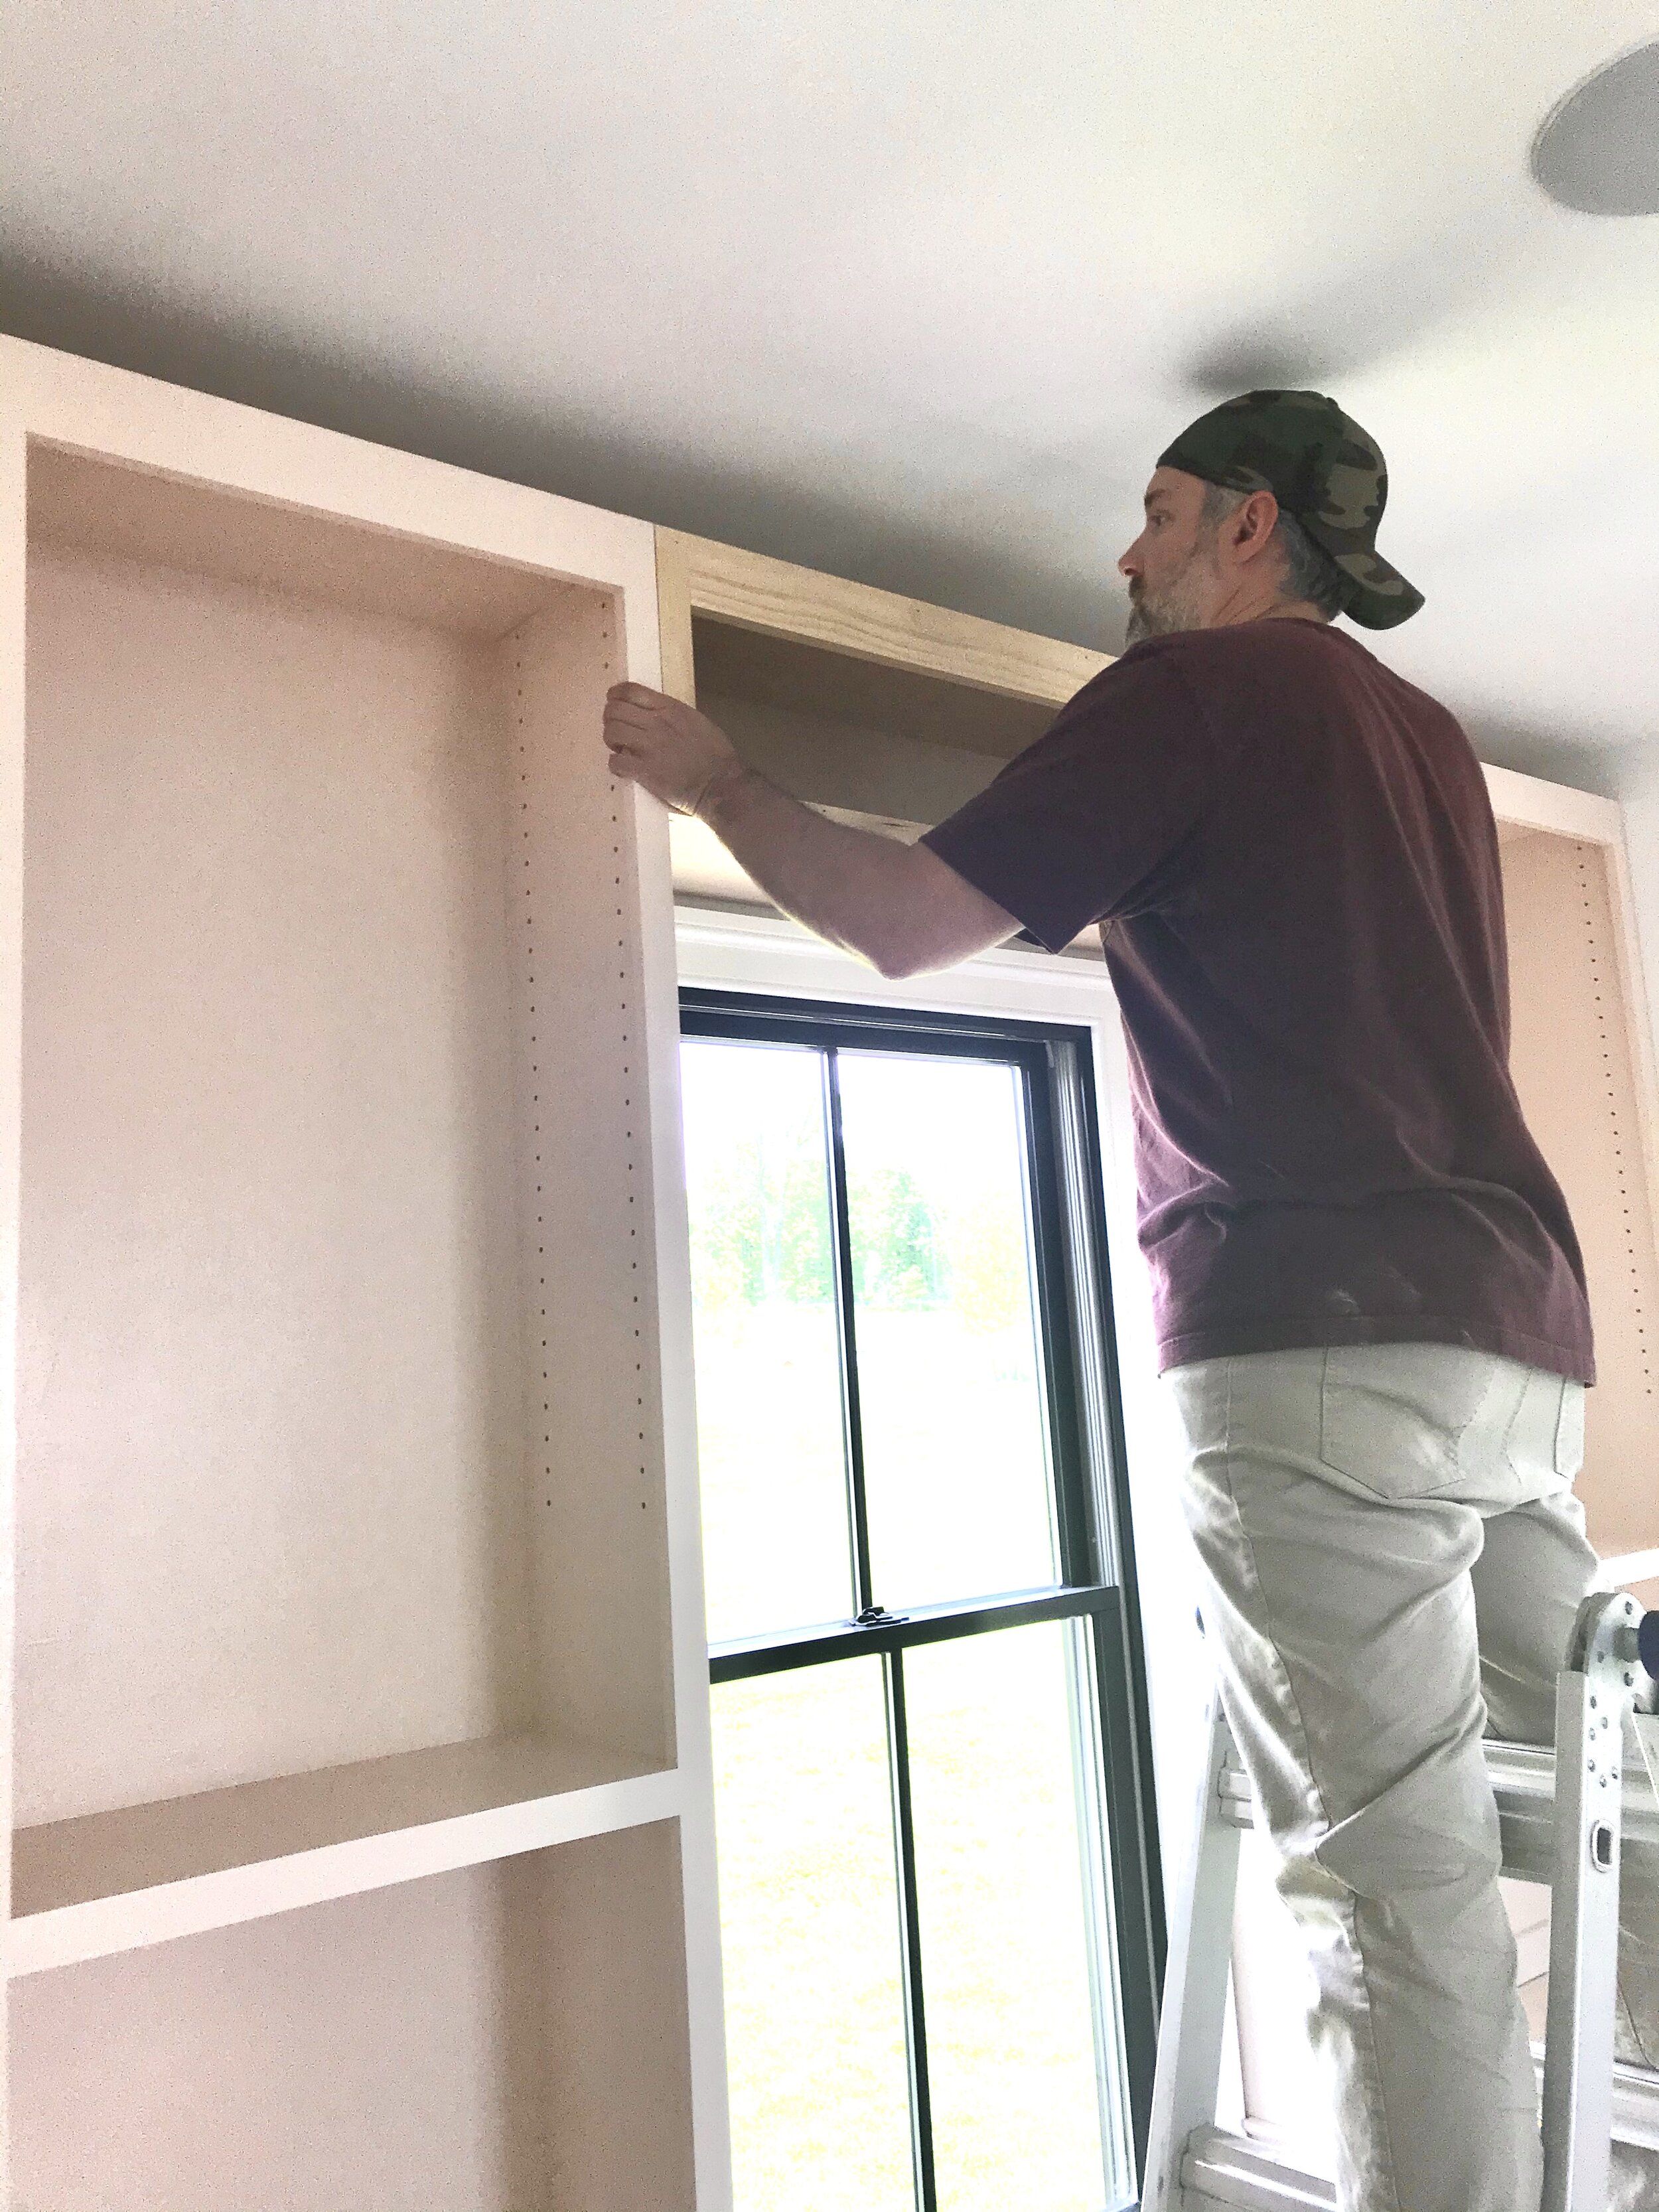
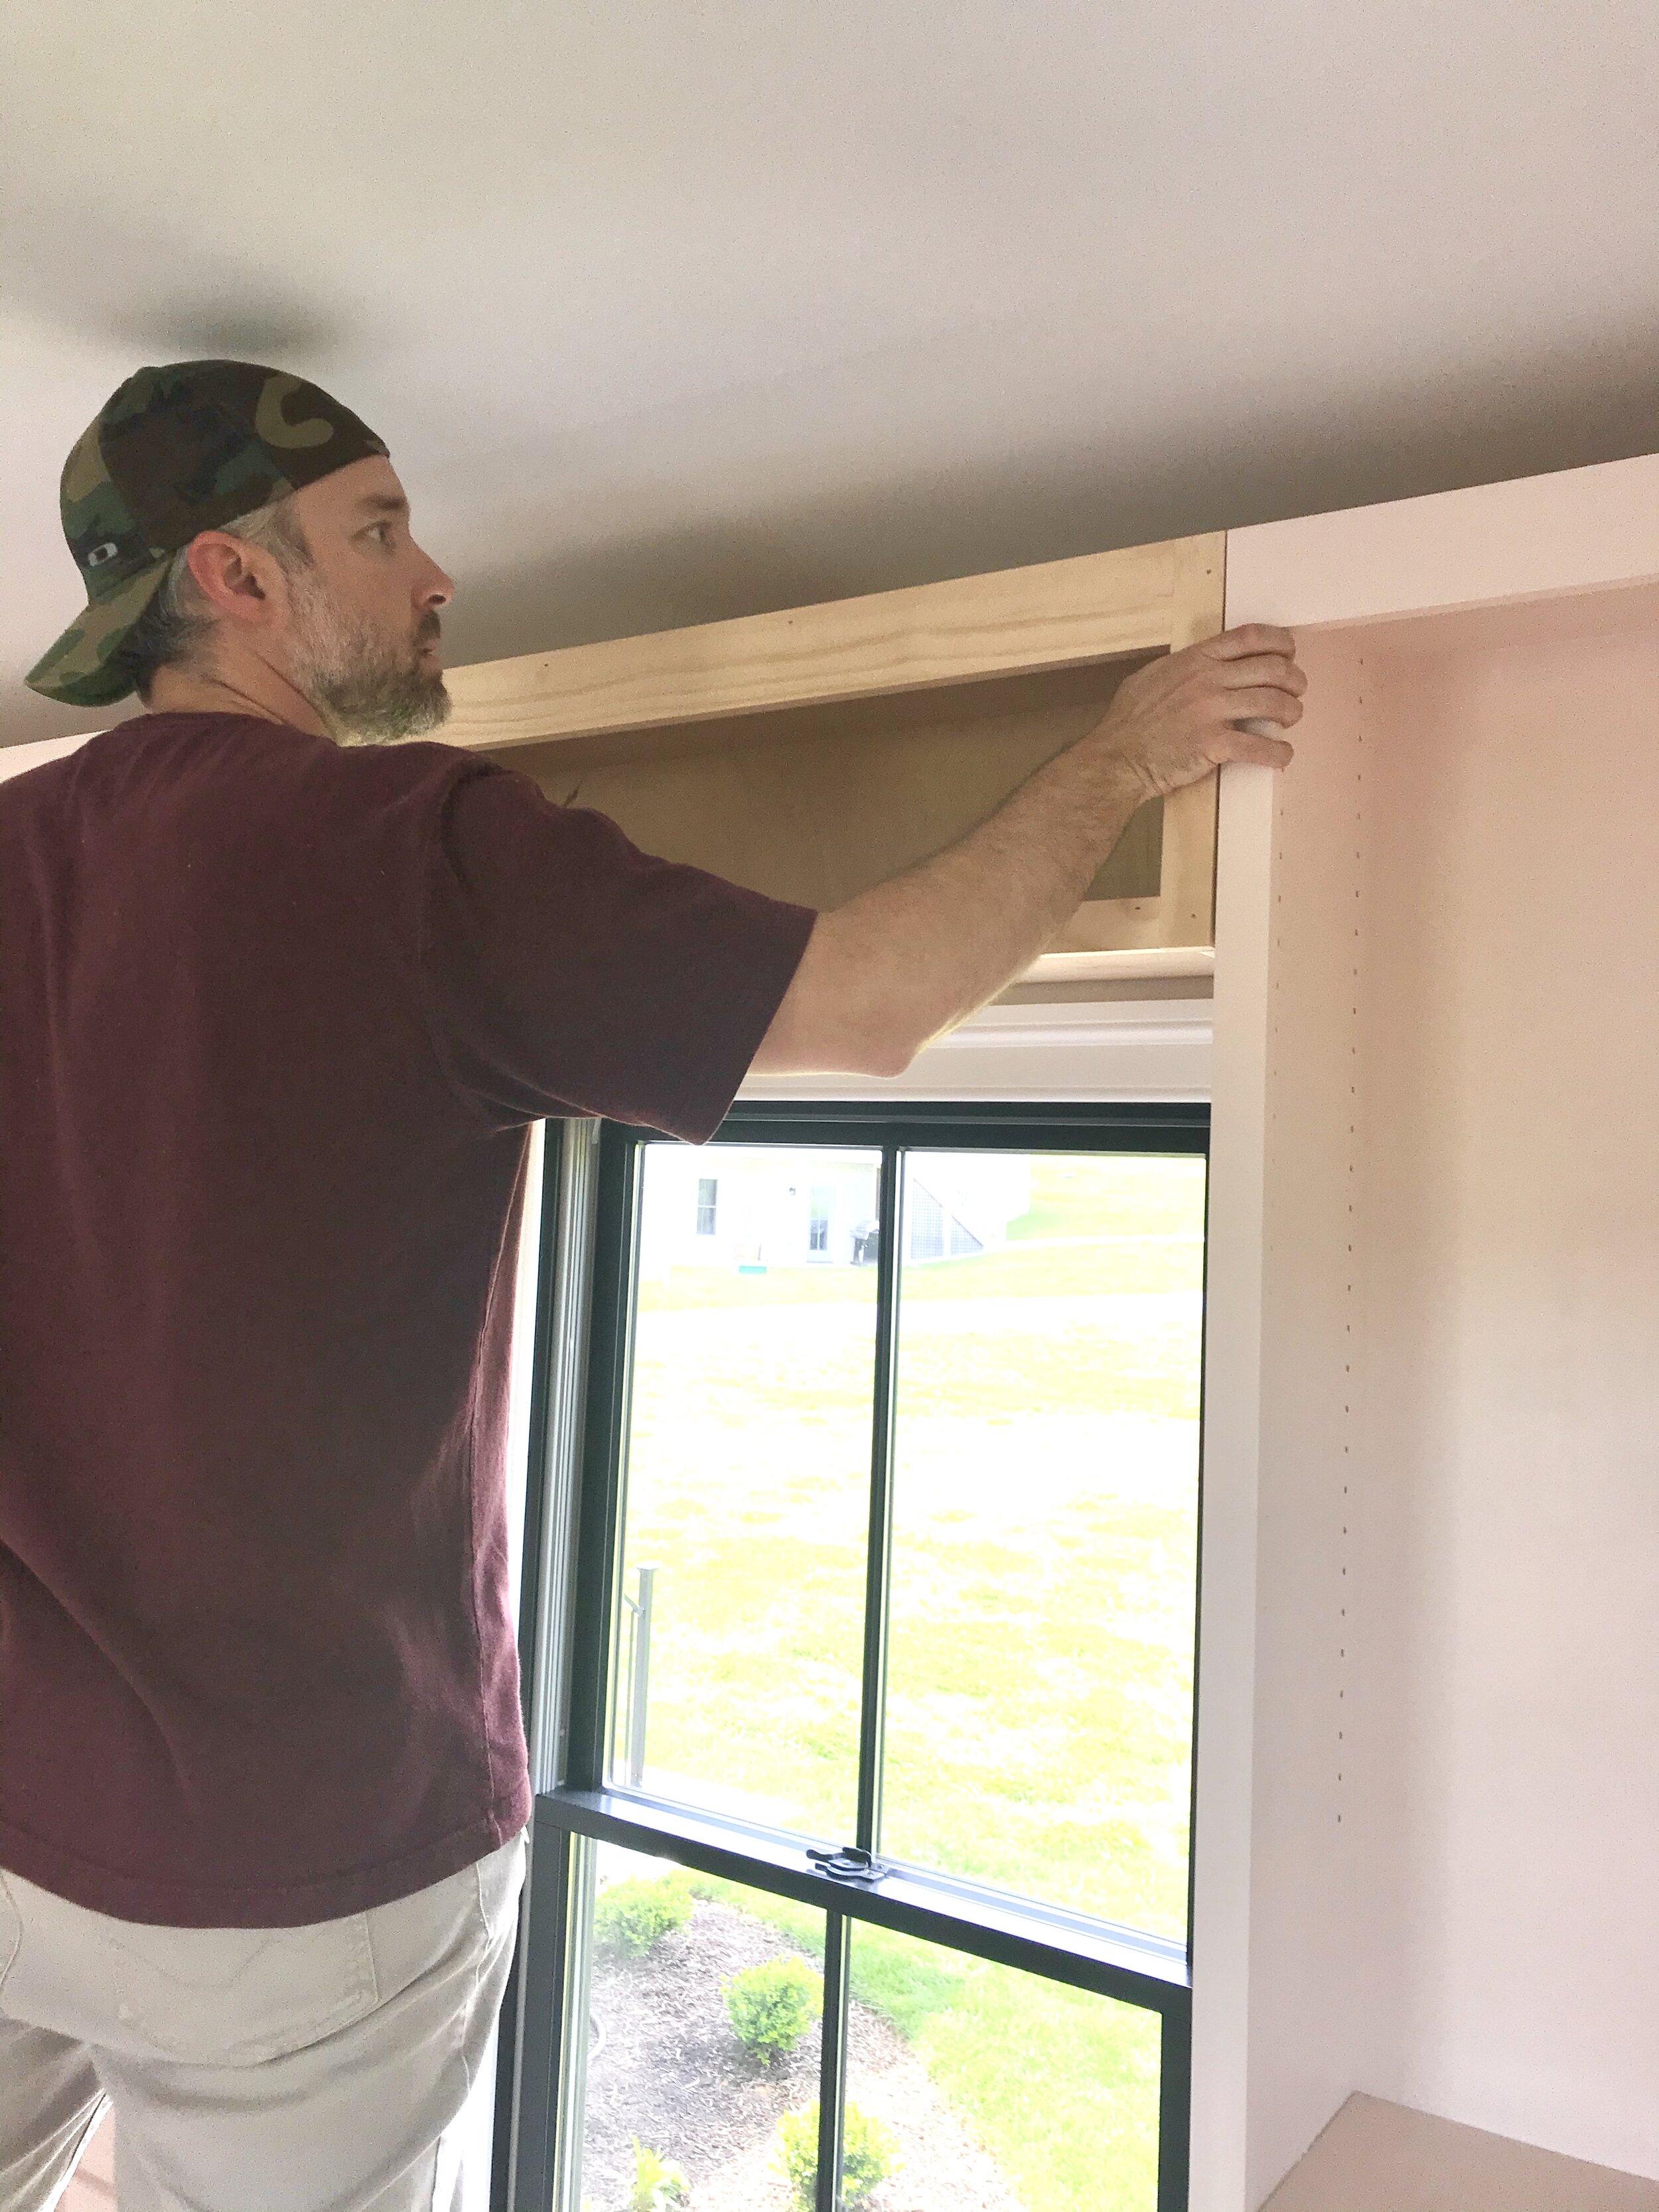
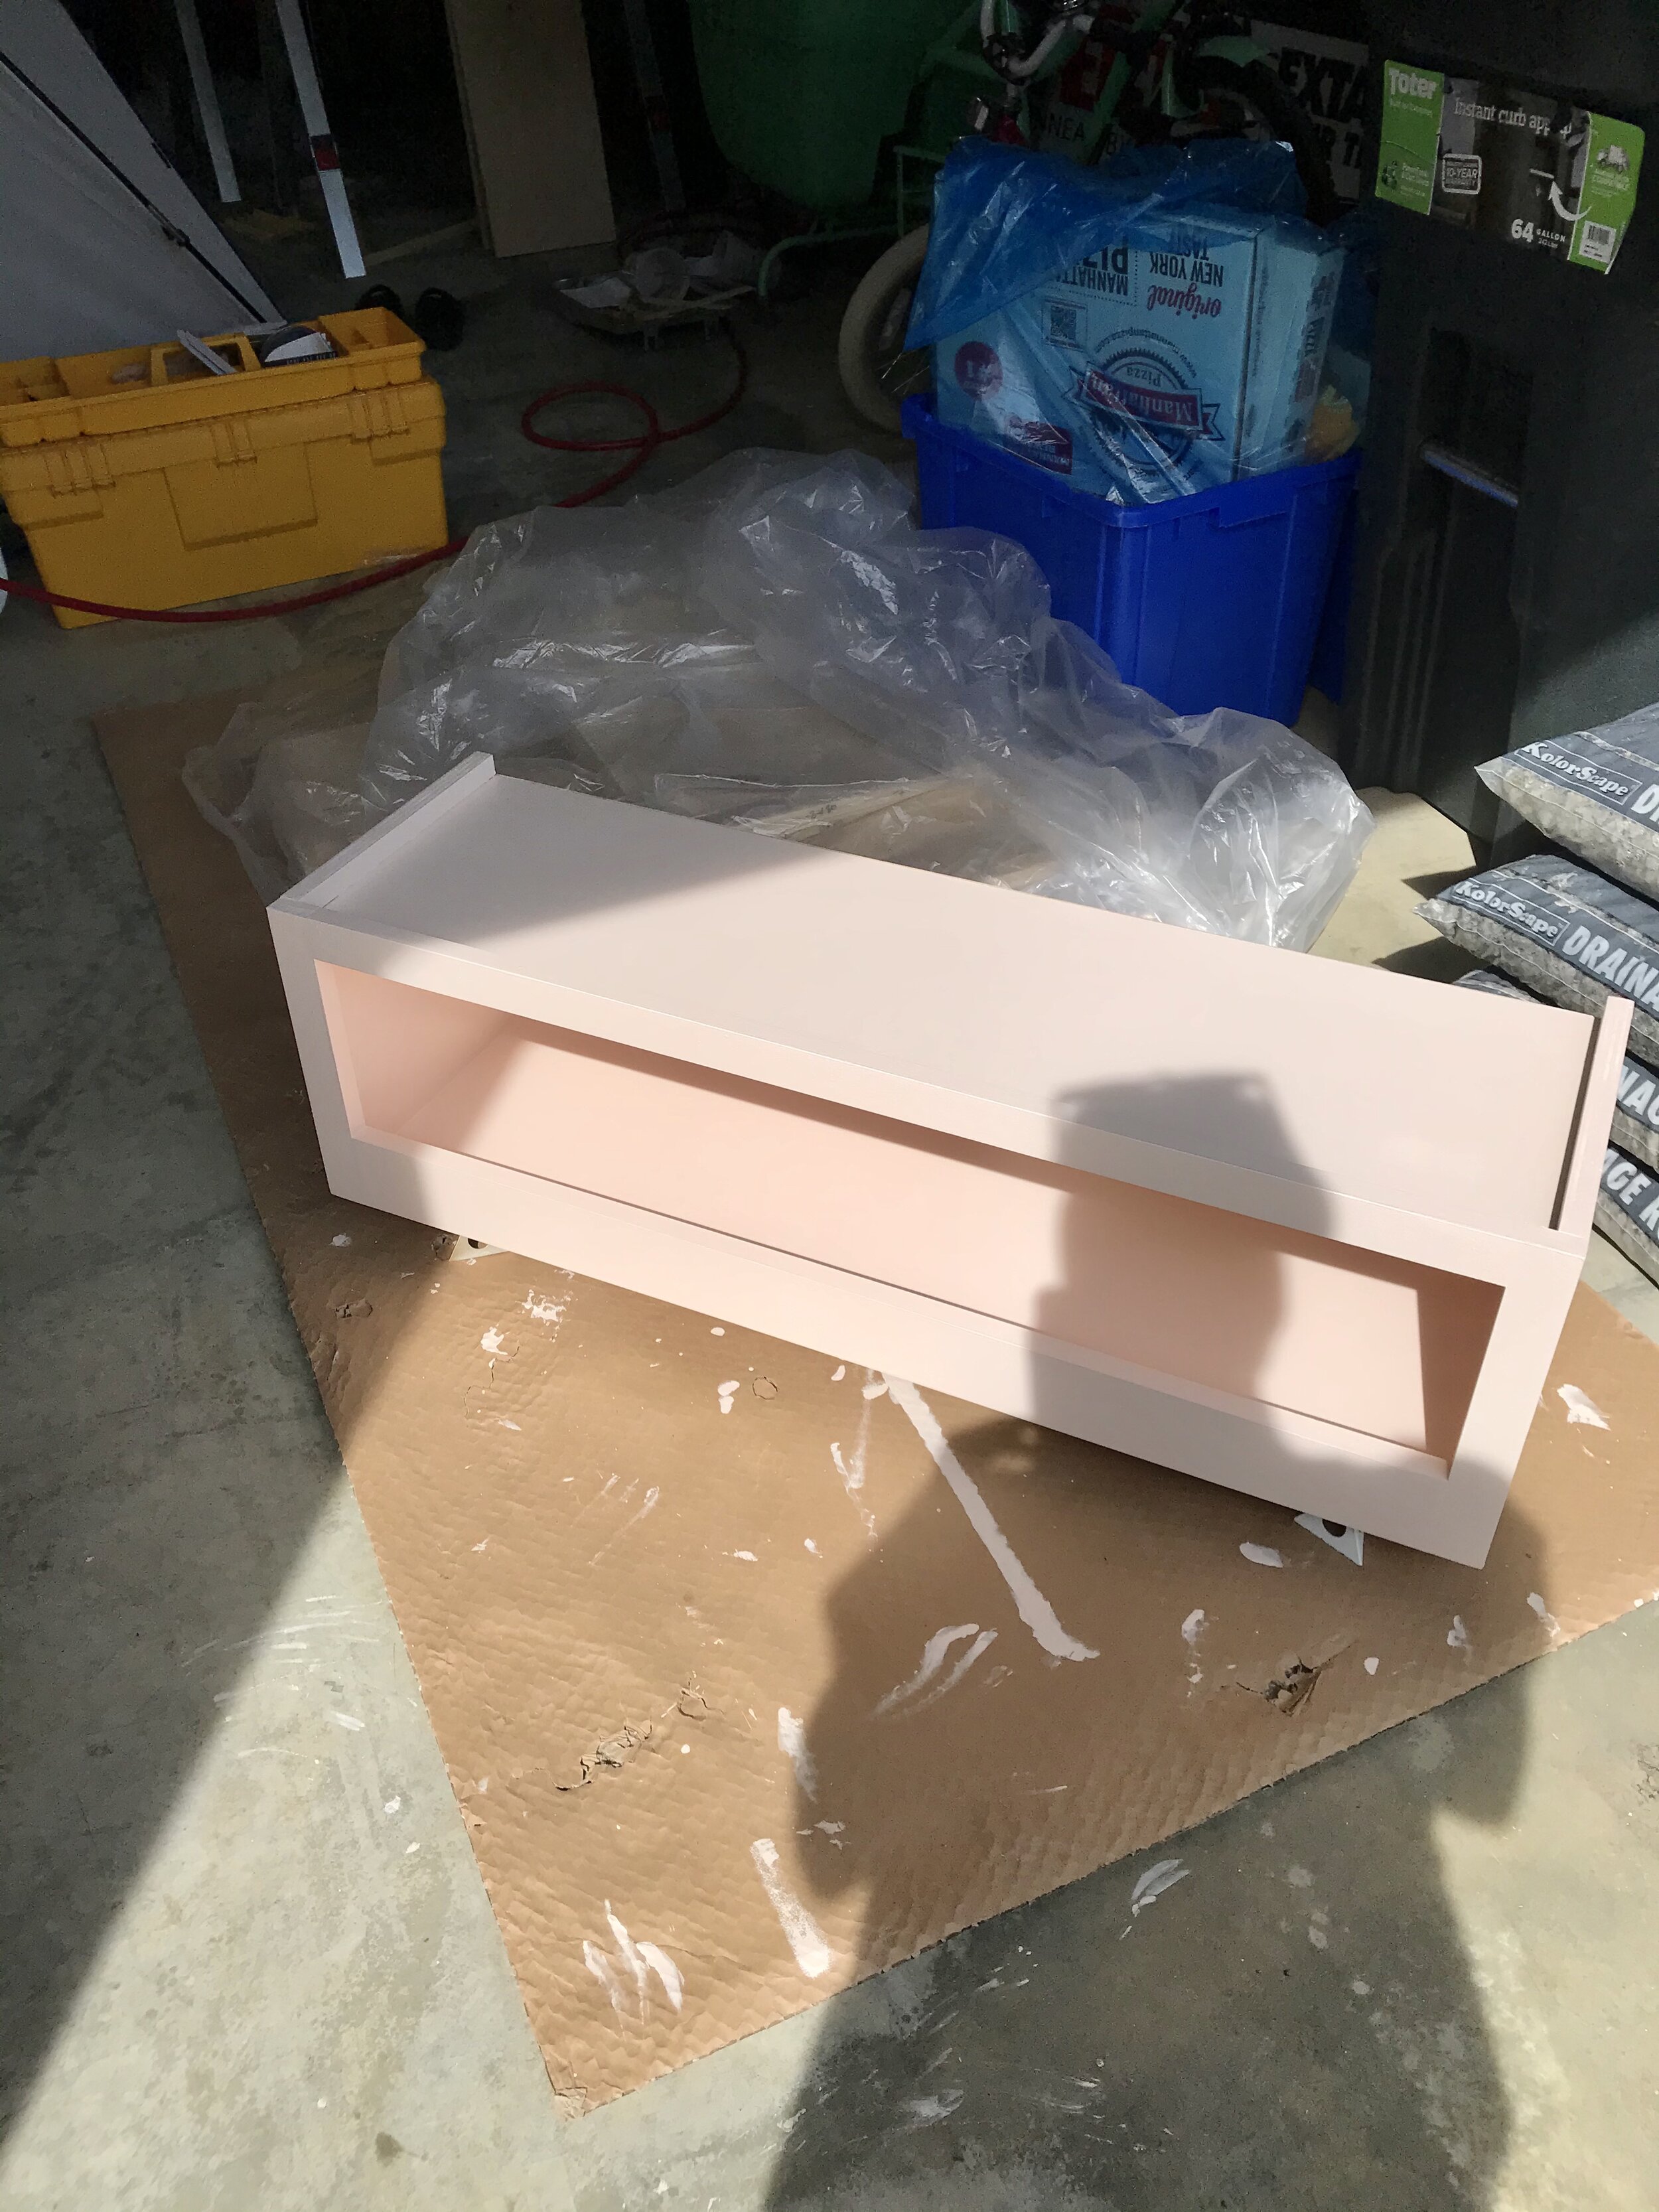
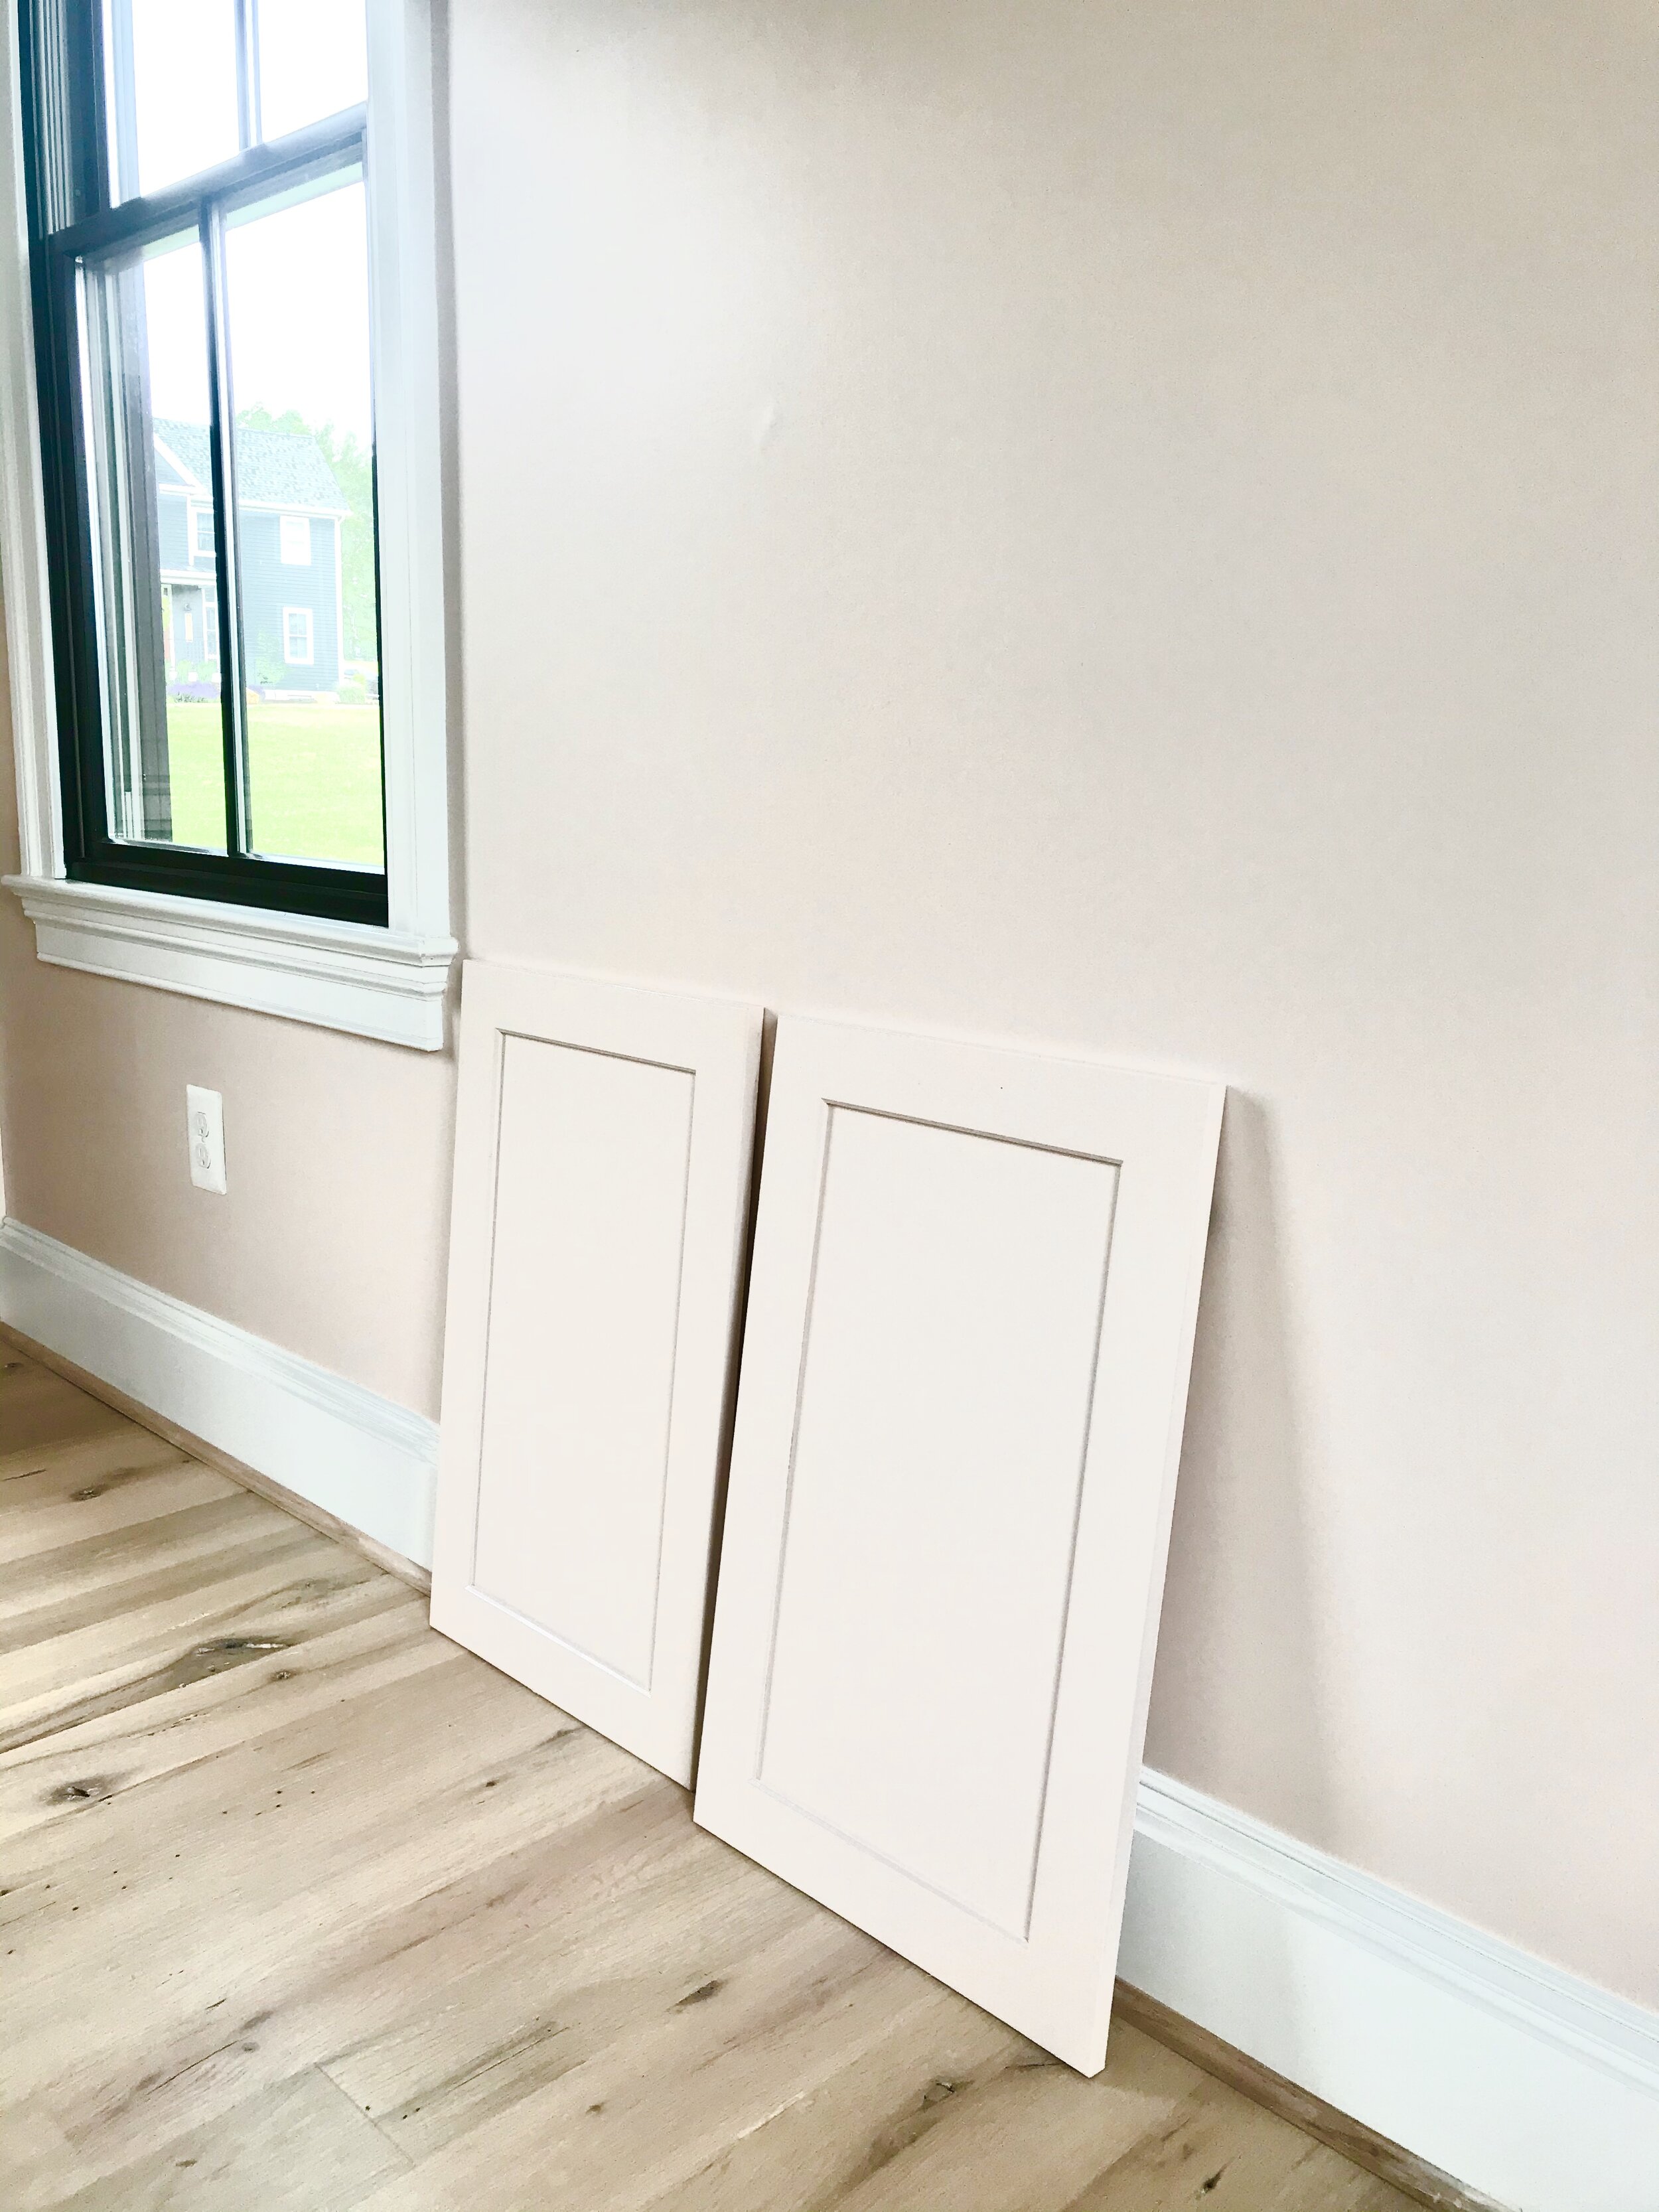
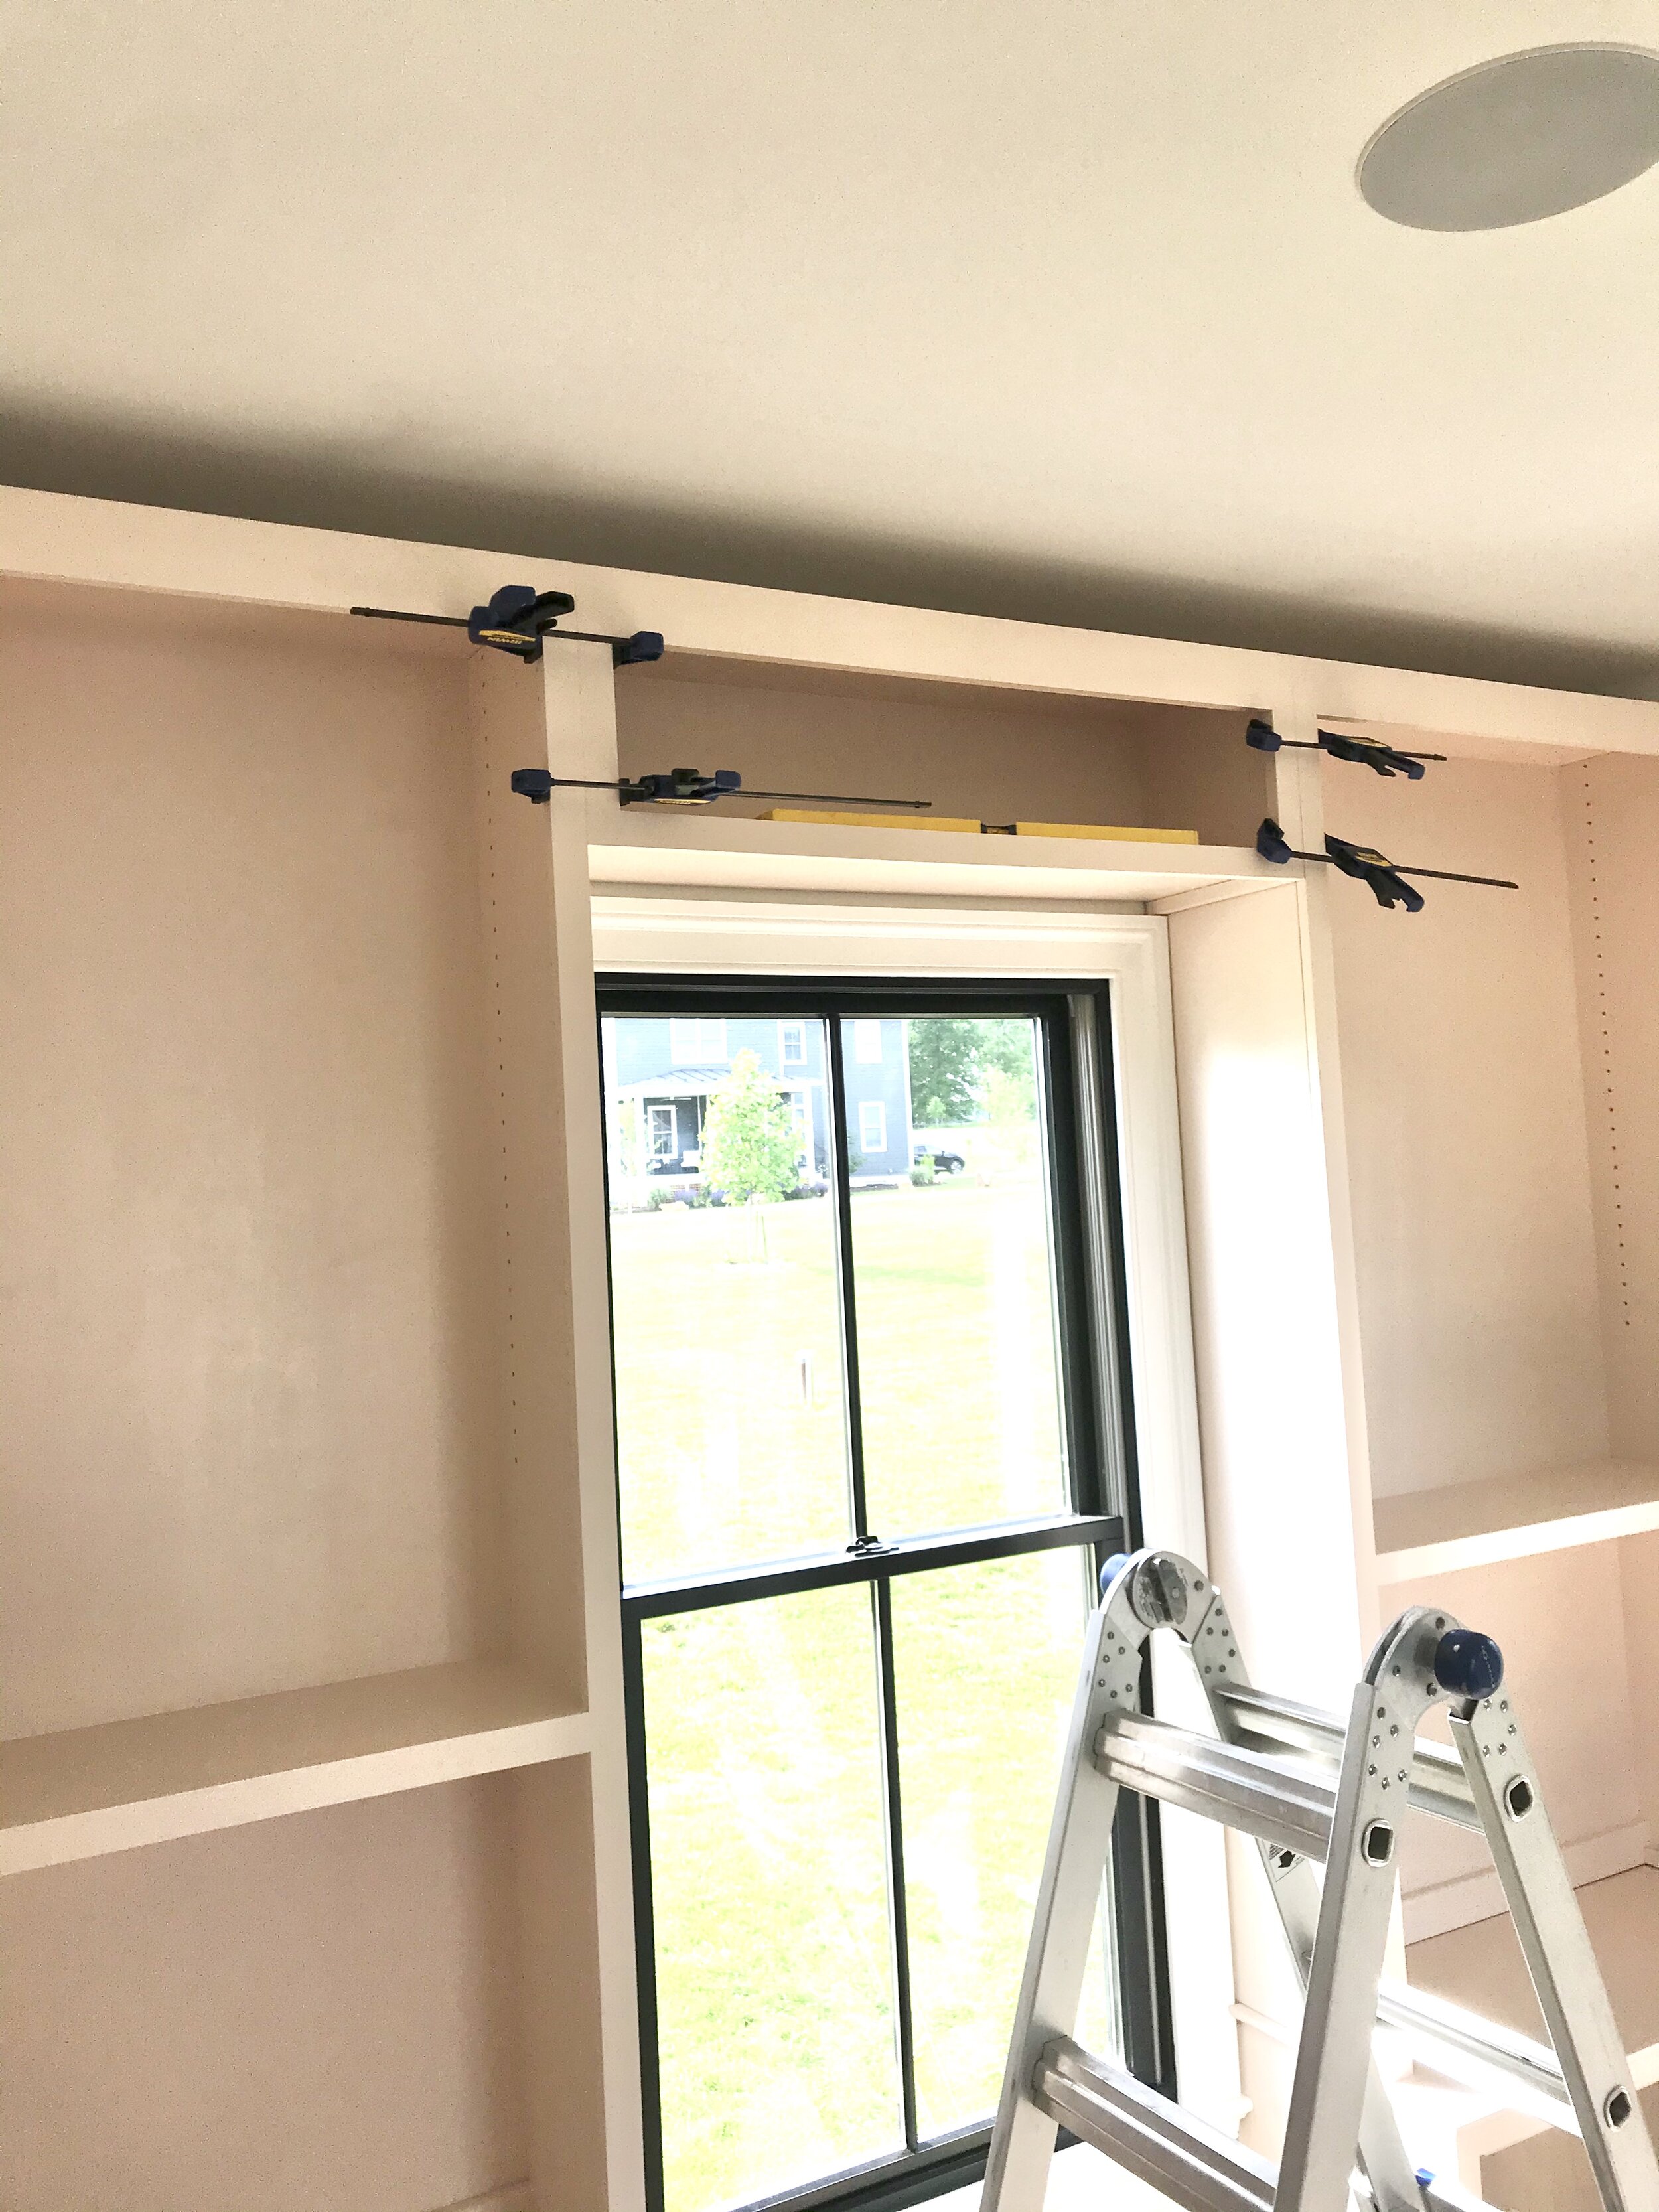
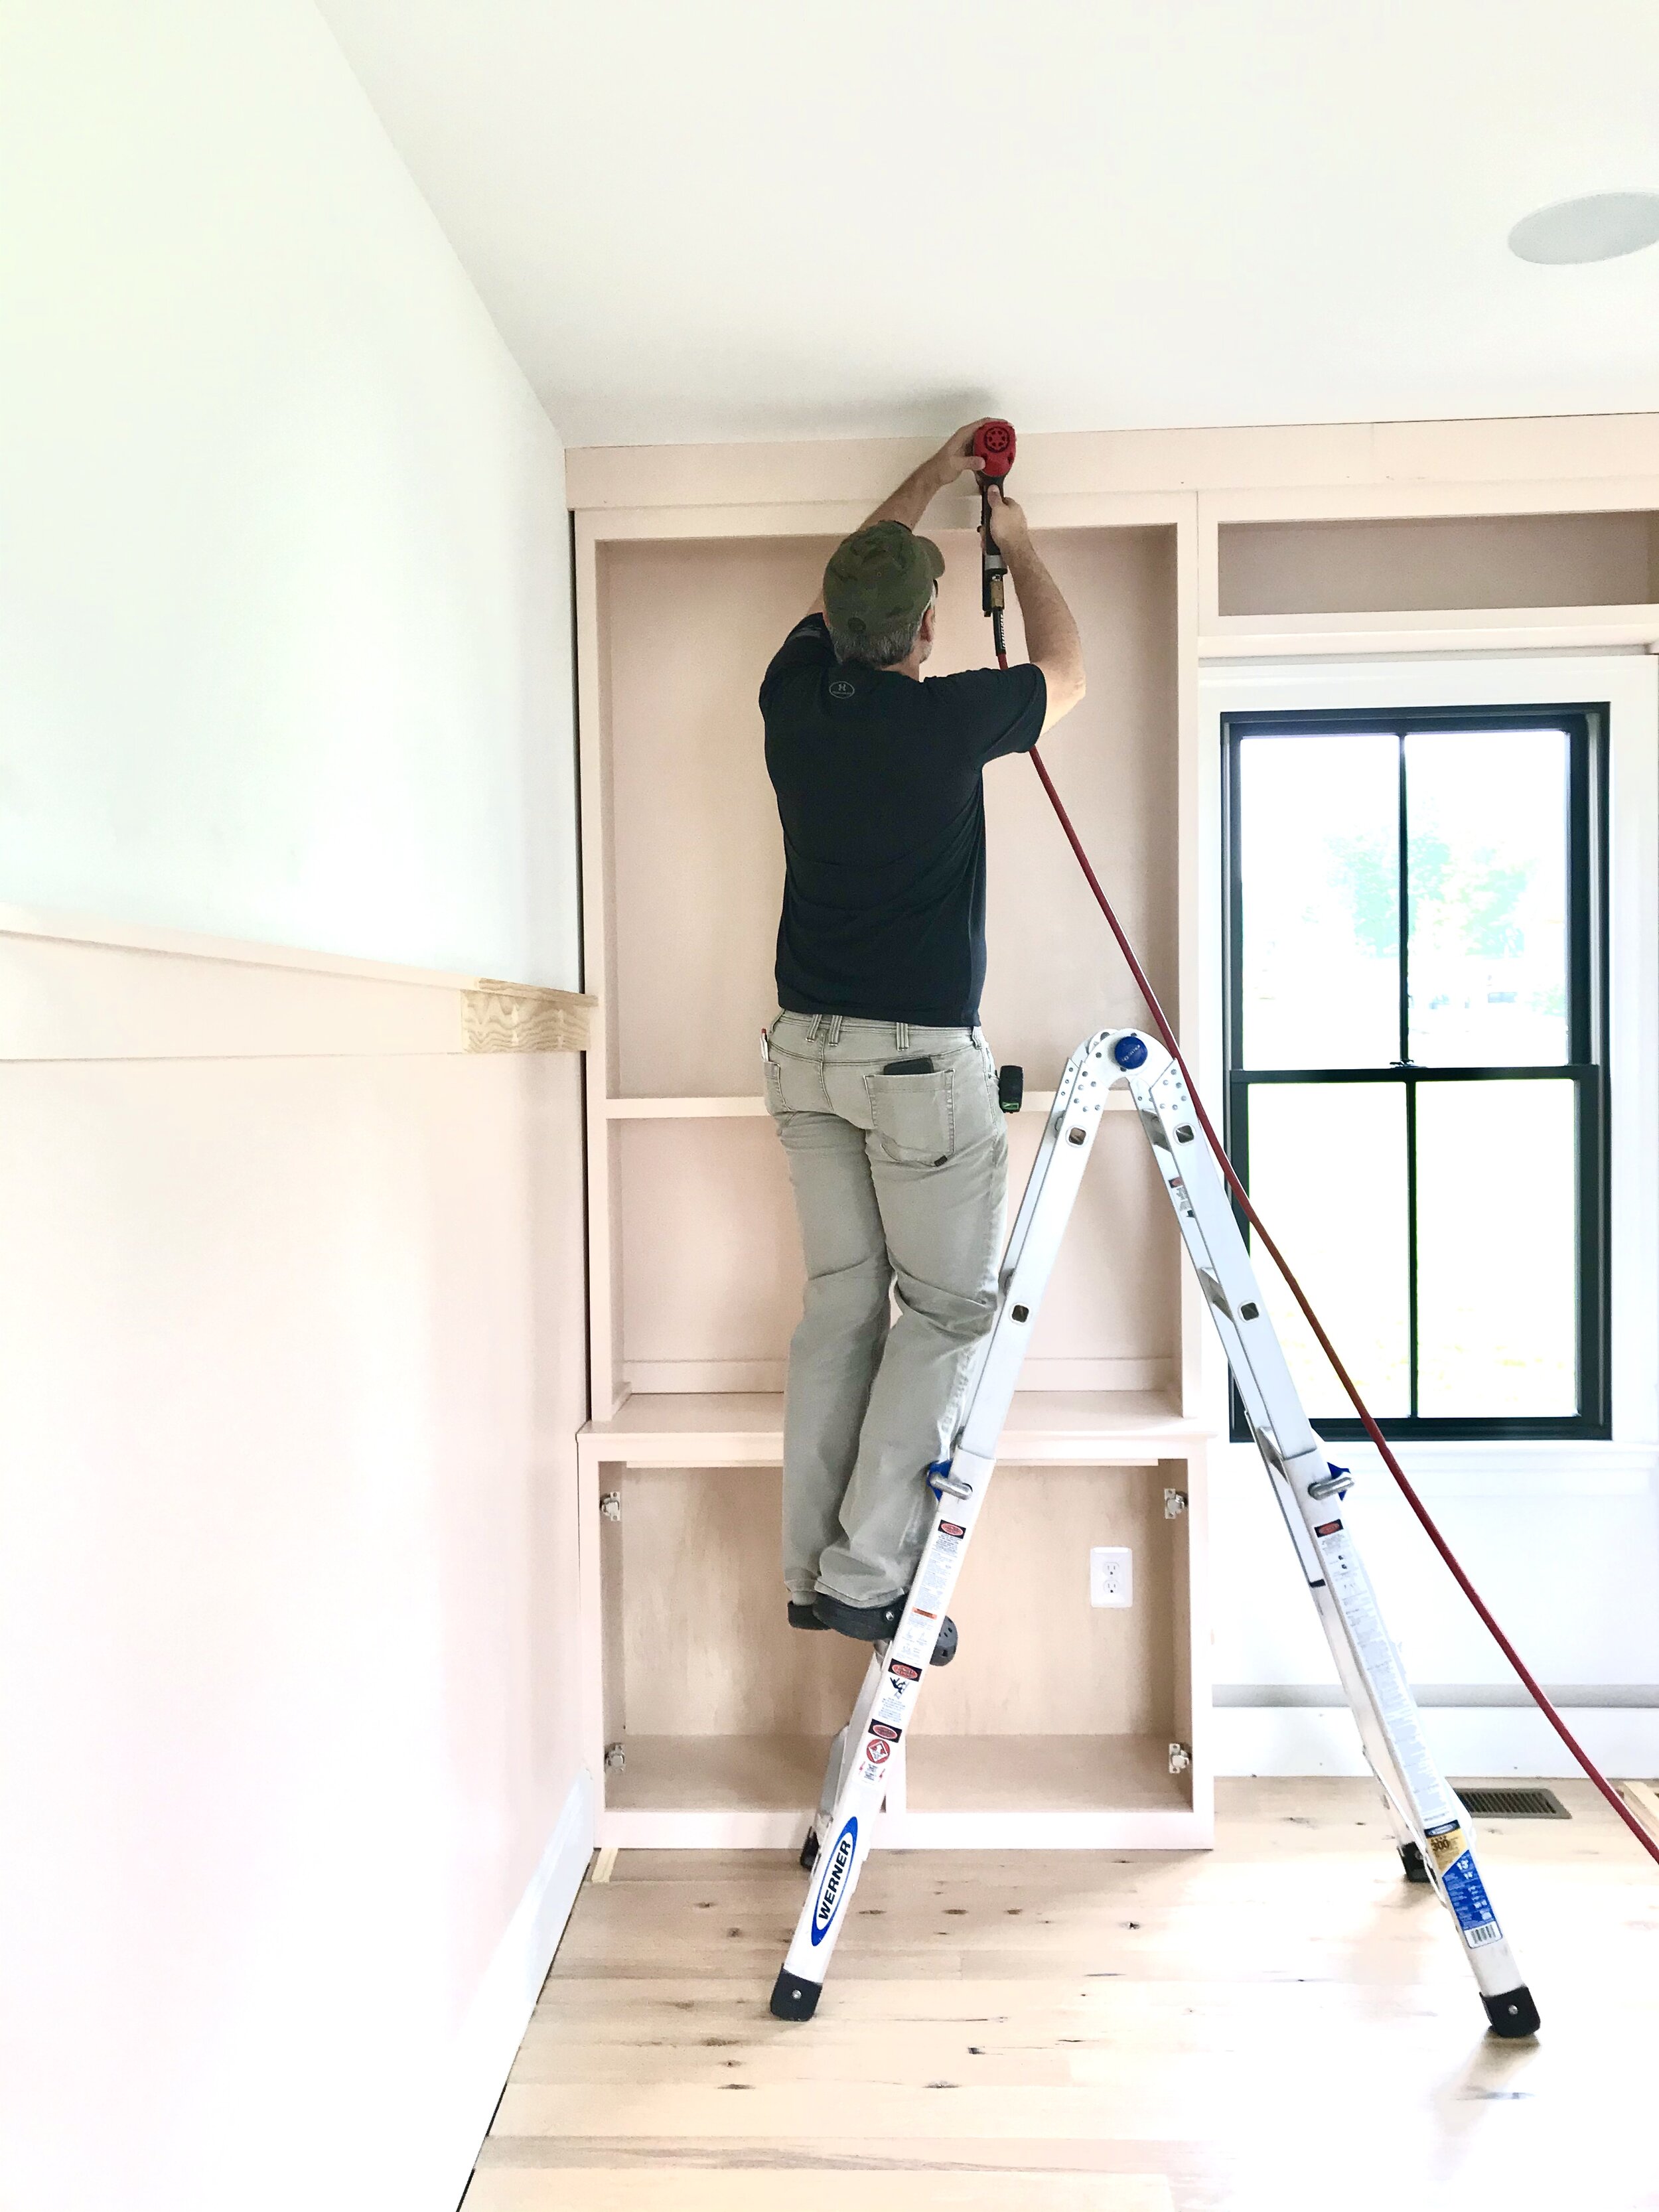
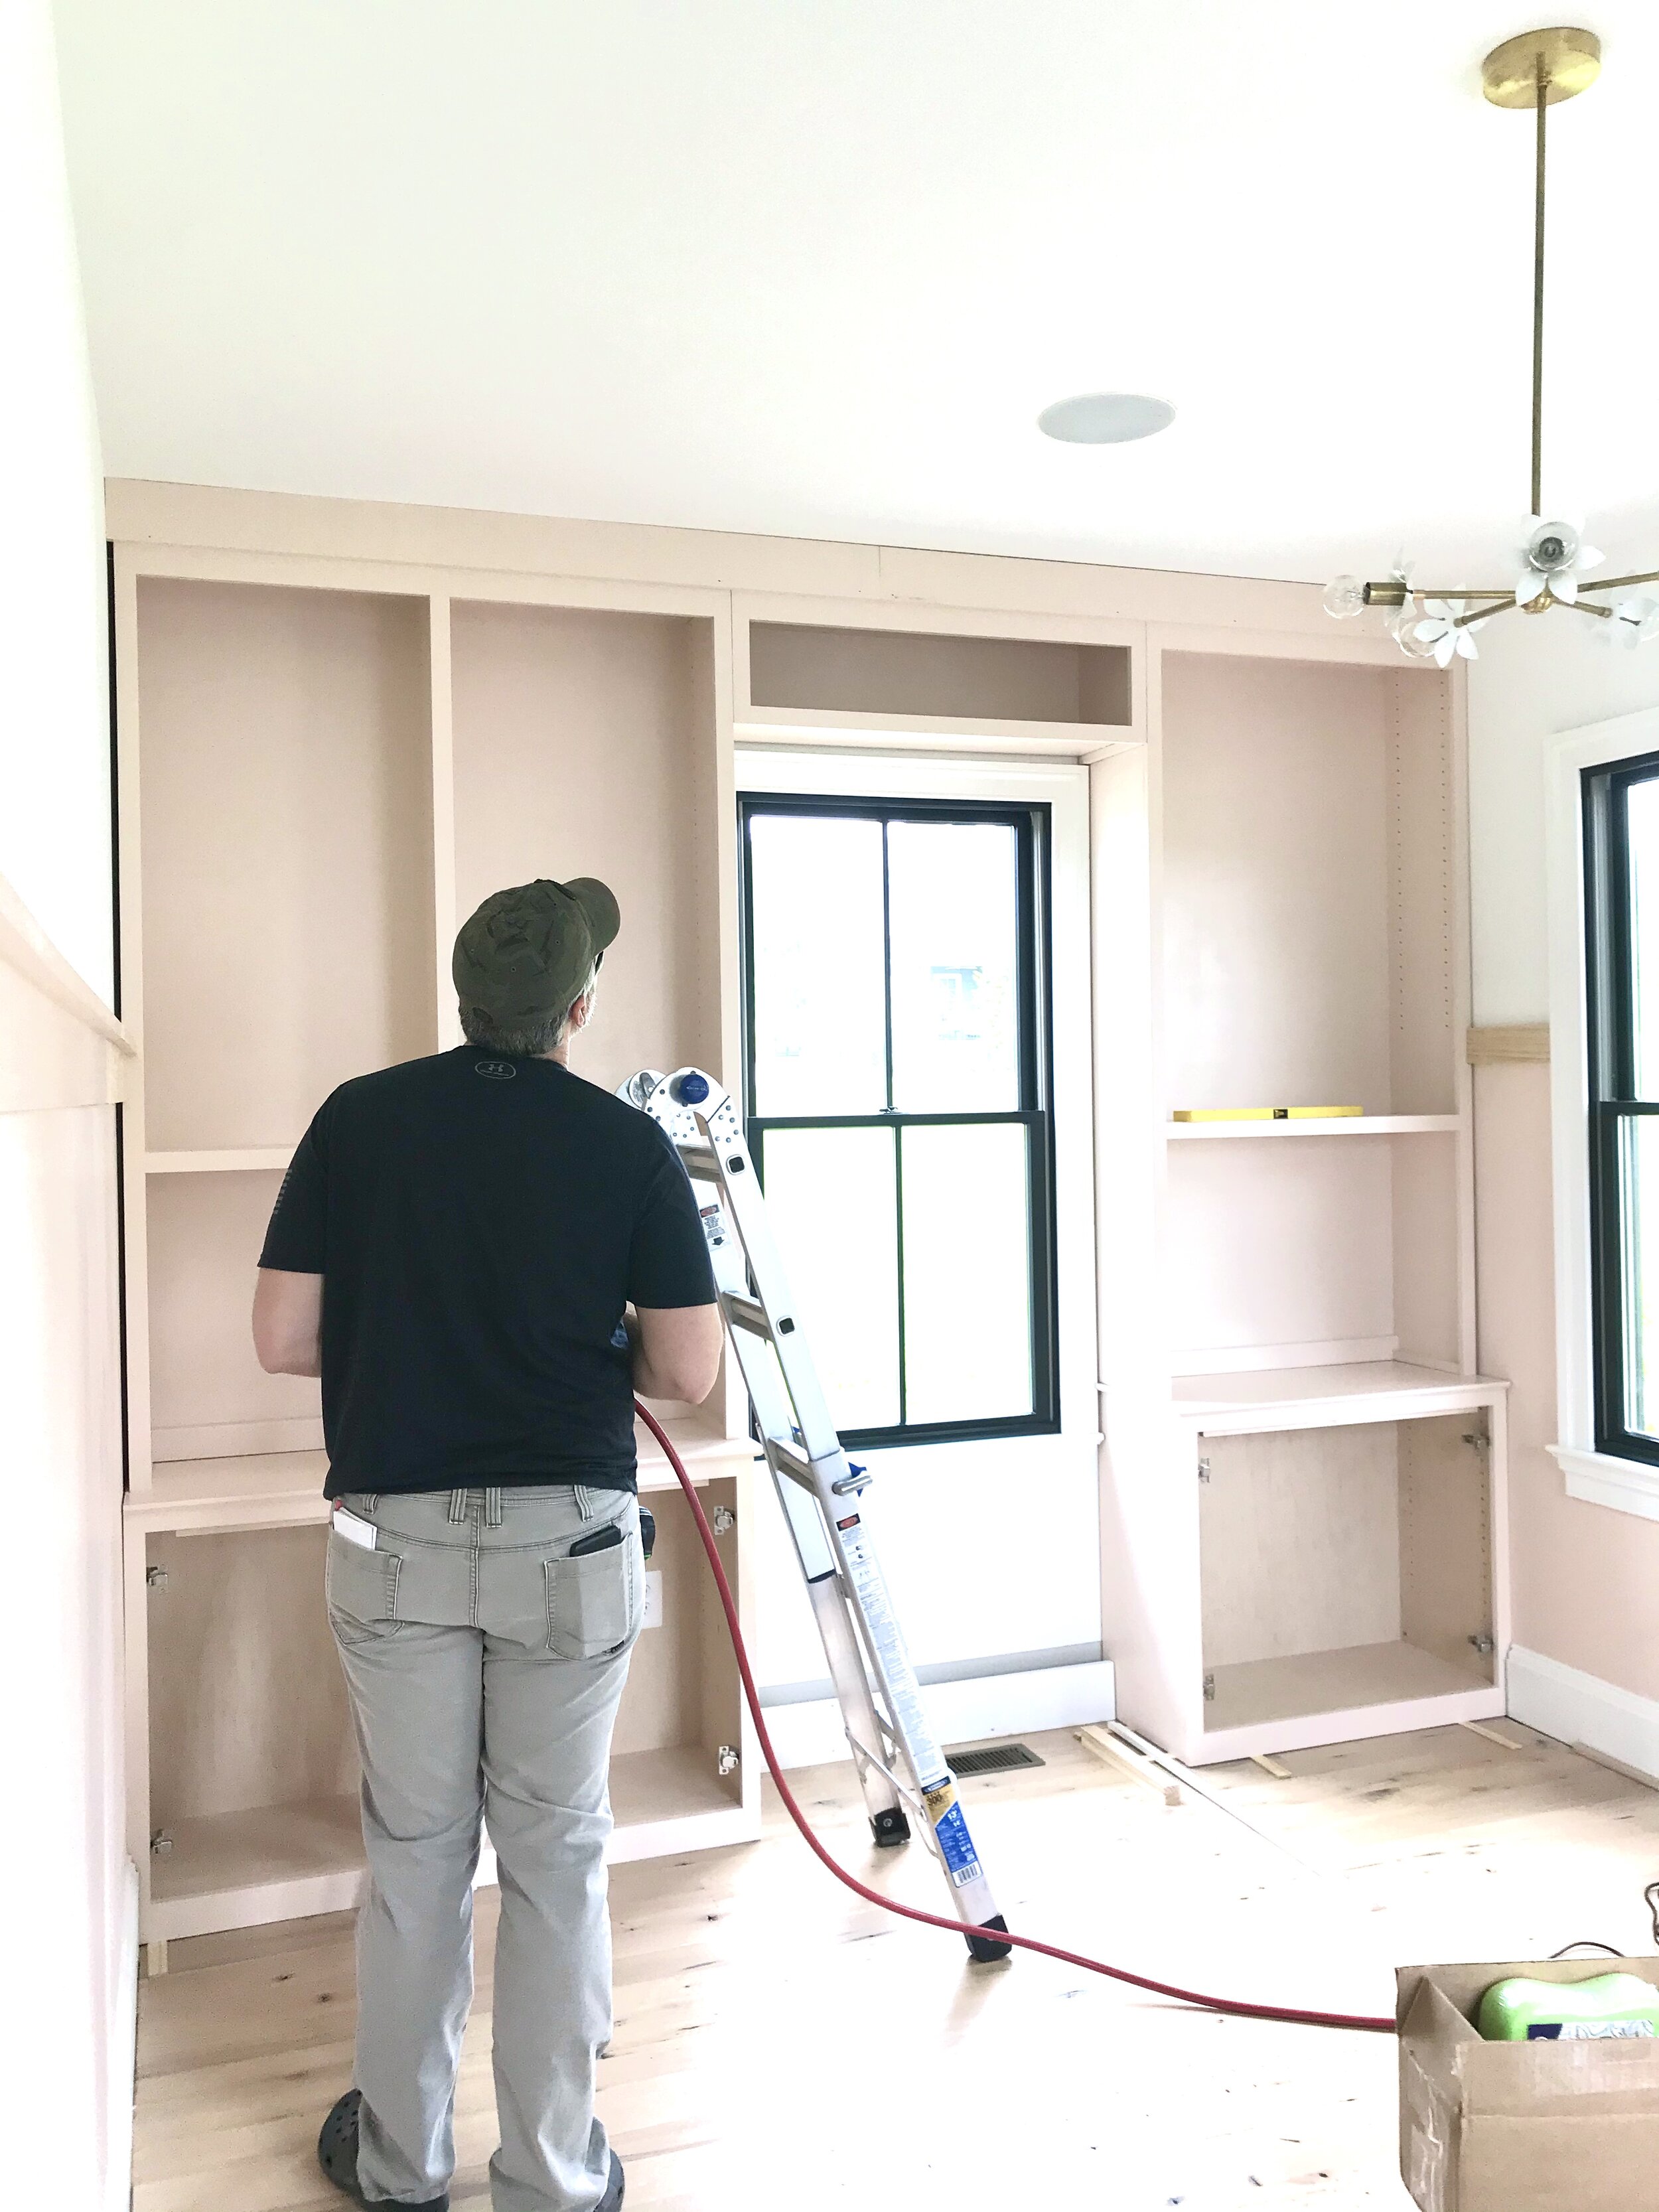
PAINT - Our built-in shelving and window seats were painted Current Mood by Clare Paints but something always felt unfinished about this wall. So we decided to paint the wall around the TV the same color and hang a few pieces of collected art around our TV. In the future, we plan to add a piece of trim across the top of the wall to connect the 2 tall bookcases to finish the space.

Photo by: Alicia Bruce for Choux Designs

Photo by: Alicia Bruce
BAR CABINET - Turning a secretary desk into a bar cabinet was Greg’s project design but one I wholeheartedly supported (who doesn’t want to light up their liquor?!). Prior to the project we were storing bar related items in this desk but the addition of glass shelving - ordered custom and shipped to us from Dulles Glass and Mirror - and motion activated LED lights really helps this desk turned bar cabinet live up to its full potential!

Photo by: Alicia Bruce

Photo by: Alicia Bruce
STAIR RUNNER - It took a really nasty fall up (yes I fell up, then down) these slick, un-carpeted stairs for us to decide to add a stair runner. Greg got the proper tools needed for this type of install and we planned and worked up the courage to install this 24 foot Rejuvenation runner ourselves. Installing a quality rug pad with carpet tape first then using the proper tools (electric stapler) to staple the runner in place, were the keys to success. We did not want to staple or nail into the oak stair treads and we accomplished that goal by securing the rug with staples on the top and bottom of each riser. And huge shout out to THIS TOOL for being the unsung hero of this install.


Photo by: Alicia Bruce
ART - the final layer. I framed a beautiful original oil pastel painting by Bethany Cochran in a natural wood frame with an island mat from Simply Framed (need to show off those deckle edges) and added battery operated gallery lighting to showcase the piece. I view the wallpaper as large format art so hanging a small (in scale) painting over the wallpaper pattern feels like the perfect top layer.
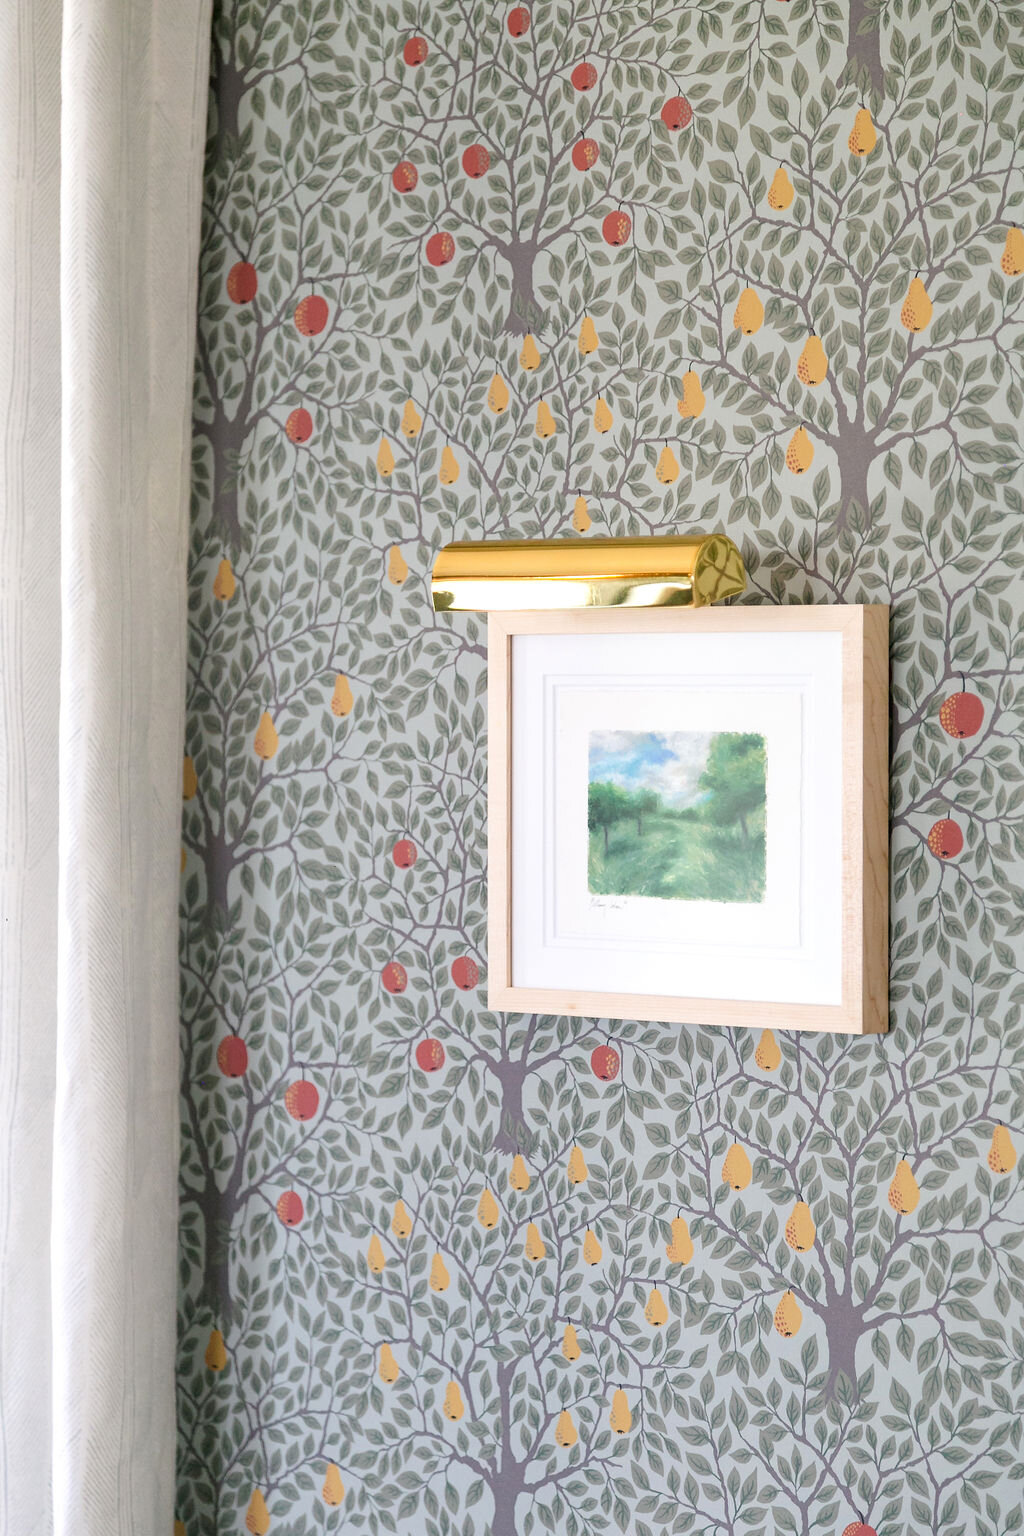
Photo by: Alicia Bruce