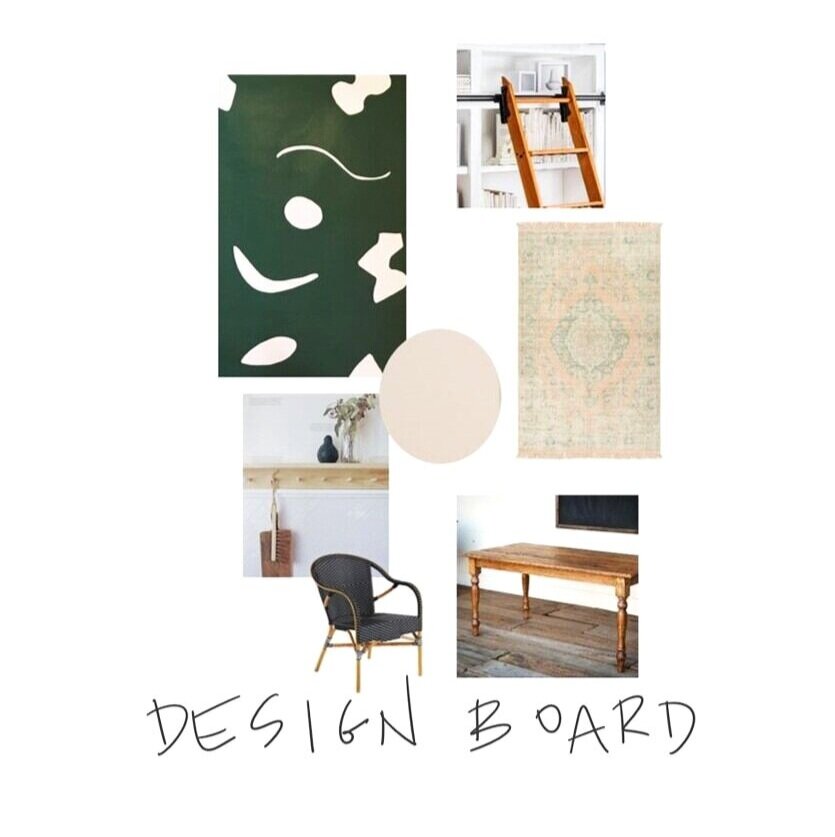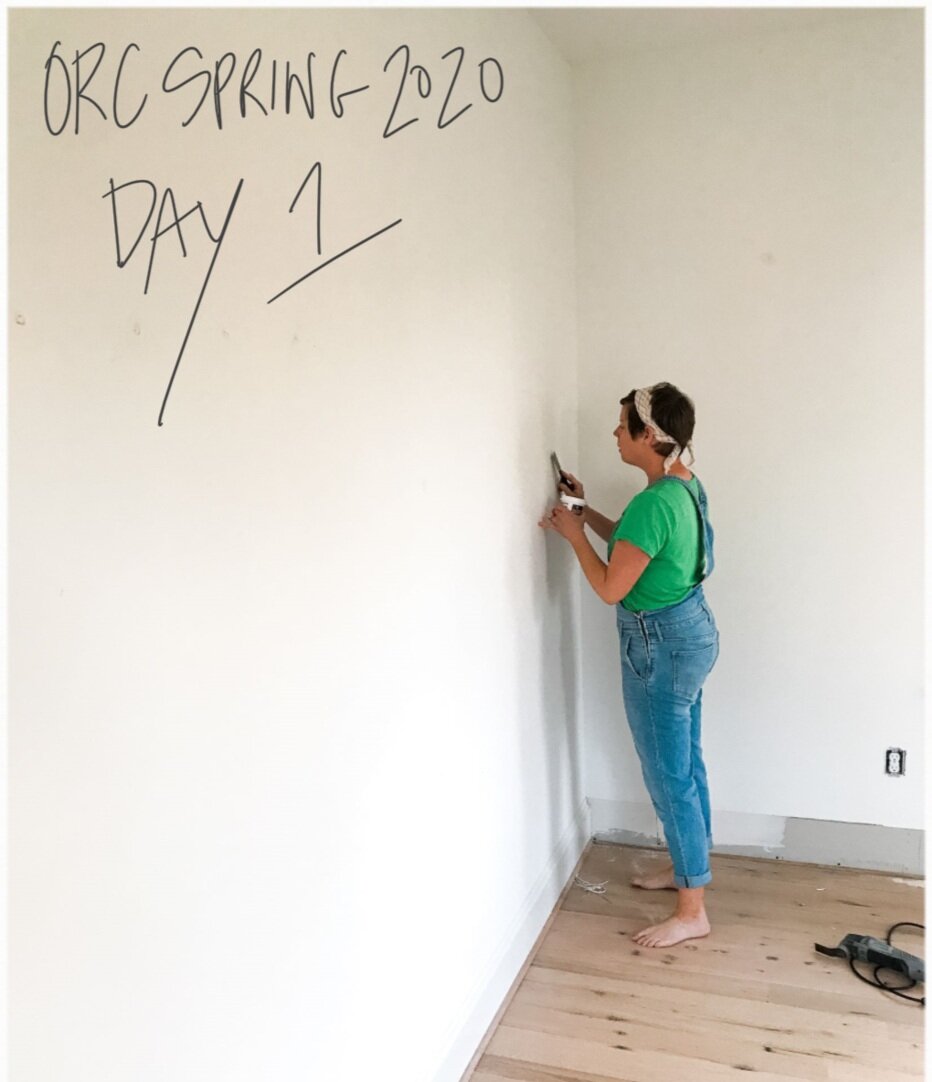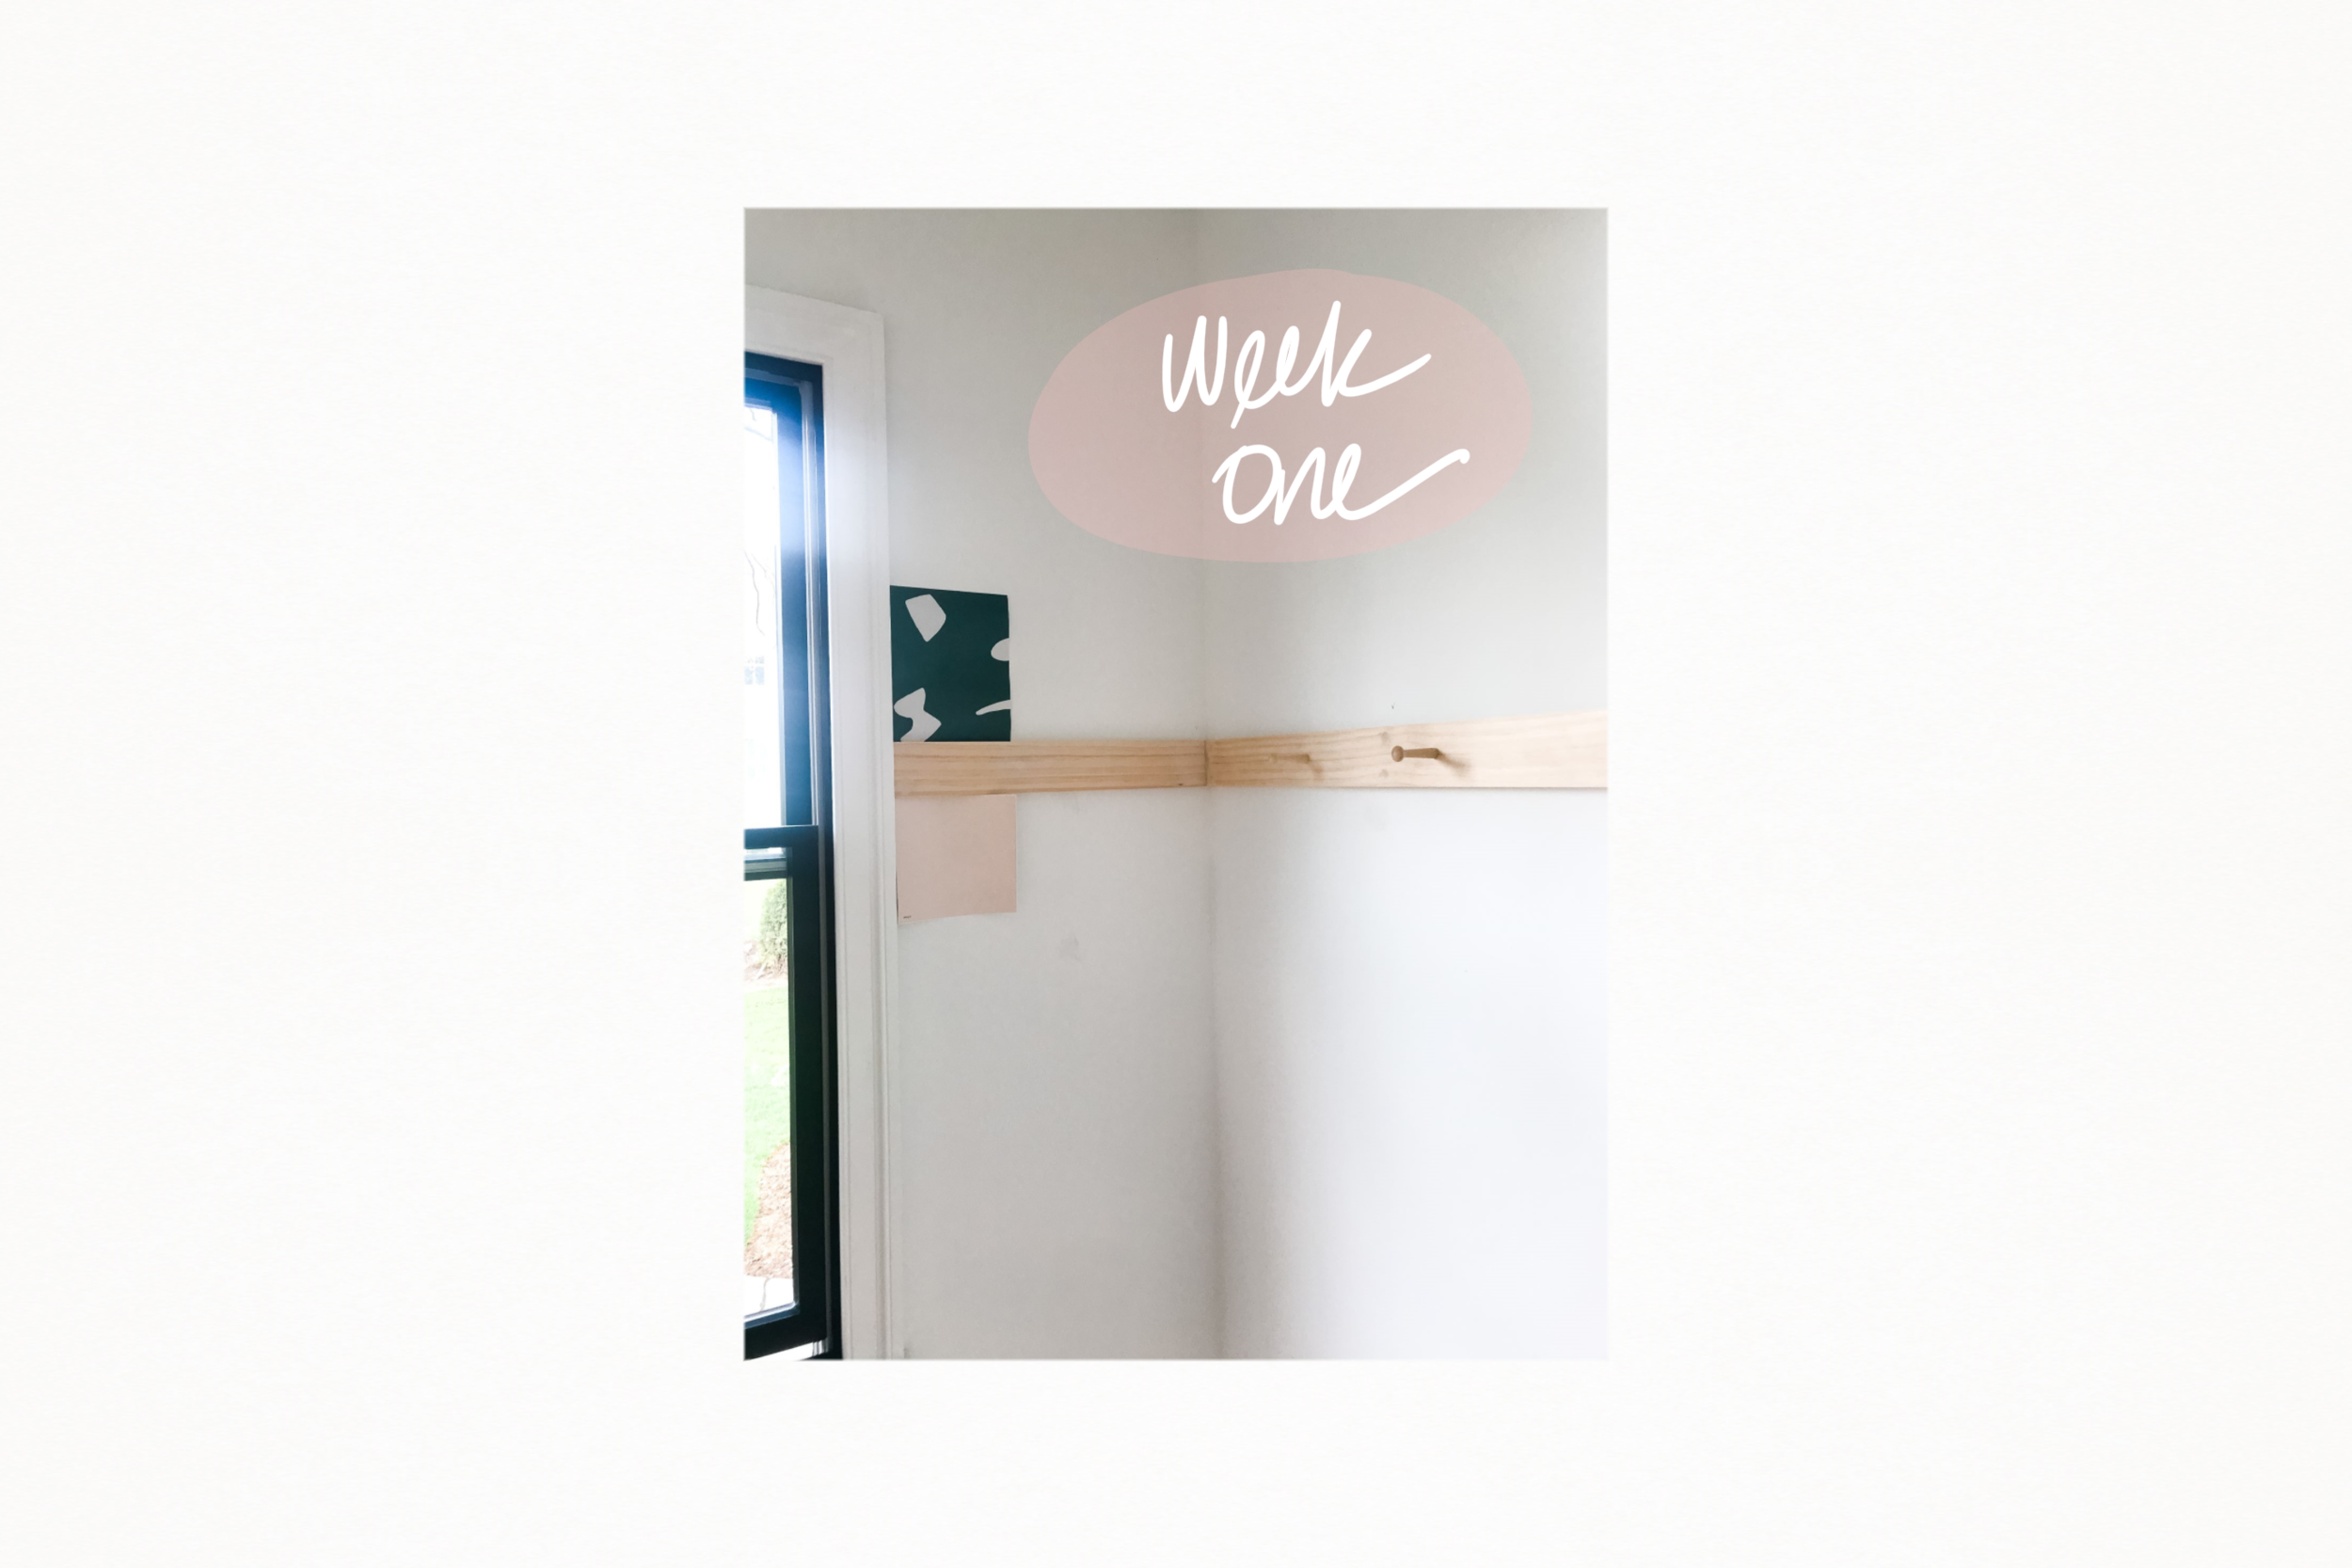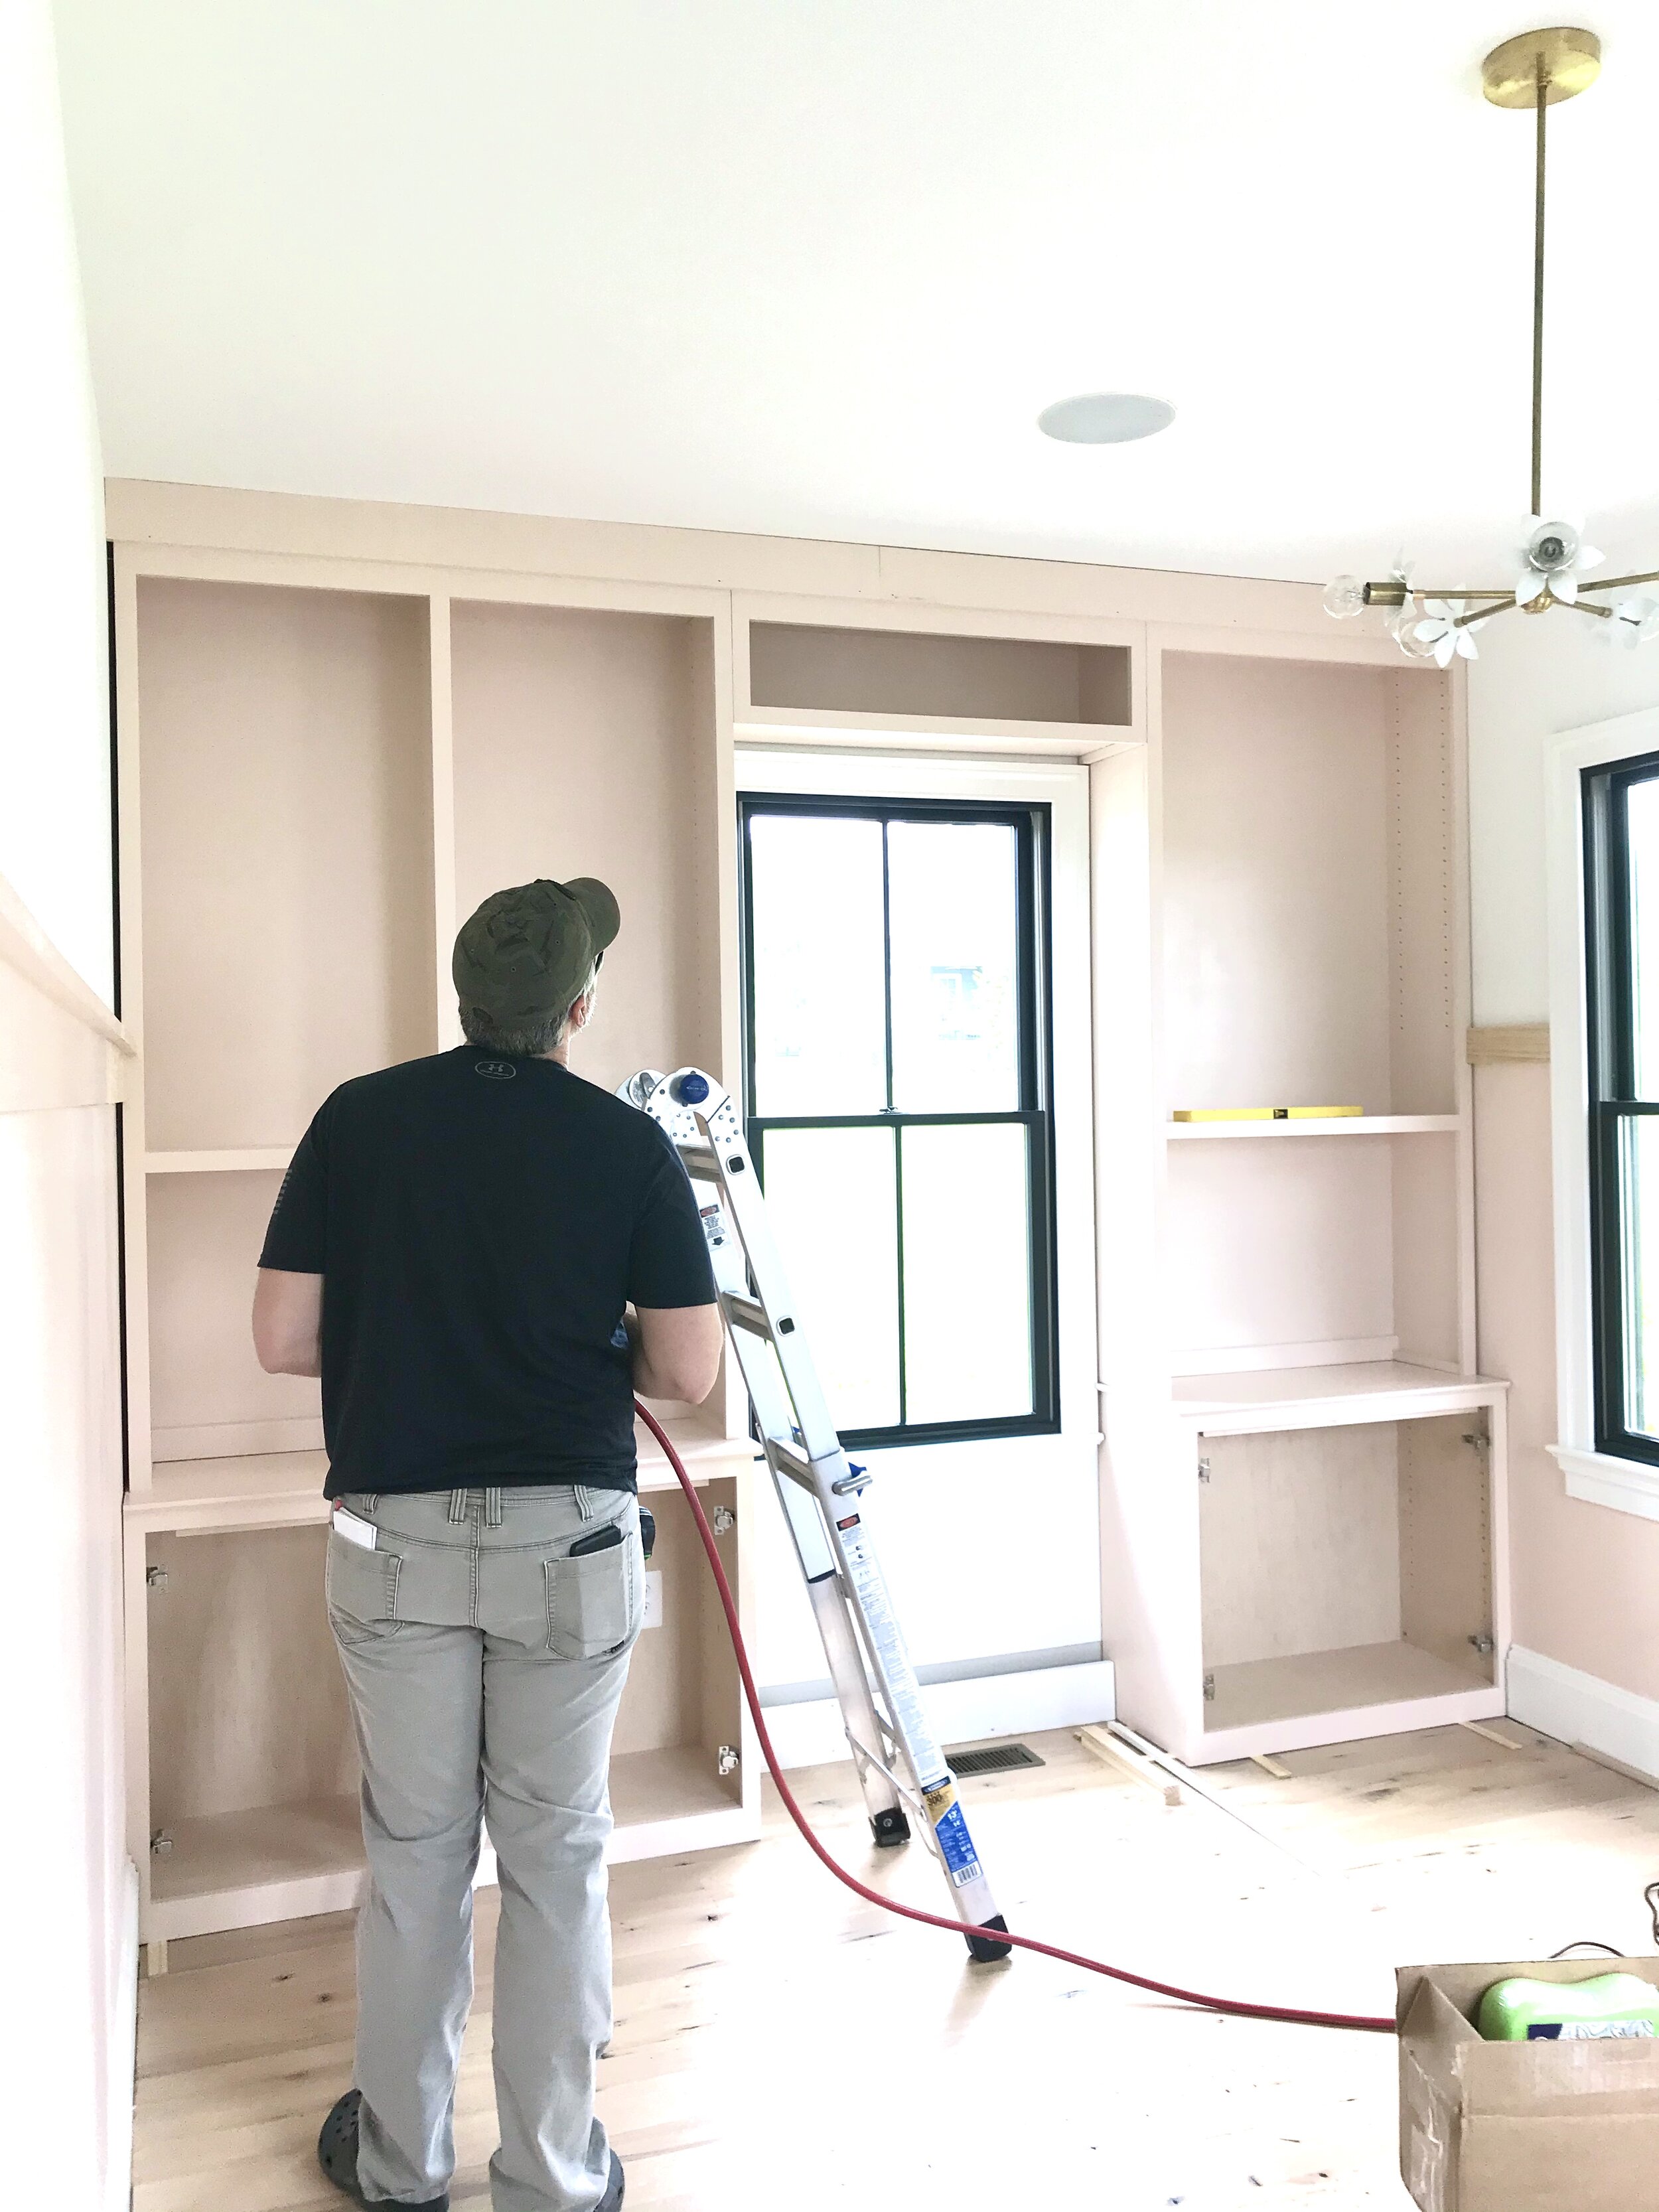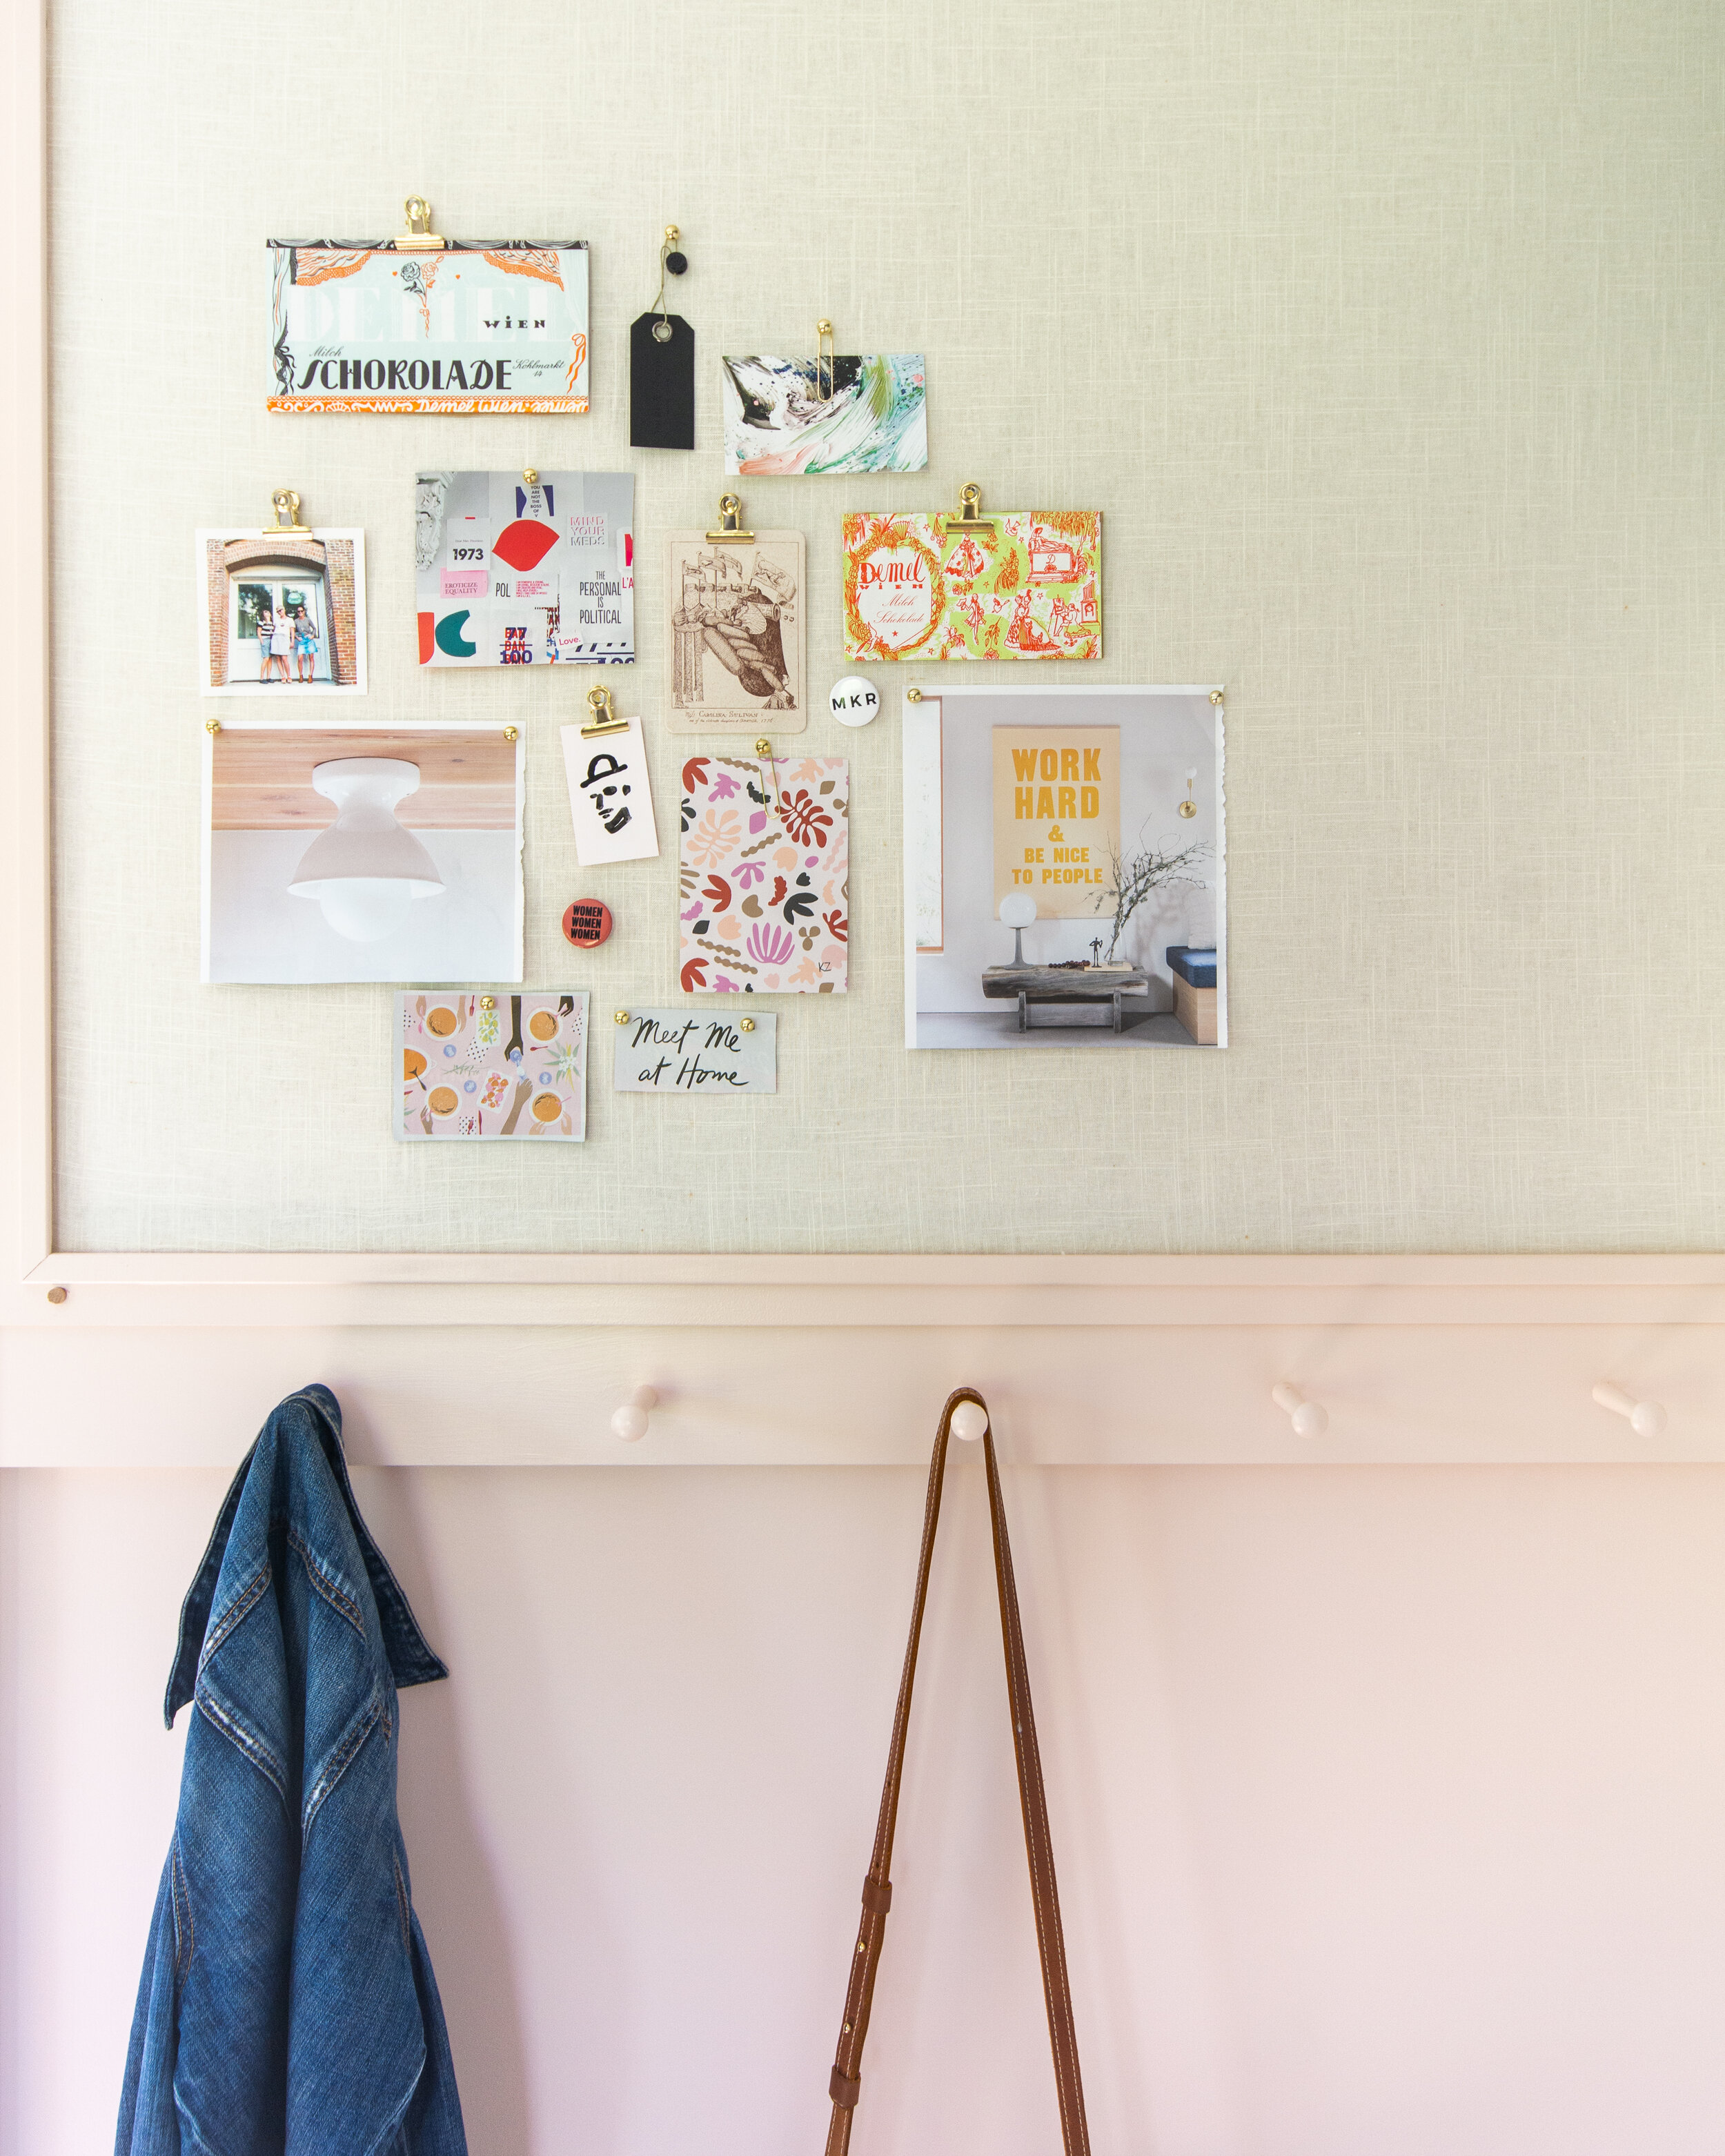
When I was designing my new office space for the Spring 2020 One Room Challenge, I knew I needed pin boards to keep me organized and to have a place for rotating visual inspiration. I also was on a budget with the wallpaper so I needed a solution for the wall opposite the built-in cabinetry, above the peg hooks. HELLO DIY GIANT PINBOARDS. With a few simple materials and leftover paint, we were able to make custom pin boards that are big enough to hold all the projects and inspiration I can dream up.
Here are the materials we used:
1 in. x 2 in. x 8 ft. Pine Board
1/4 in. x 4 ft. x 2 ft. Plywood
Cork Squares with Adhesive Backing
Linen or Linen-Blend Fabric
Pine Screen Molding
Tools and material we had on-hand:
Table Saw
Kreg Jig
Staple Gun
Wood Glue
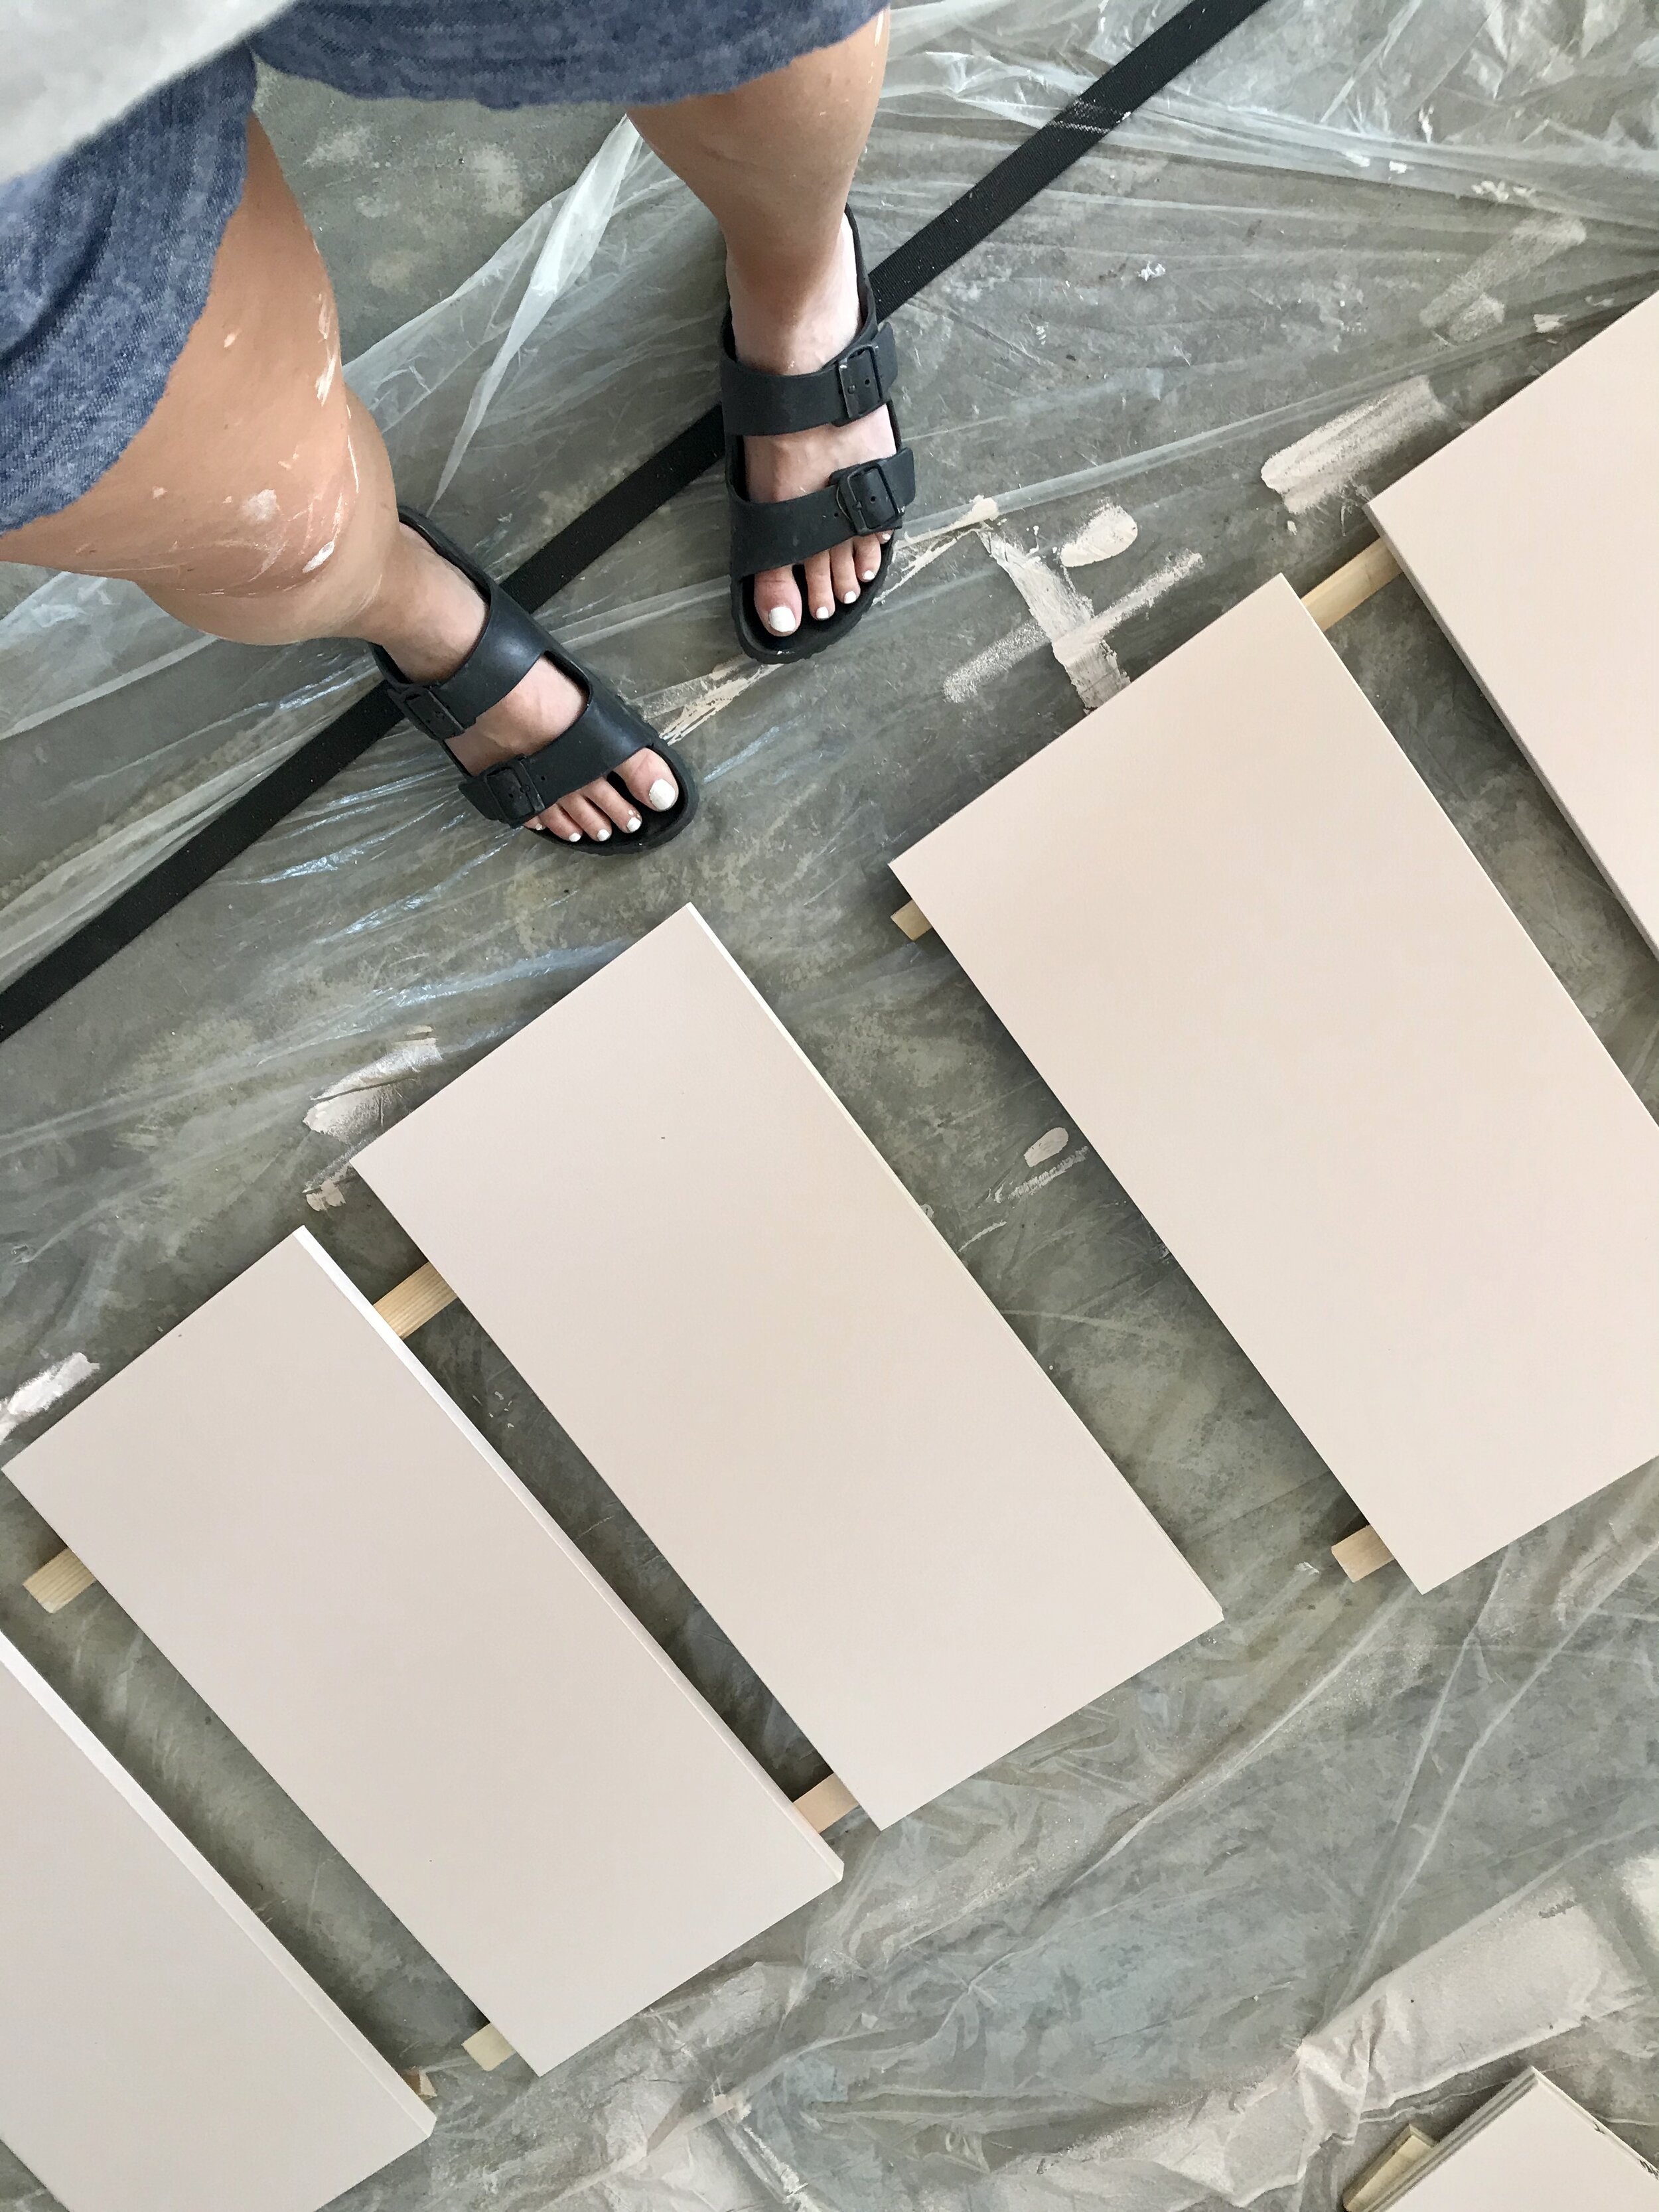
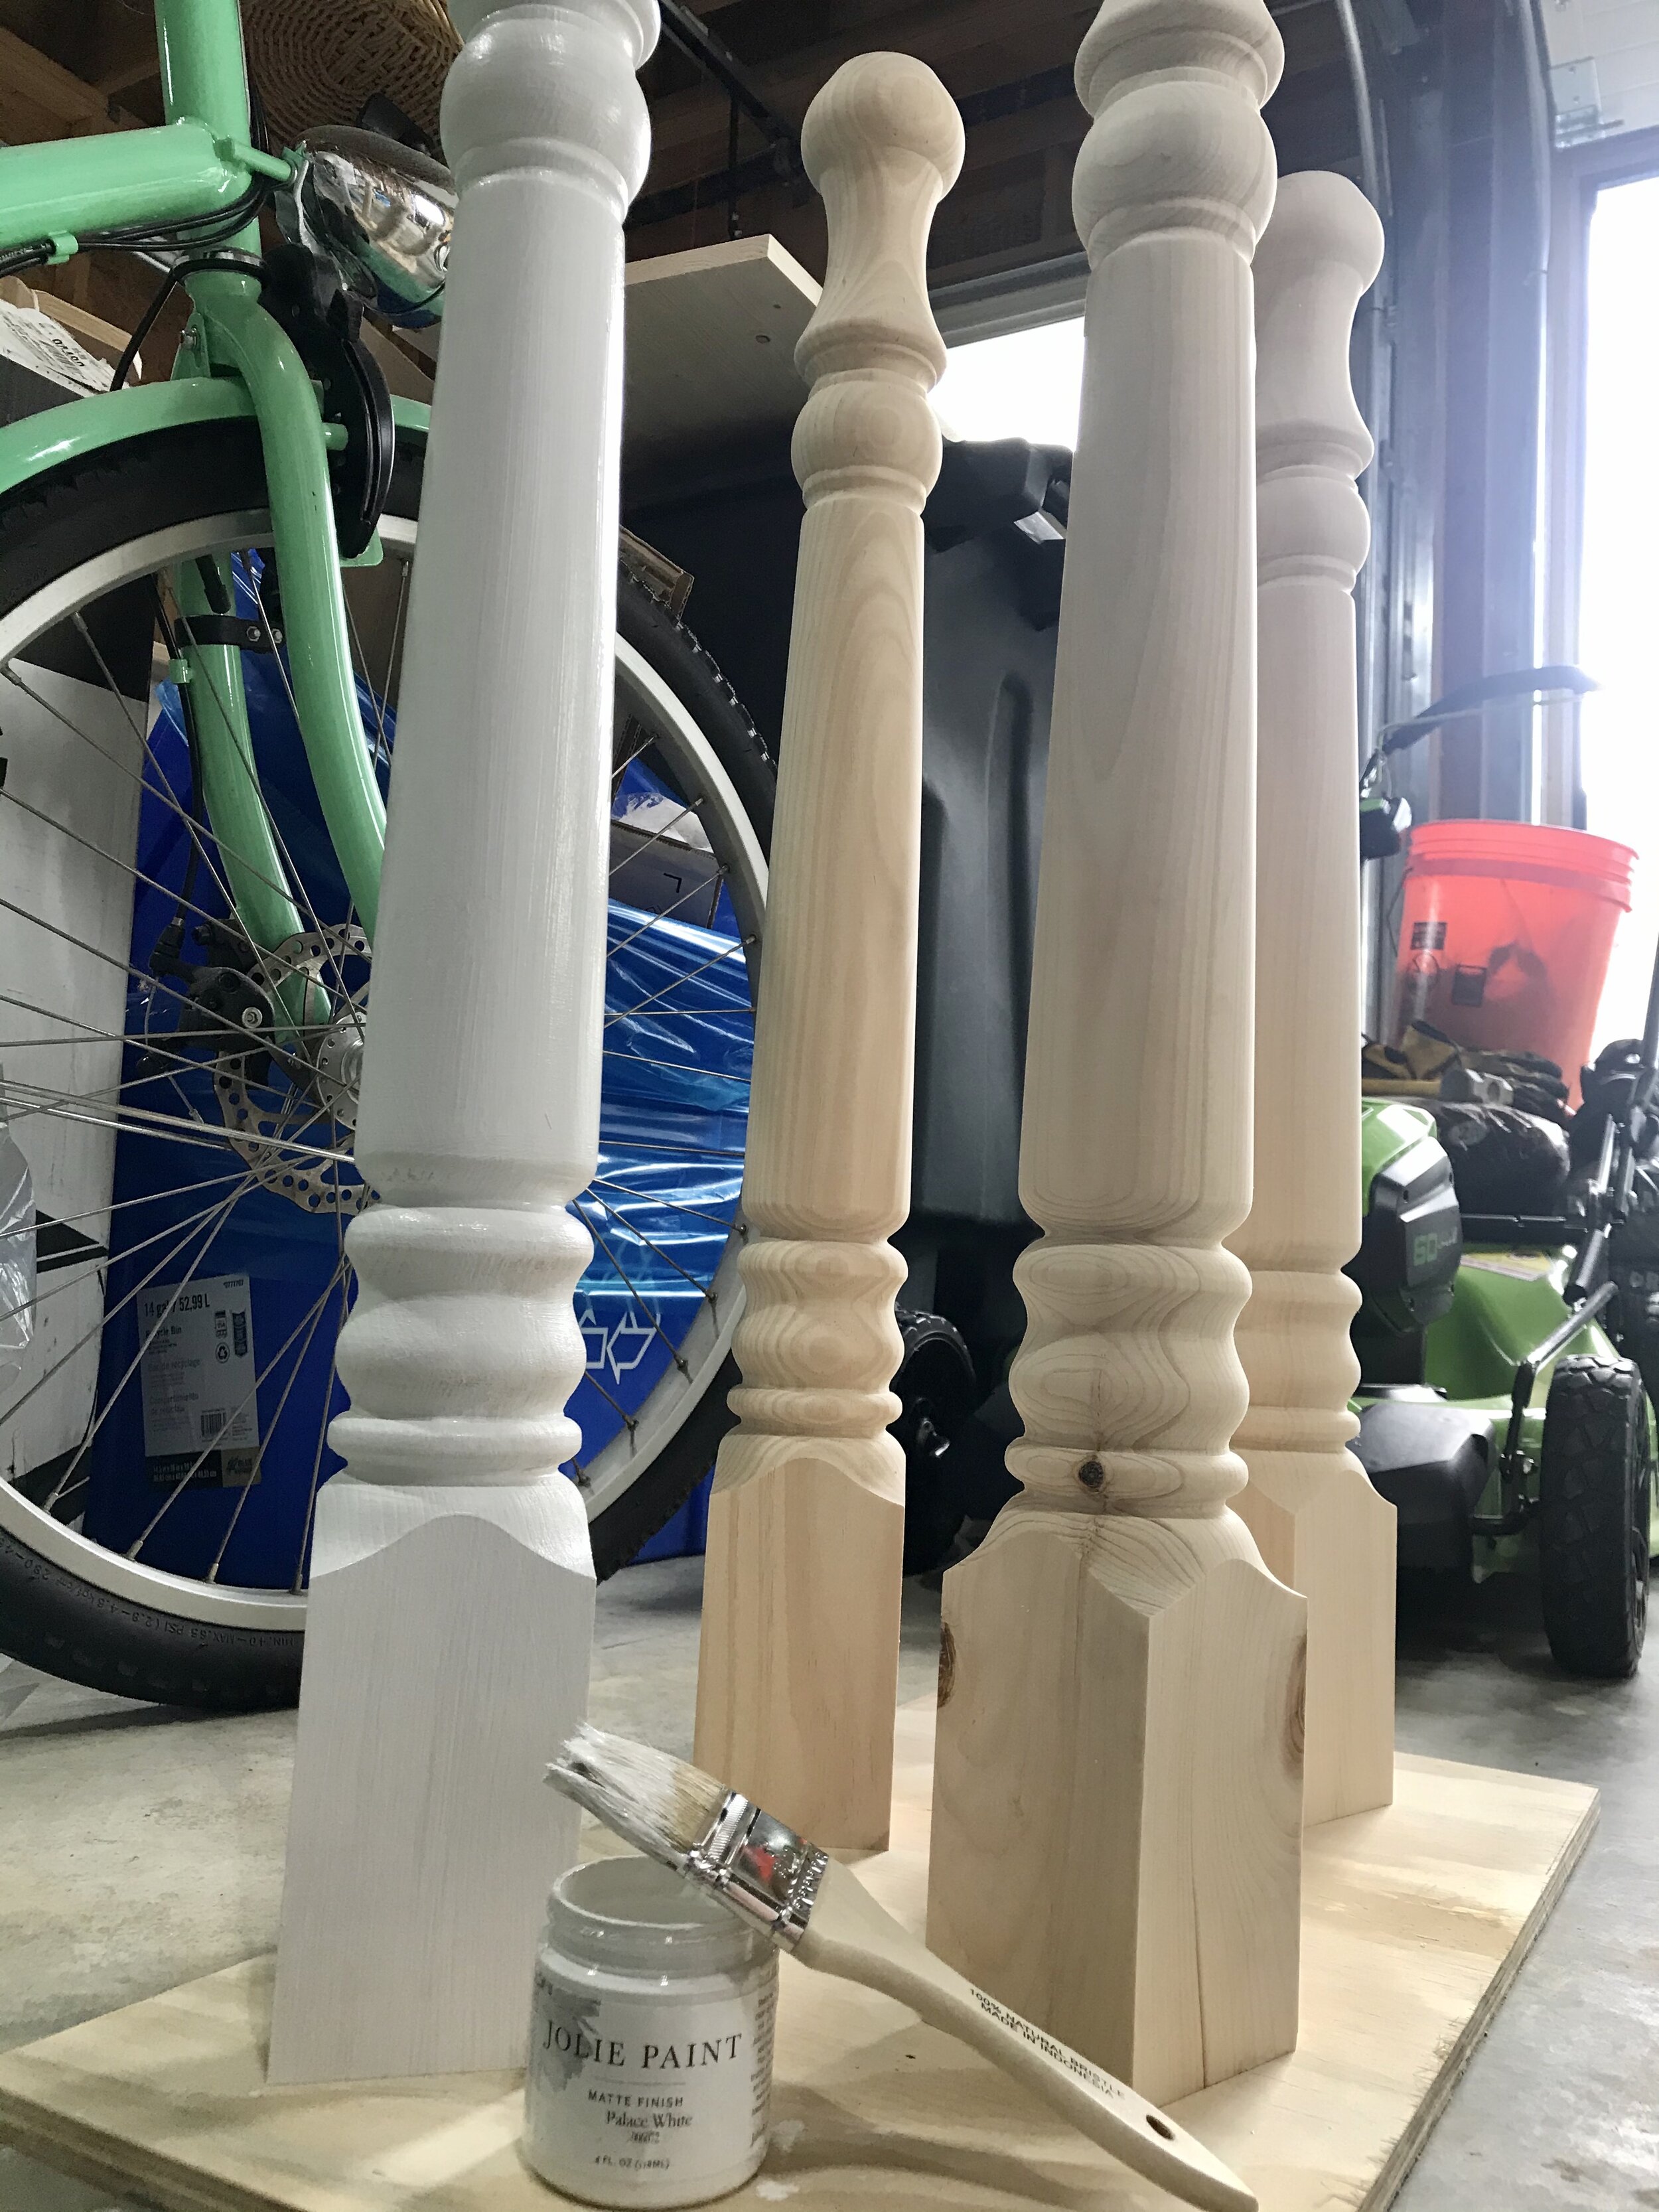
Paint
DIY PIN BOARD INSTRUCTIONS:
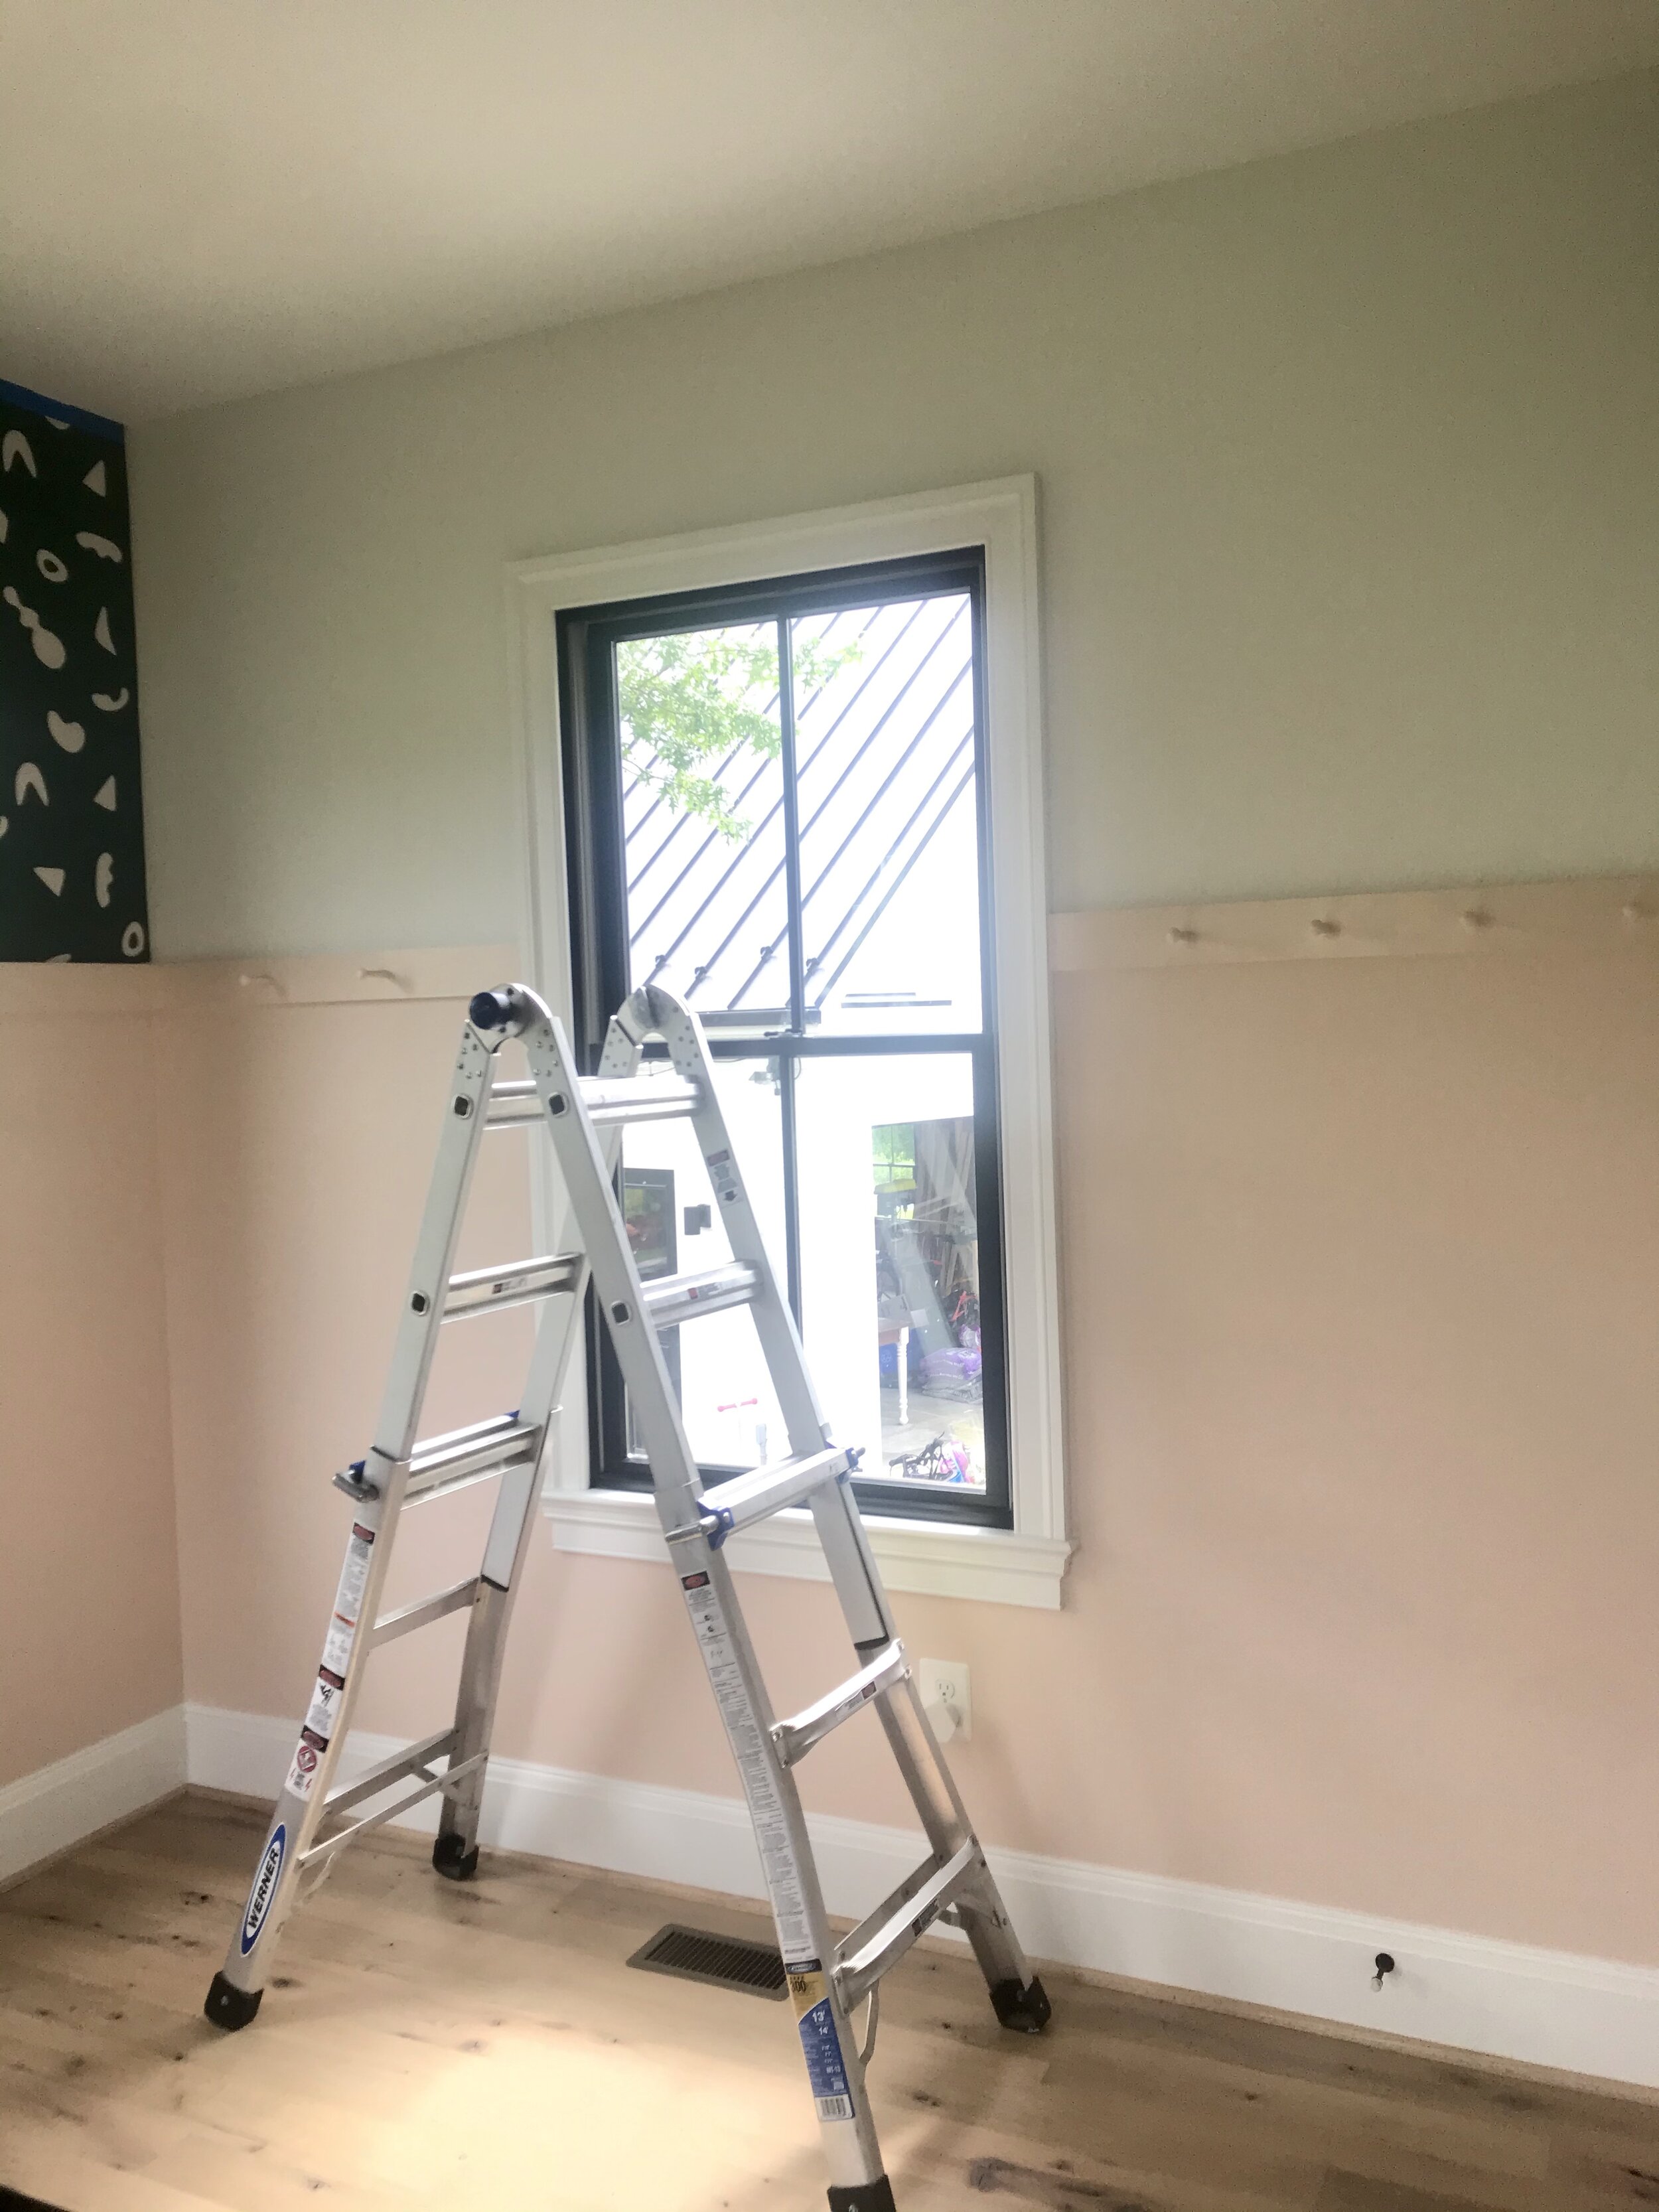
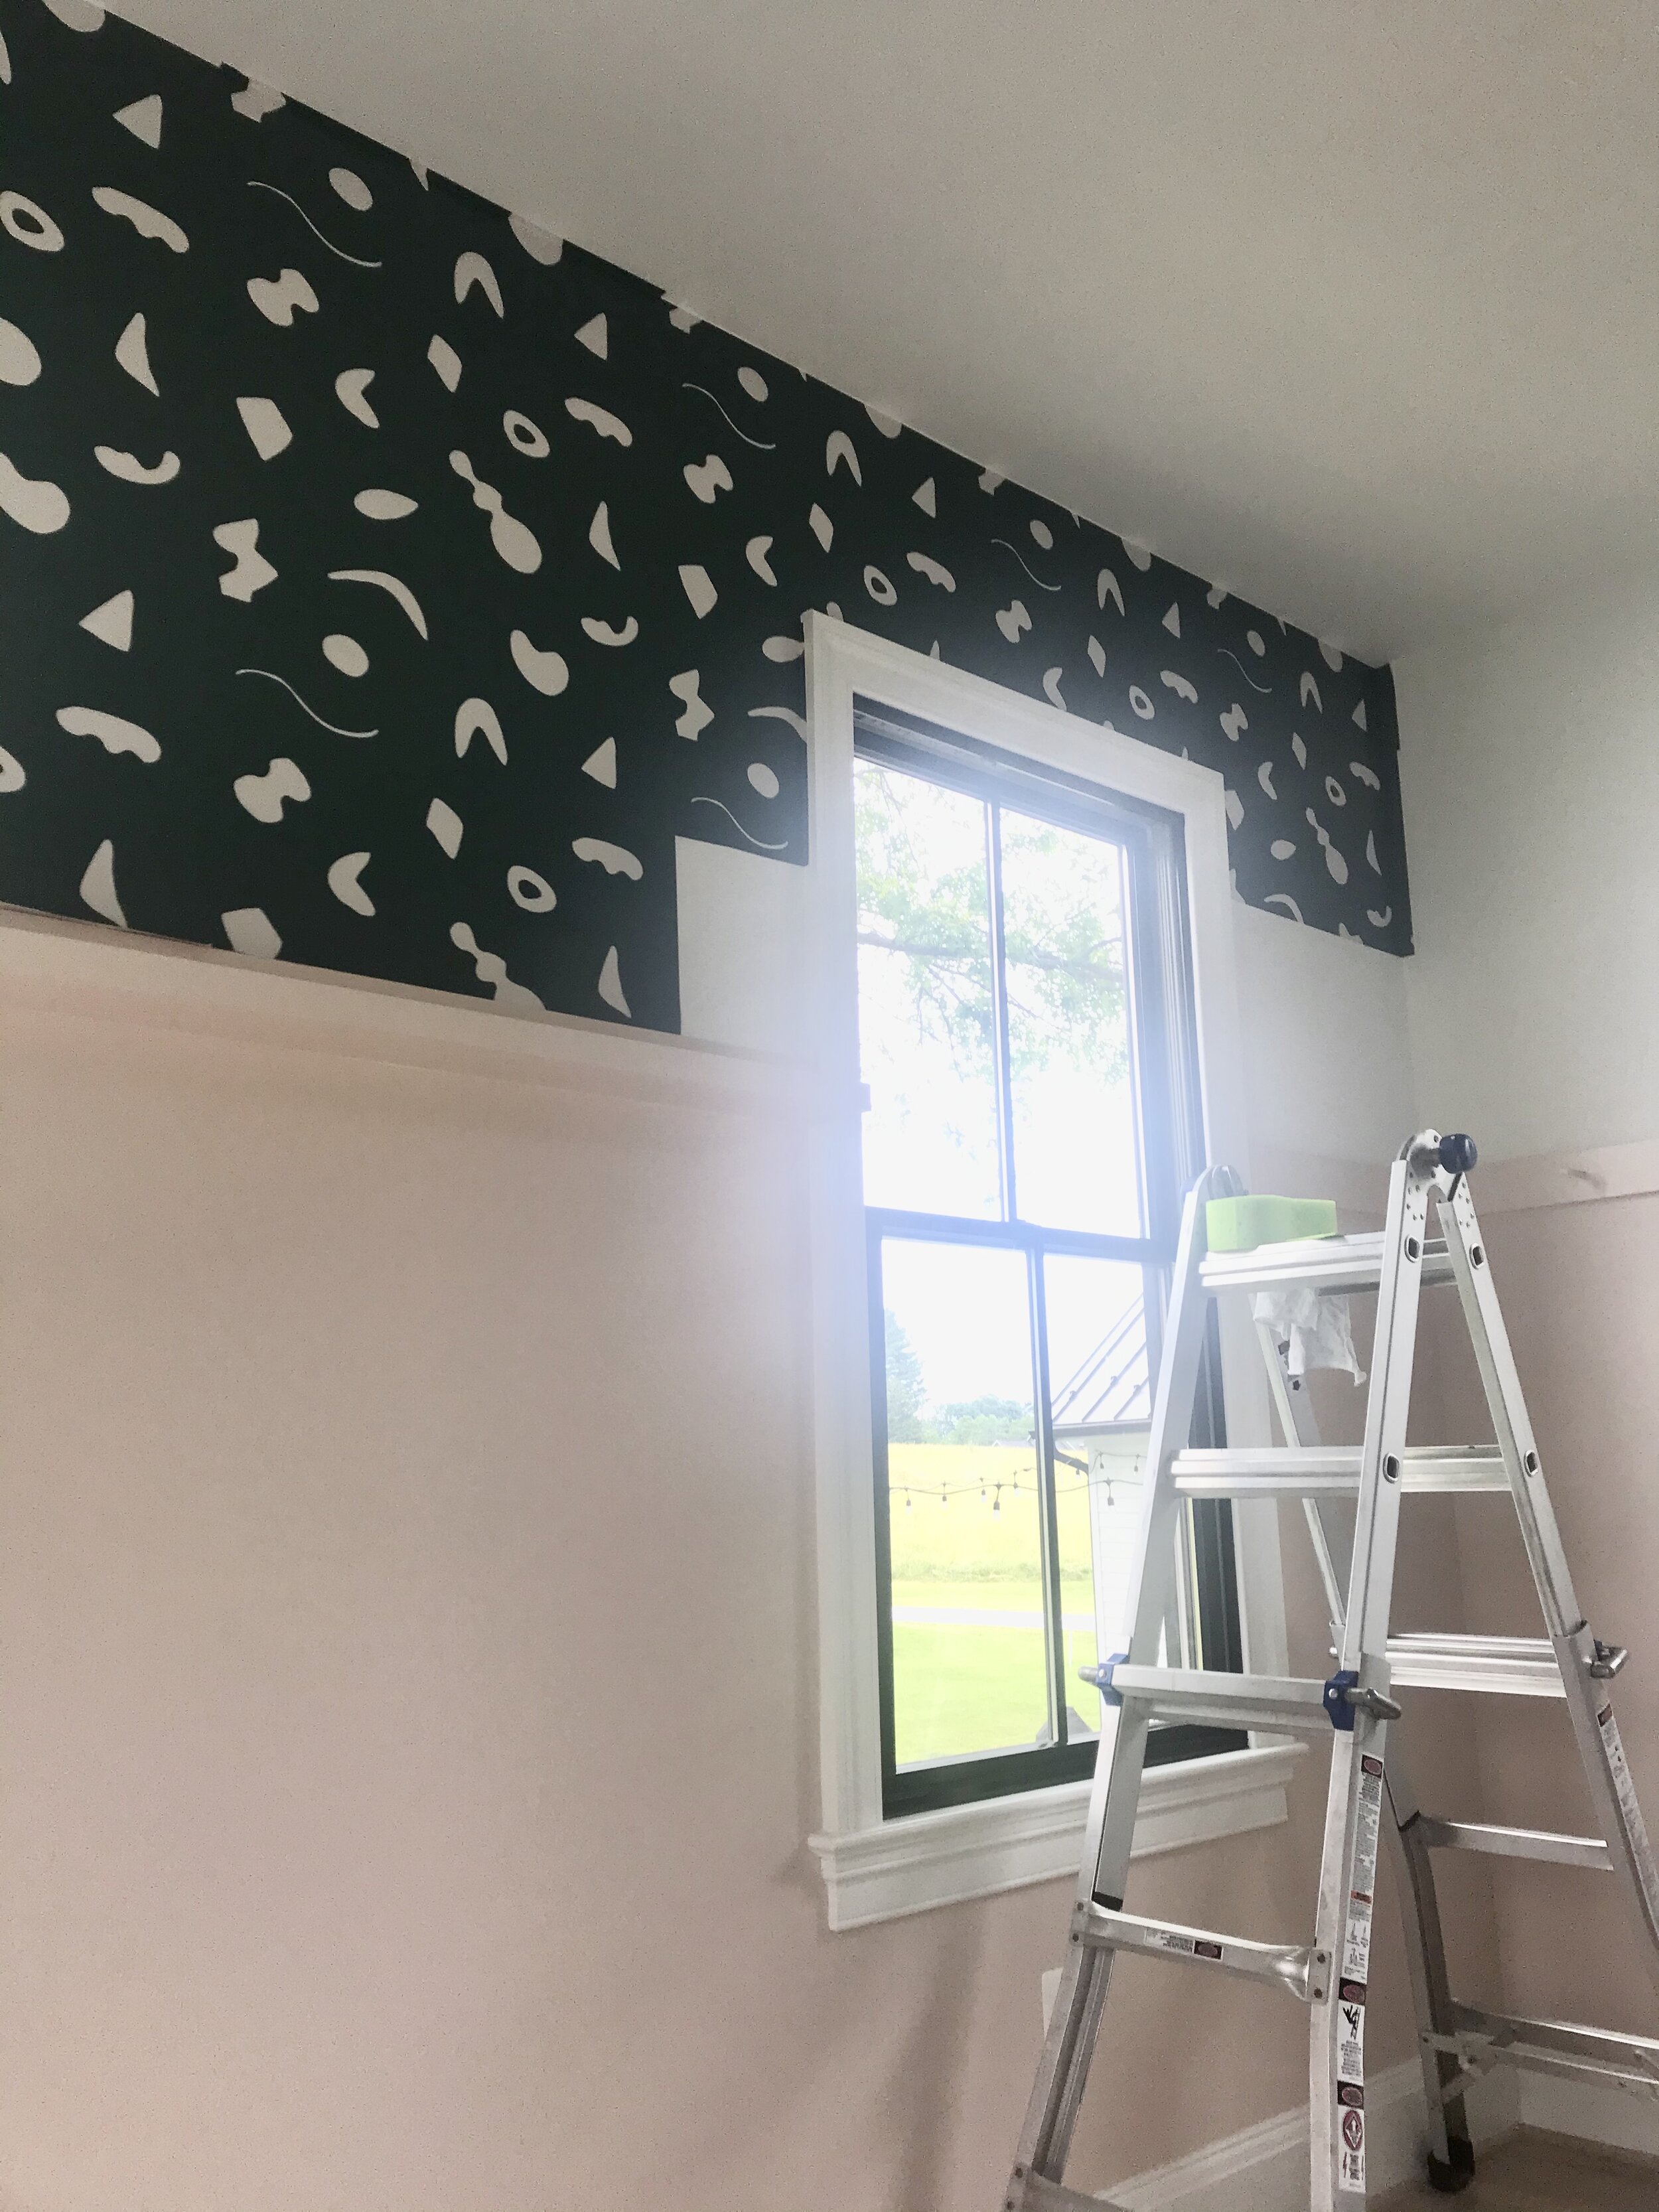
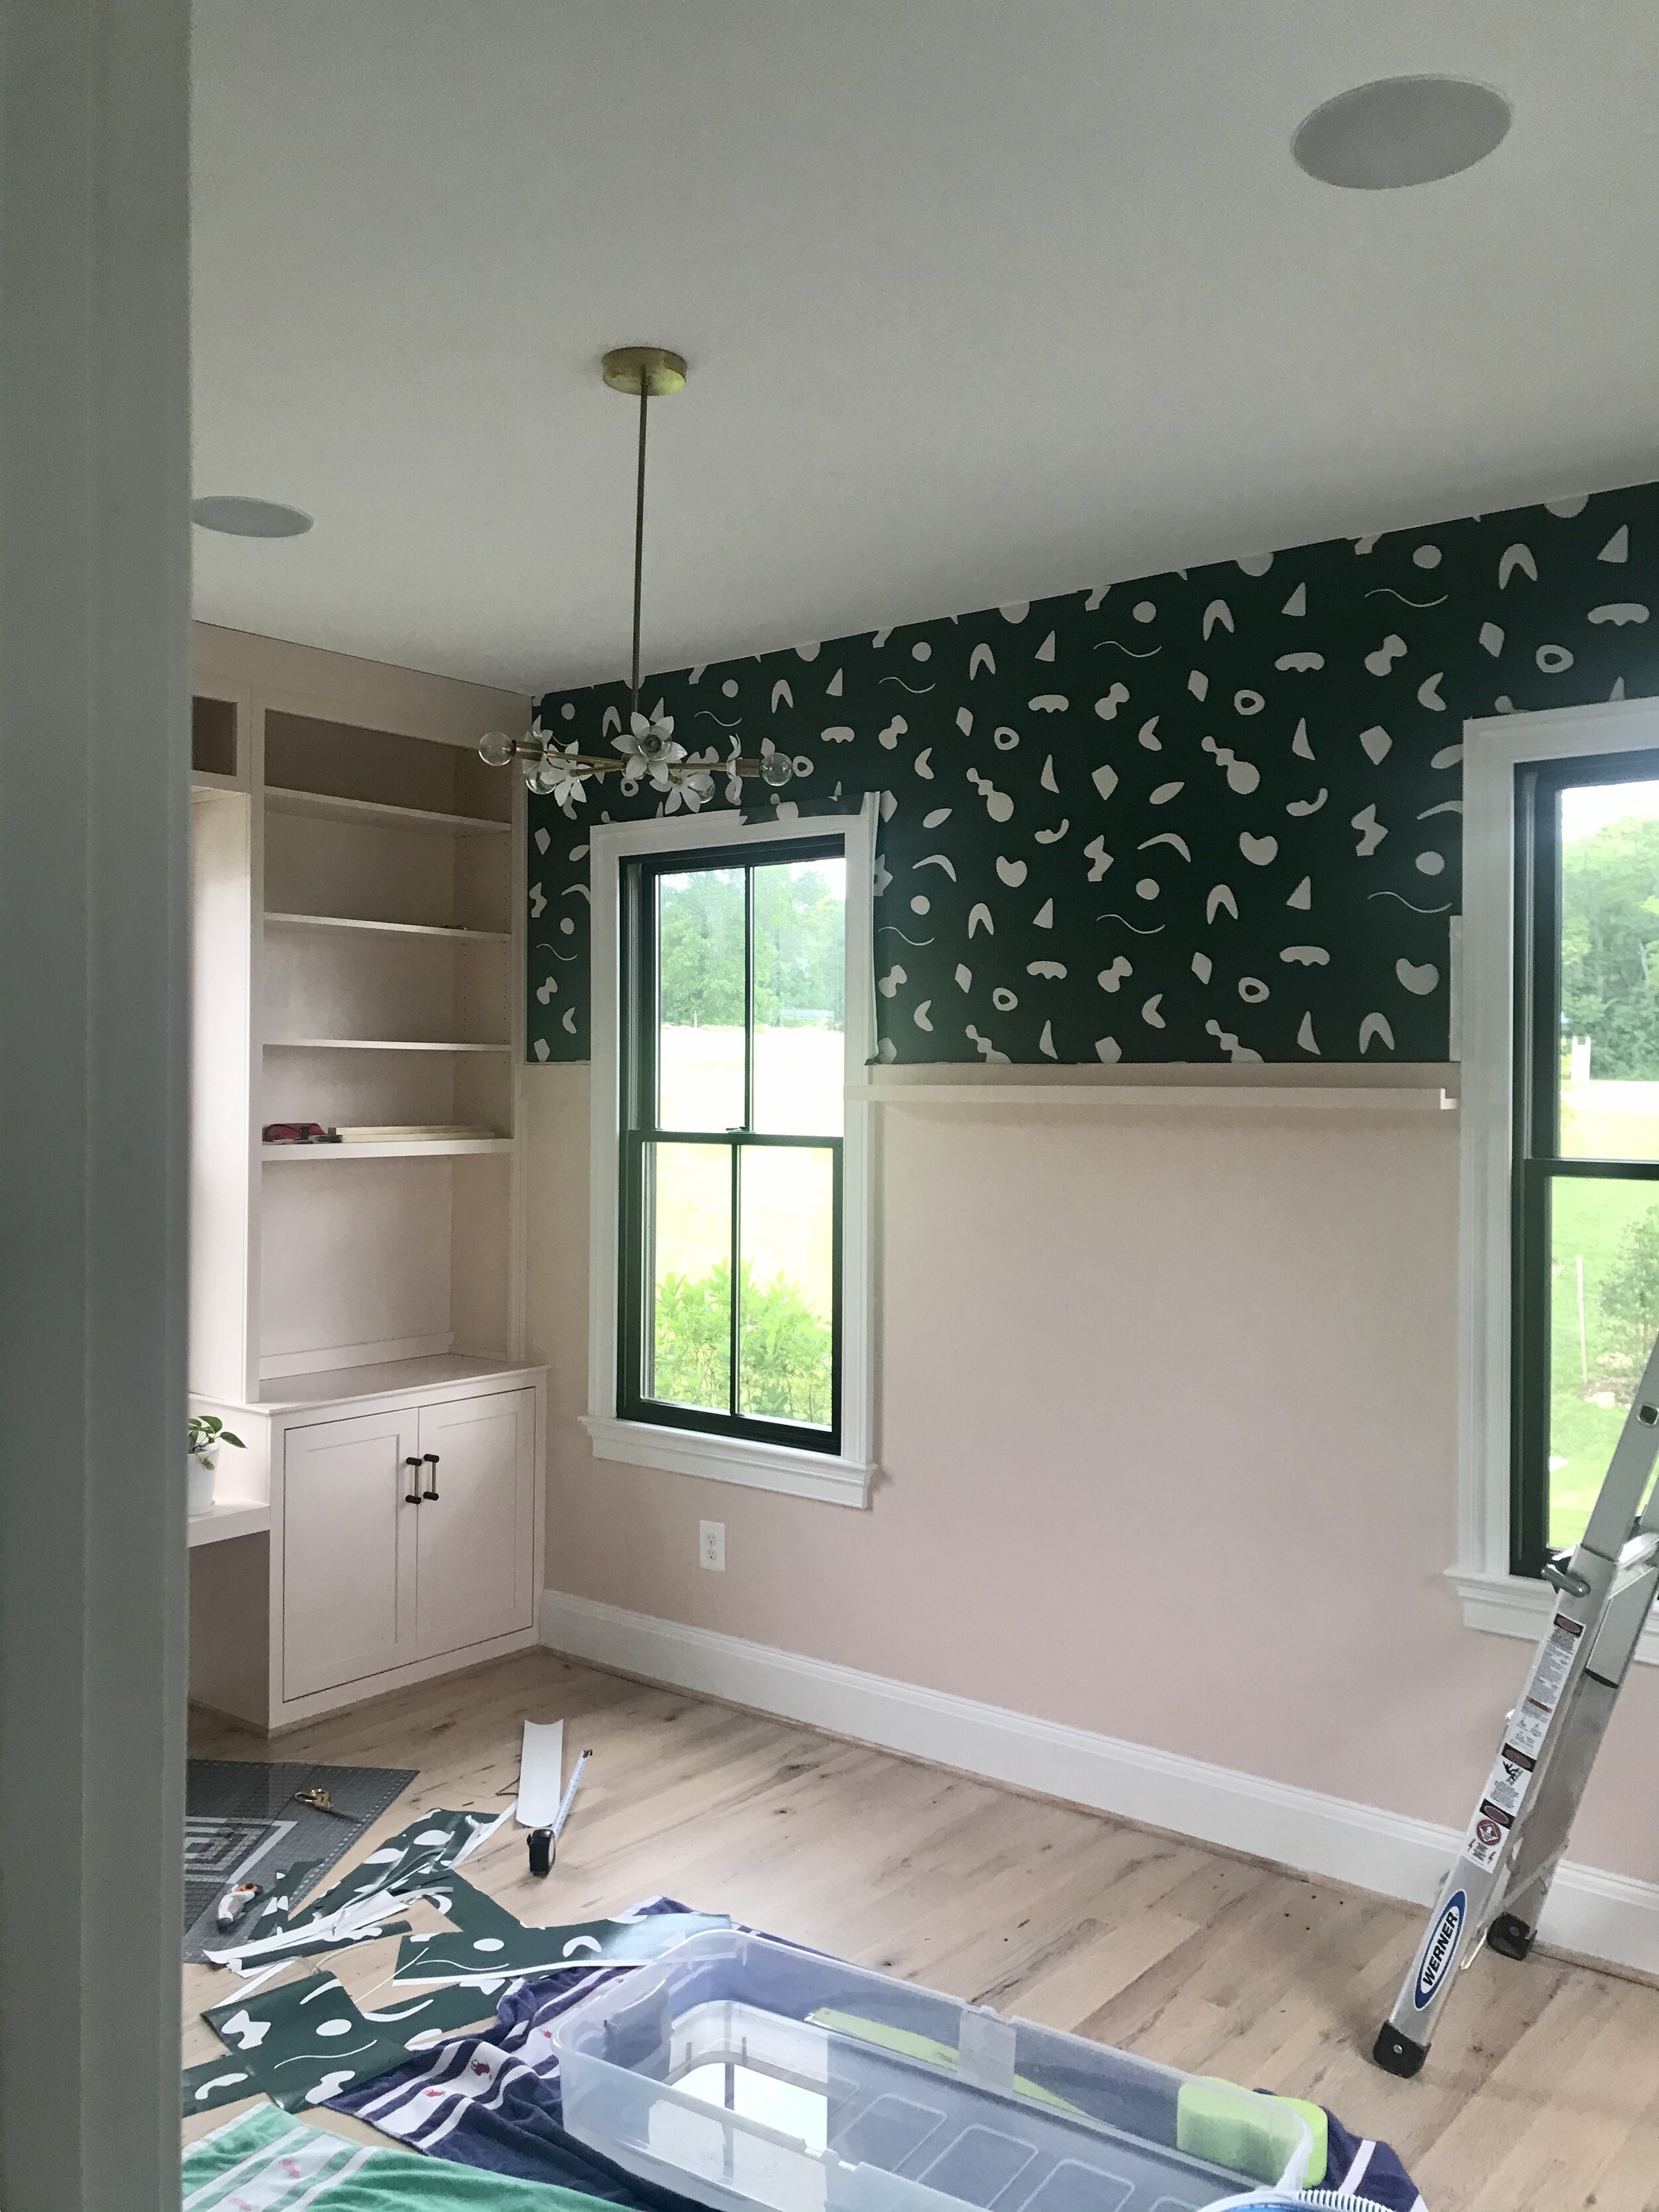
1. Figure out where you will hang your giant pin board and MEASURE!

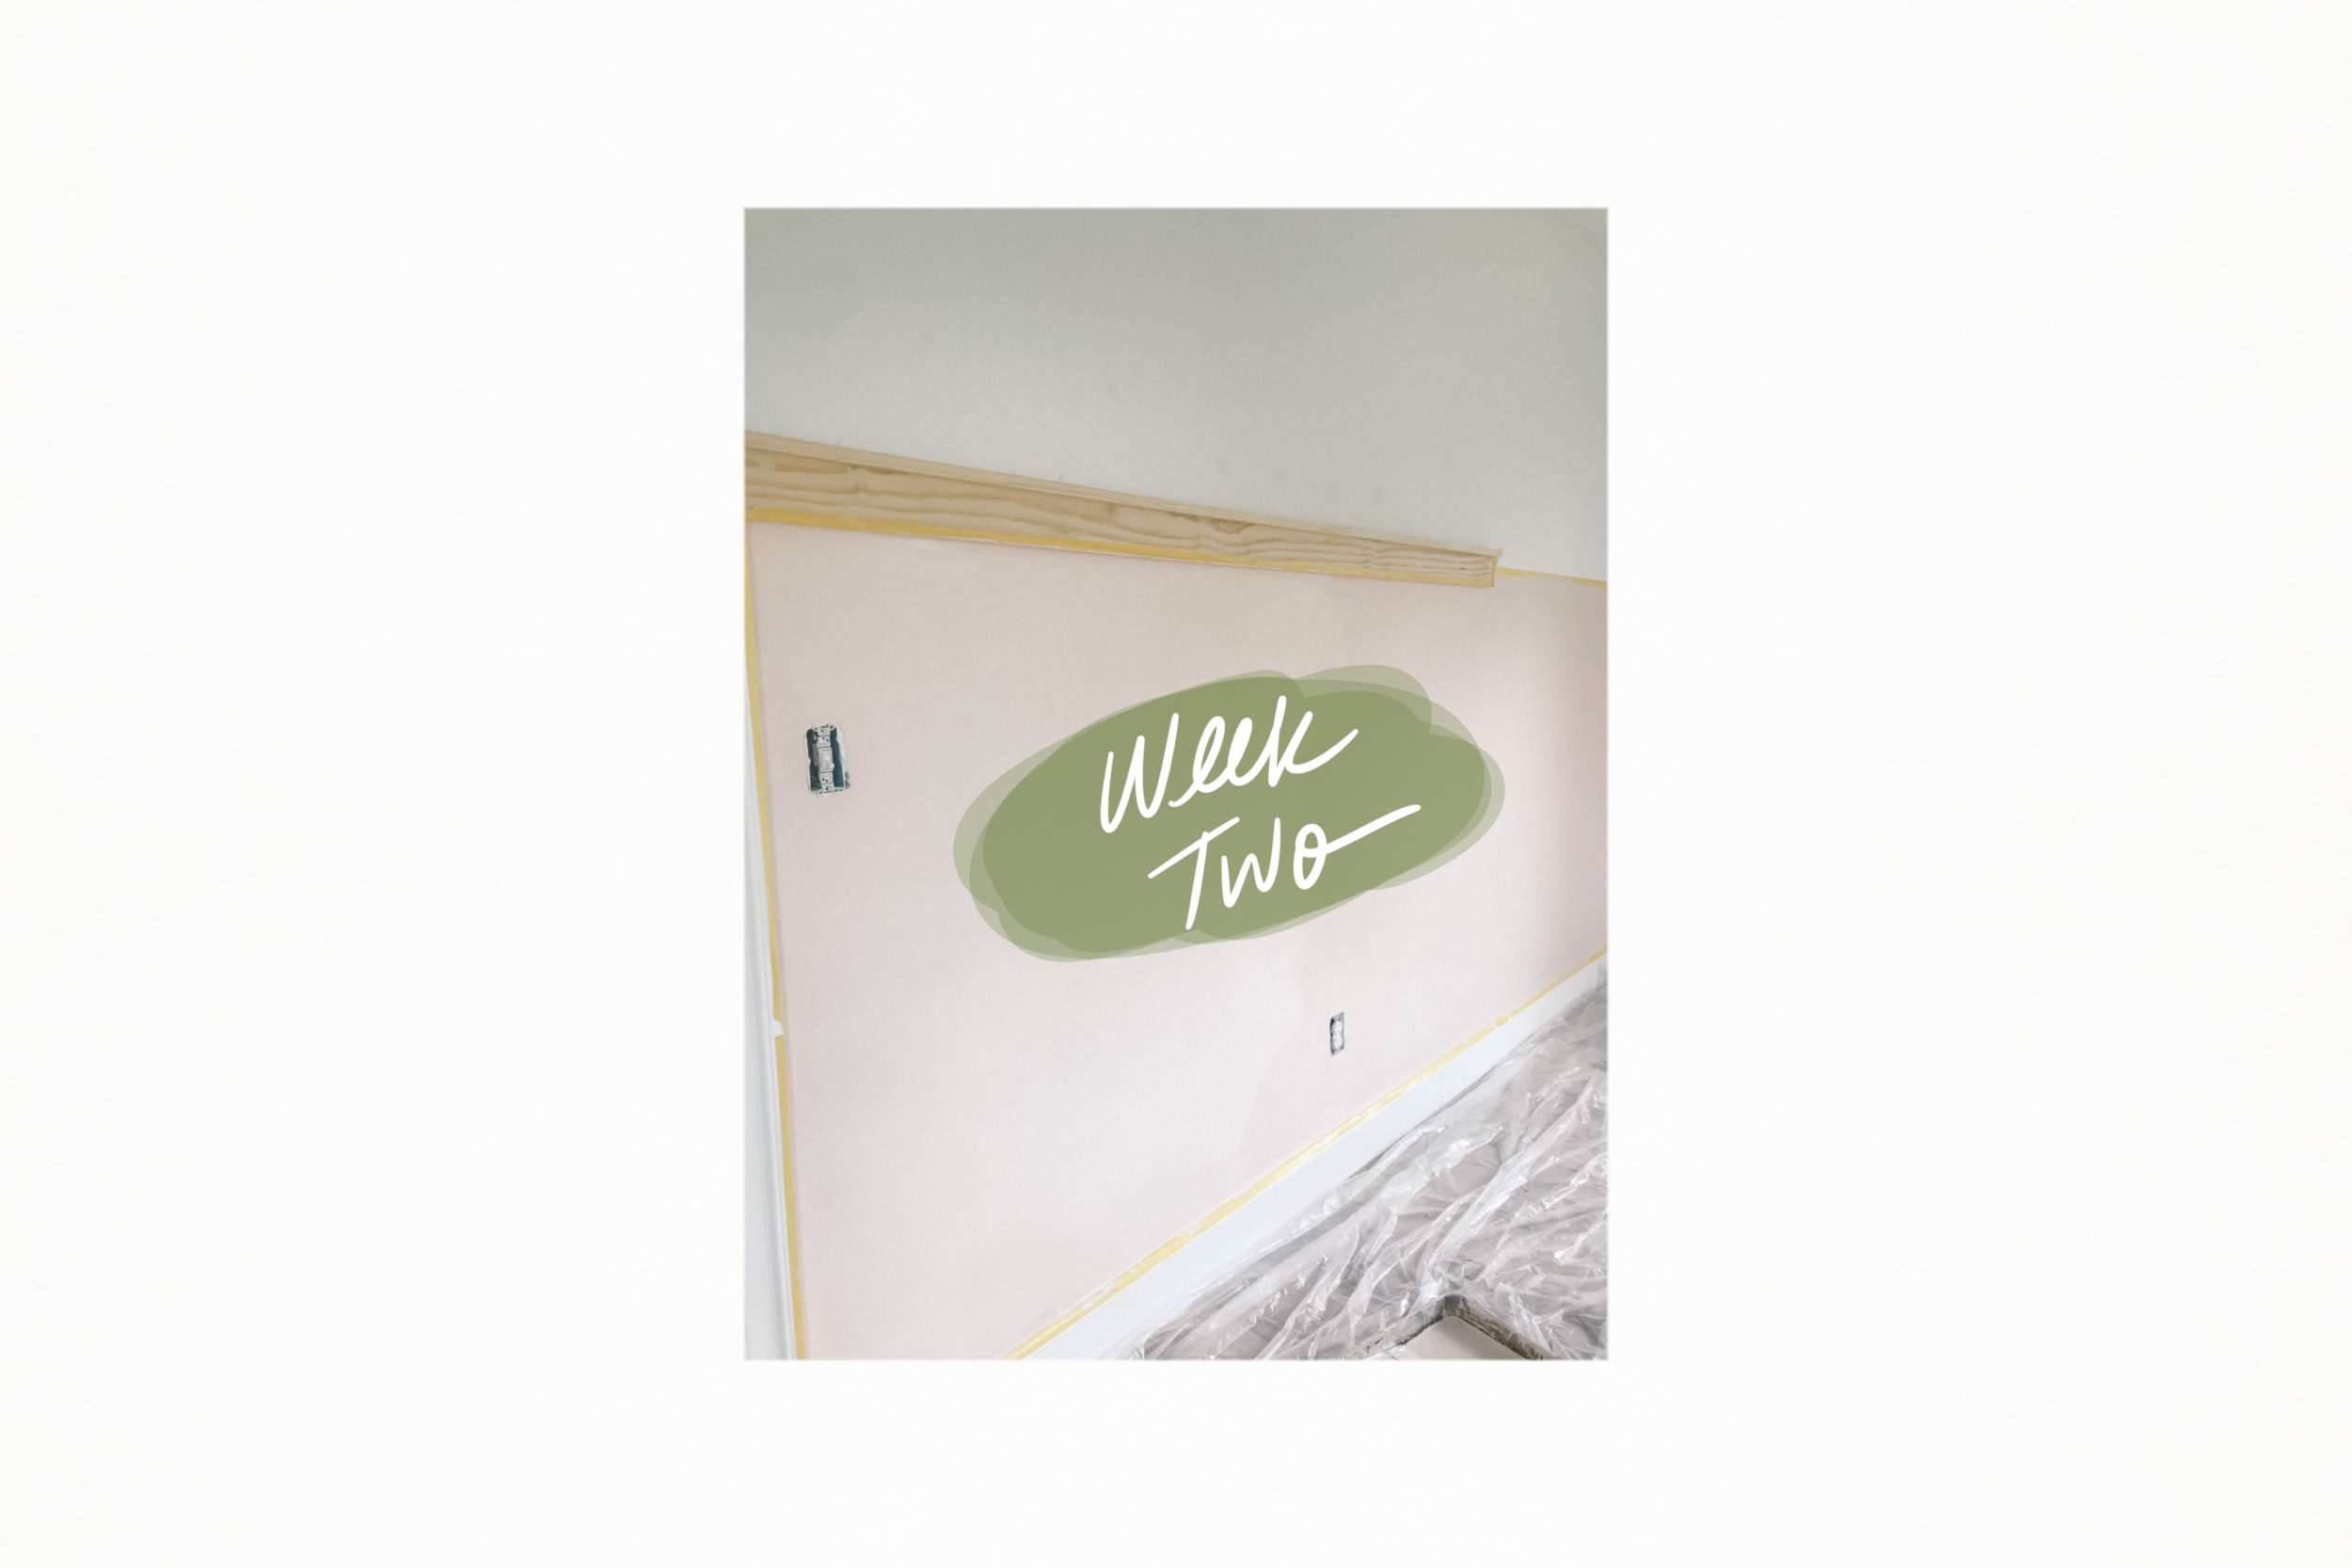
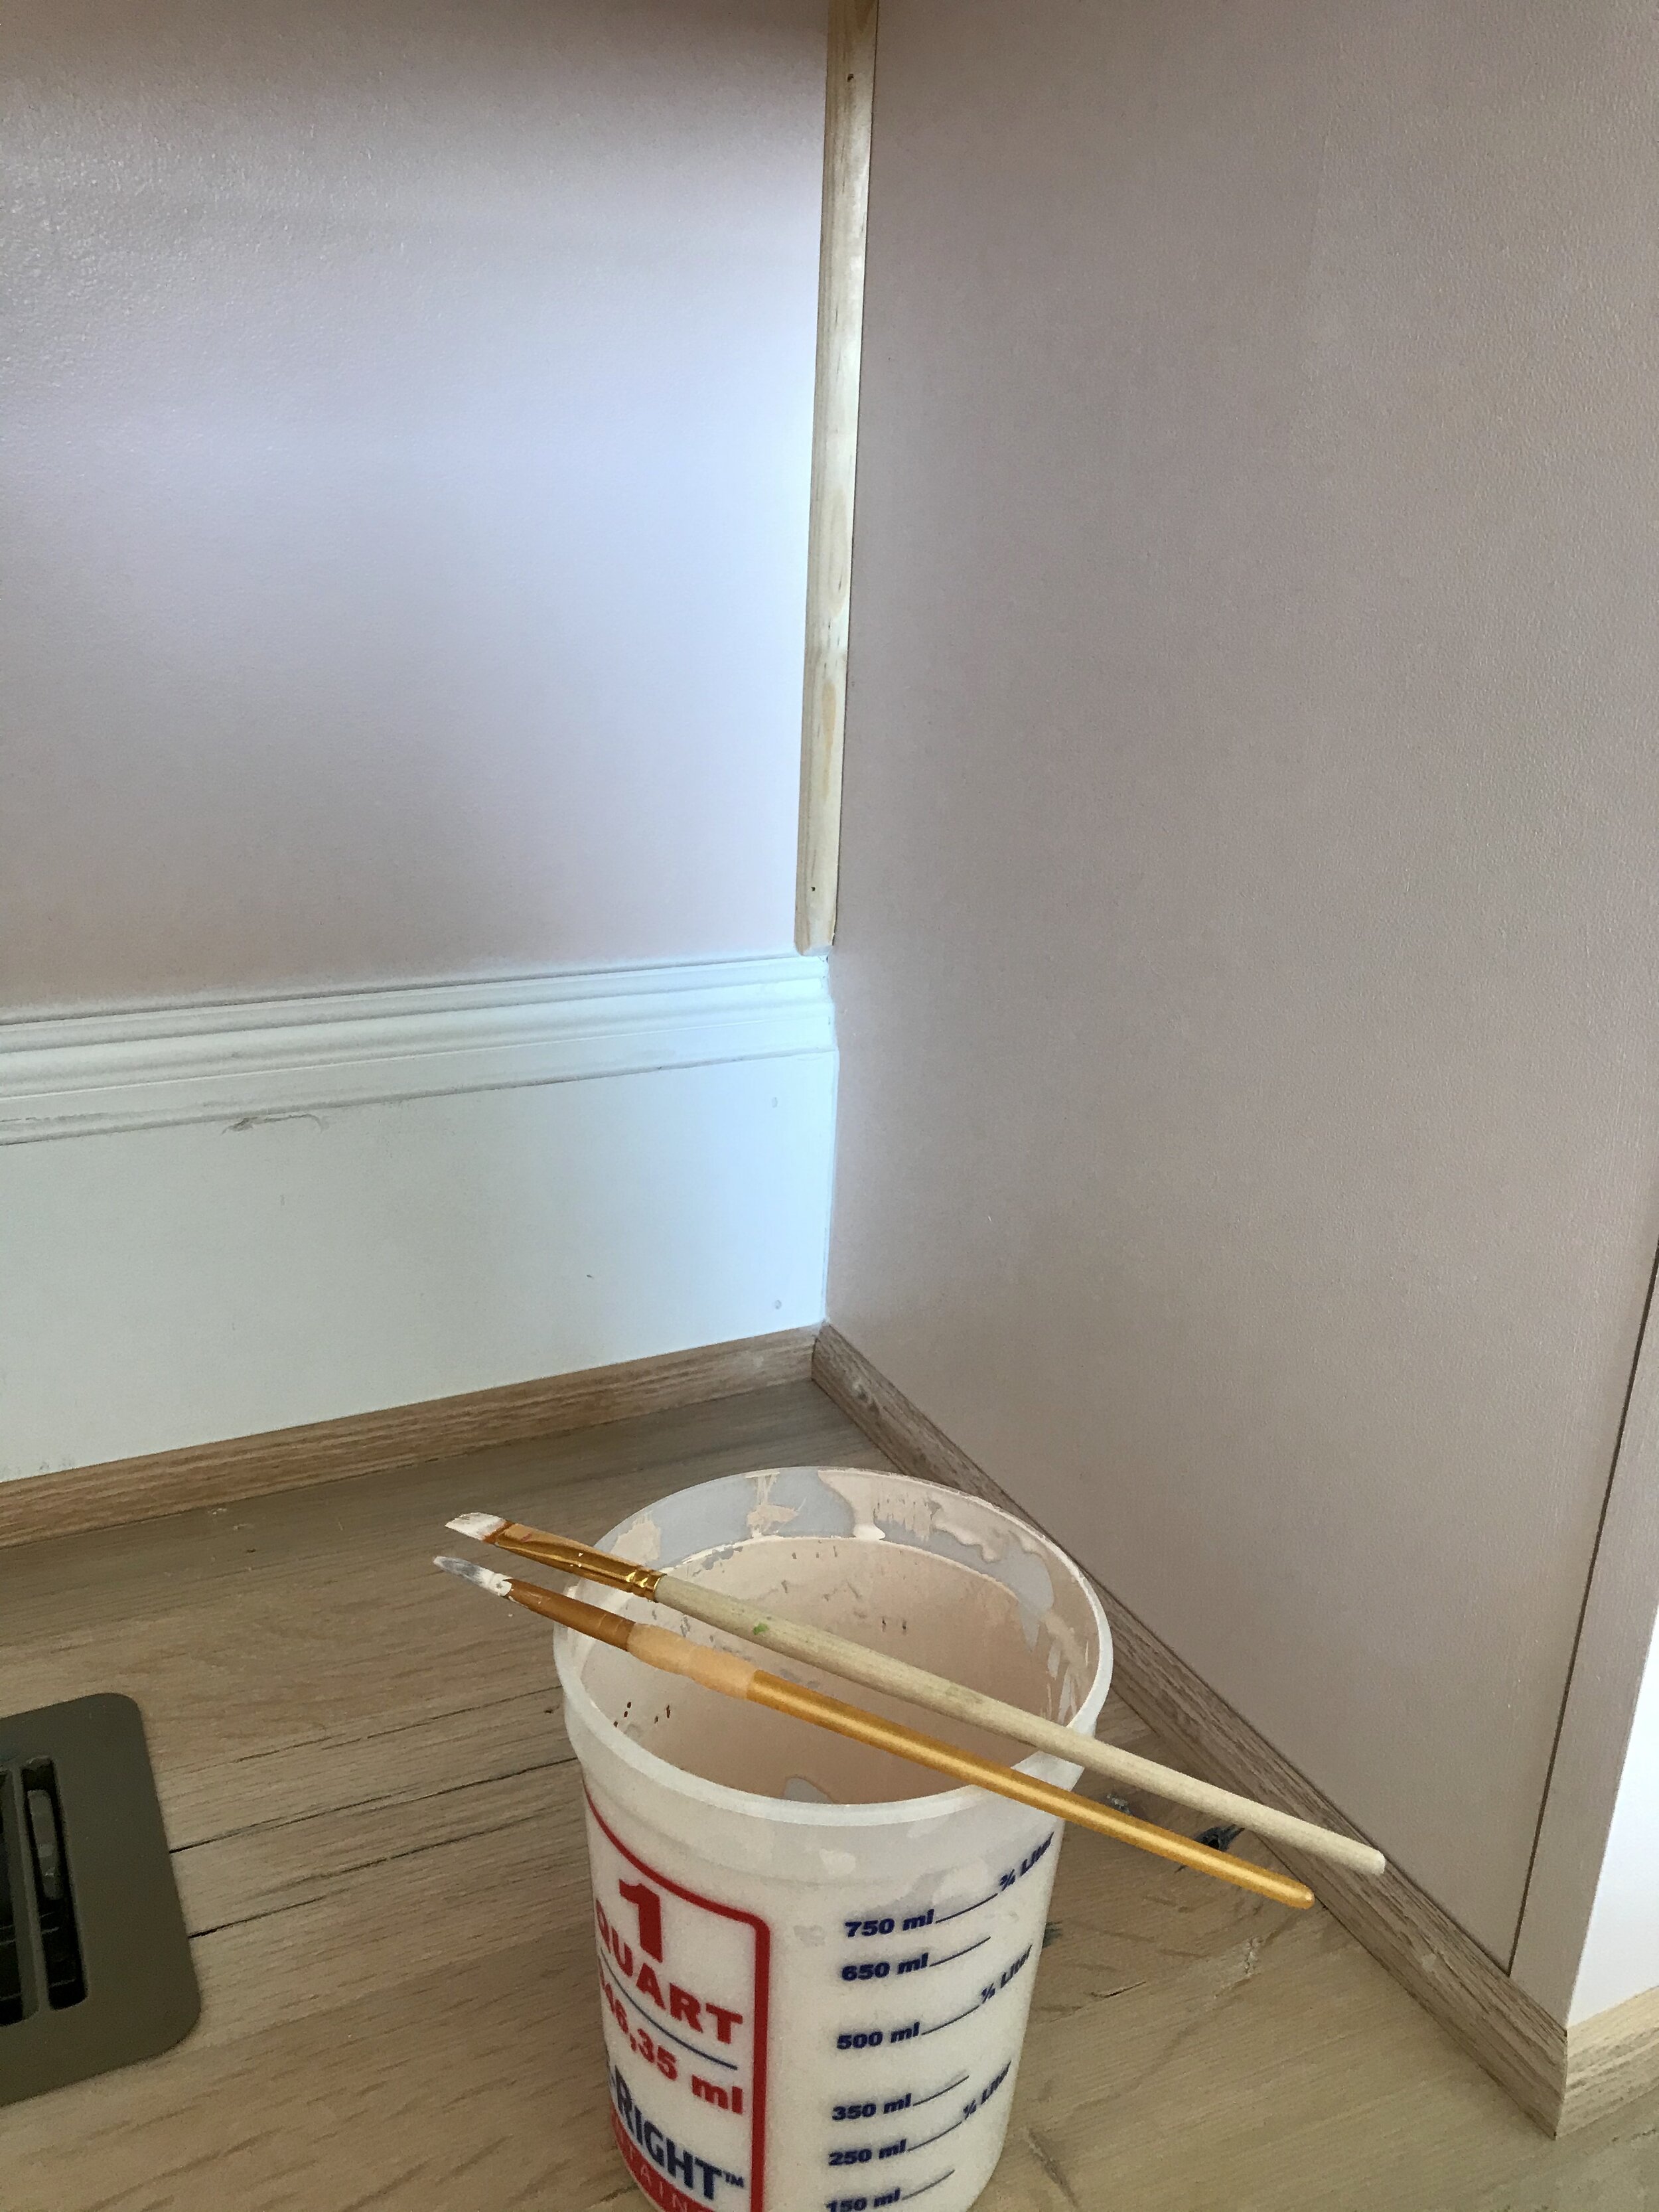
2. Prep the space where you will hang your pin board(s). Prep, in this instance = paint.

3. Cut your cork to size. We did this prior to building the frame using a table saw to get a clean edge.

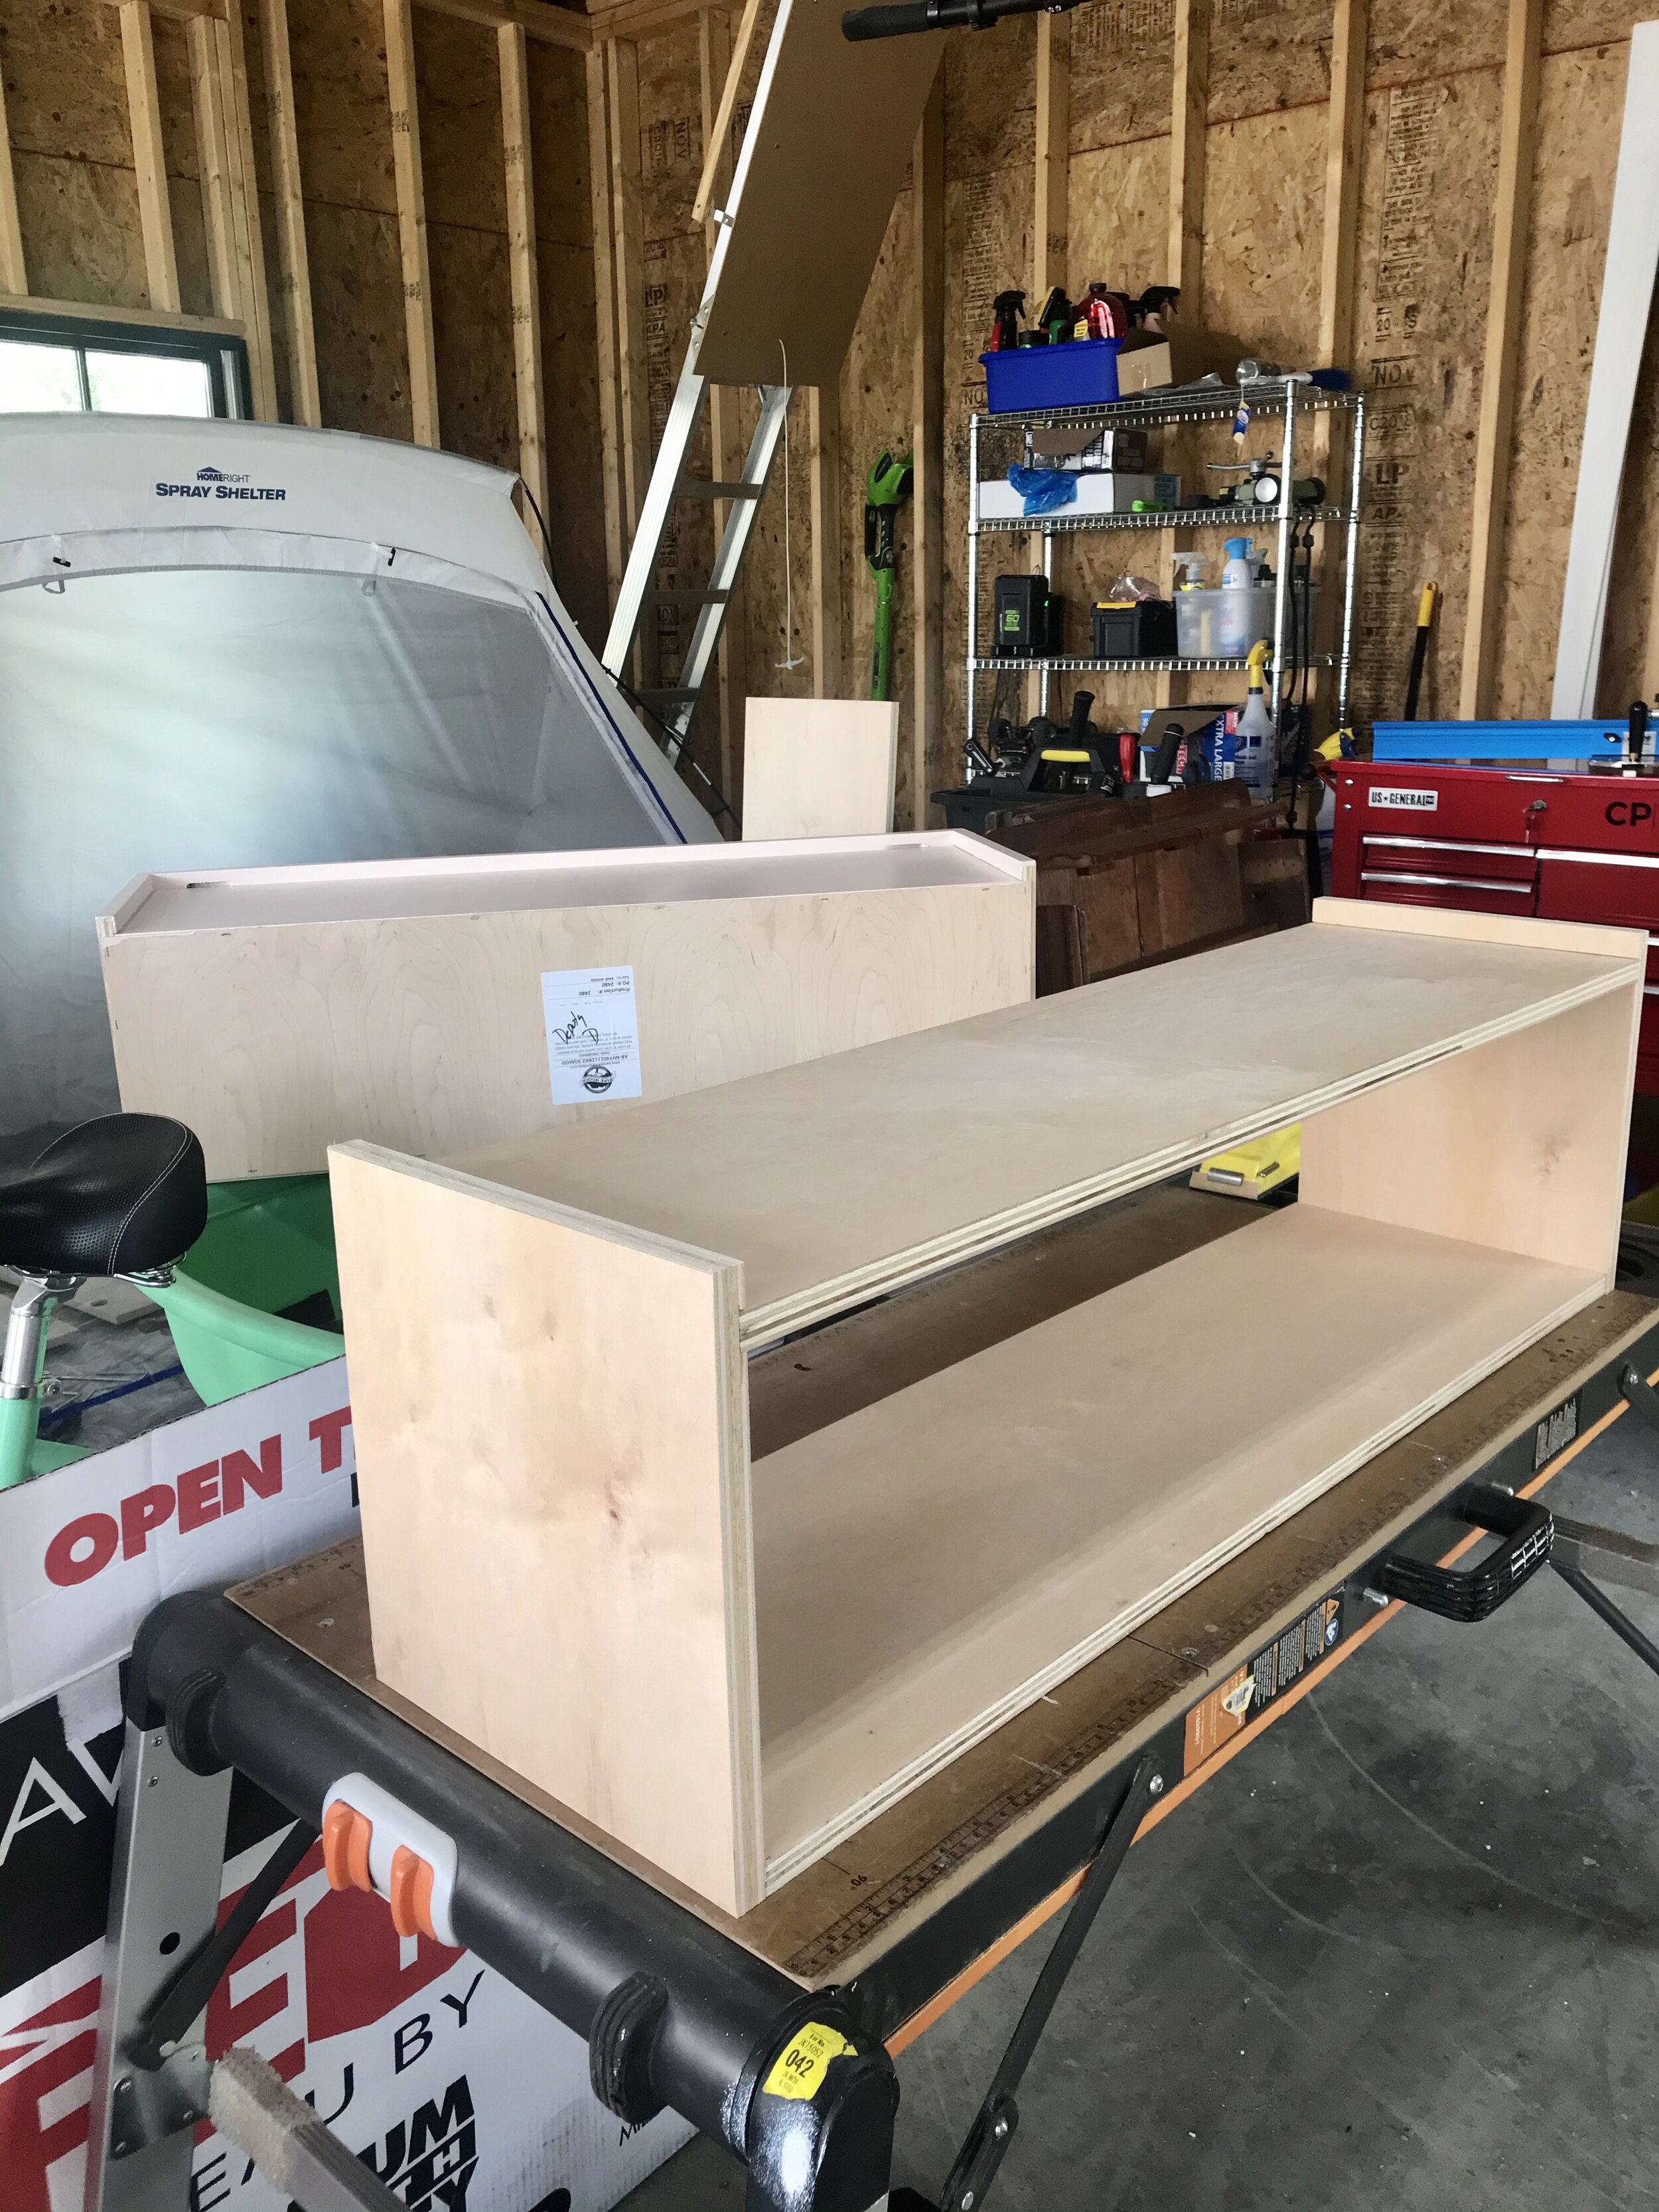
4. Build the pin board frame with the 1 in. x 2 in pine board. Make it super easy on yourself by getting your 4 frame pieces cut to size before you leave the hardware store. We used a simple butt joint (keep the jokes to yourself) at each corner and attached with screws.
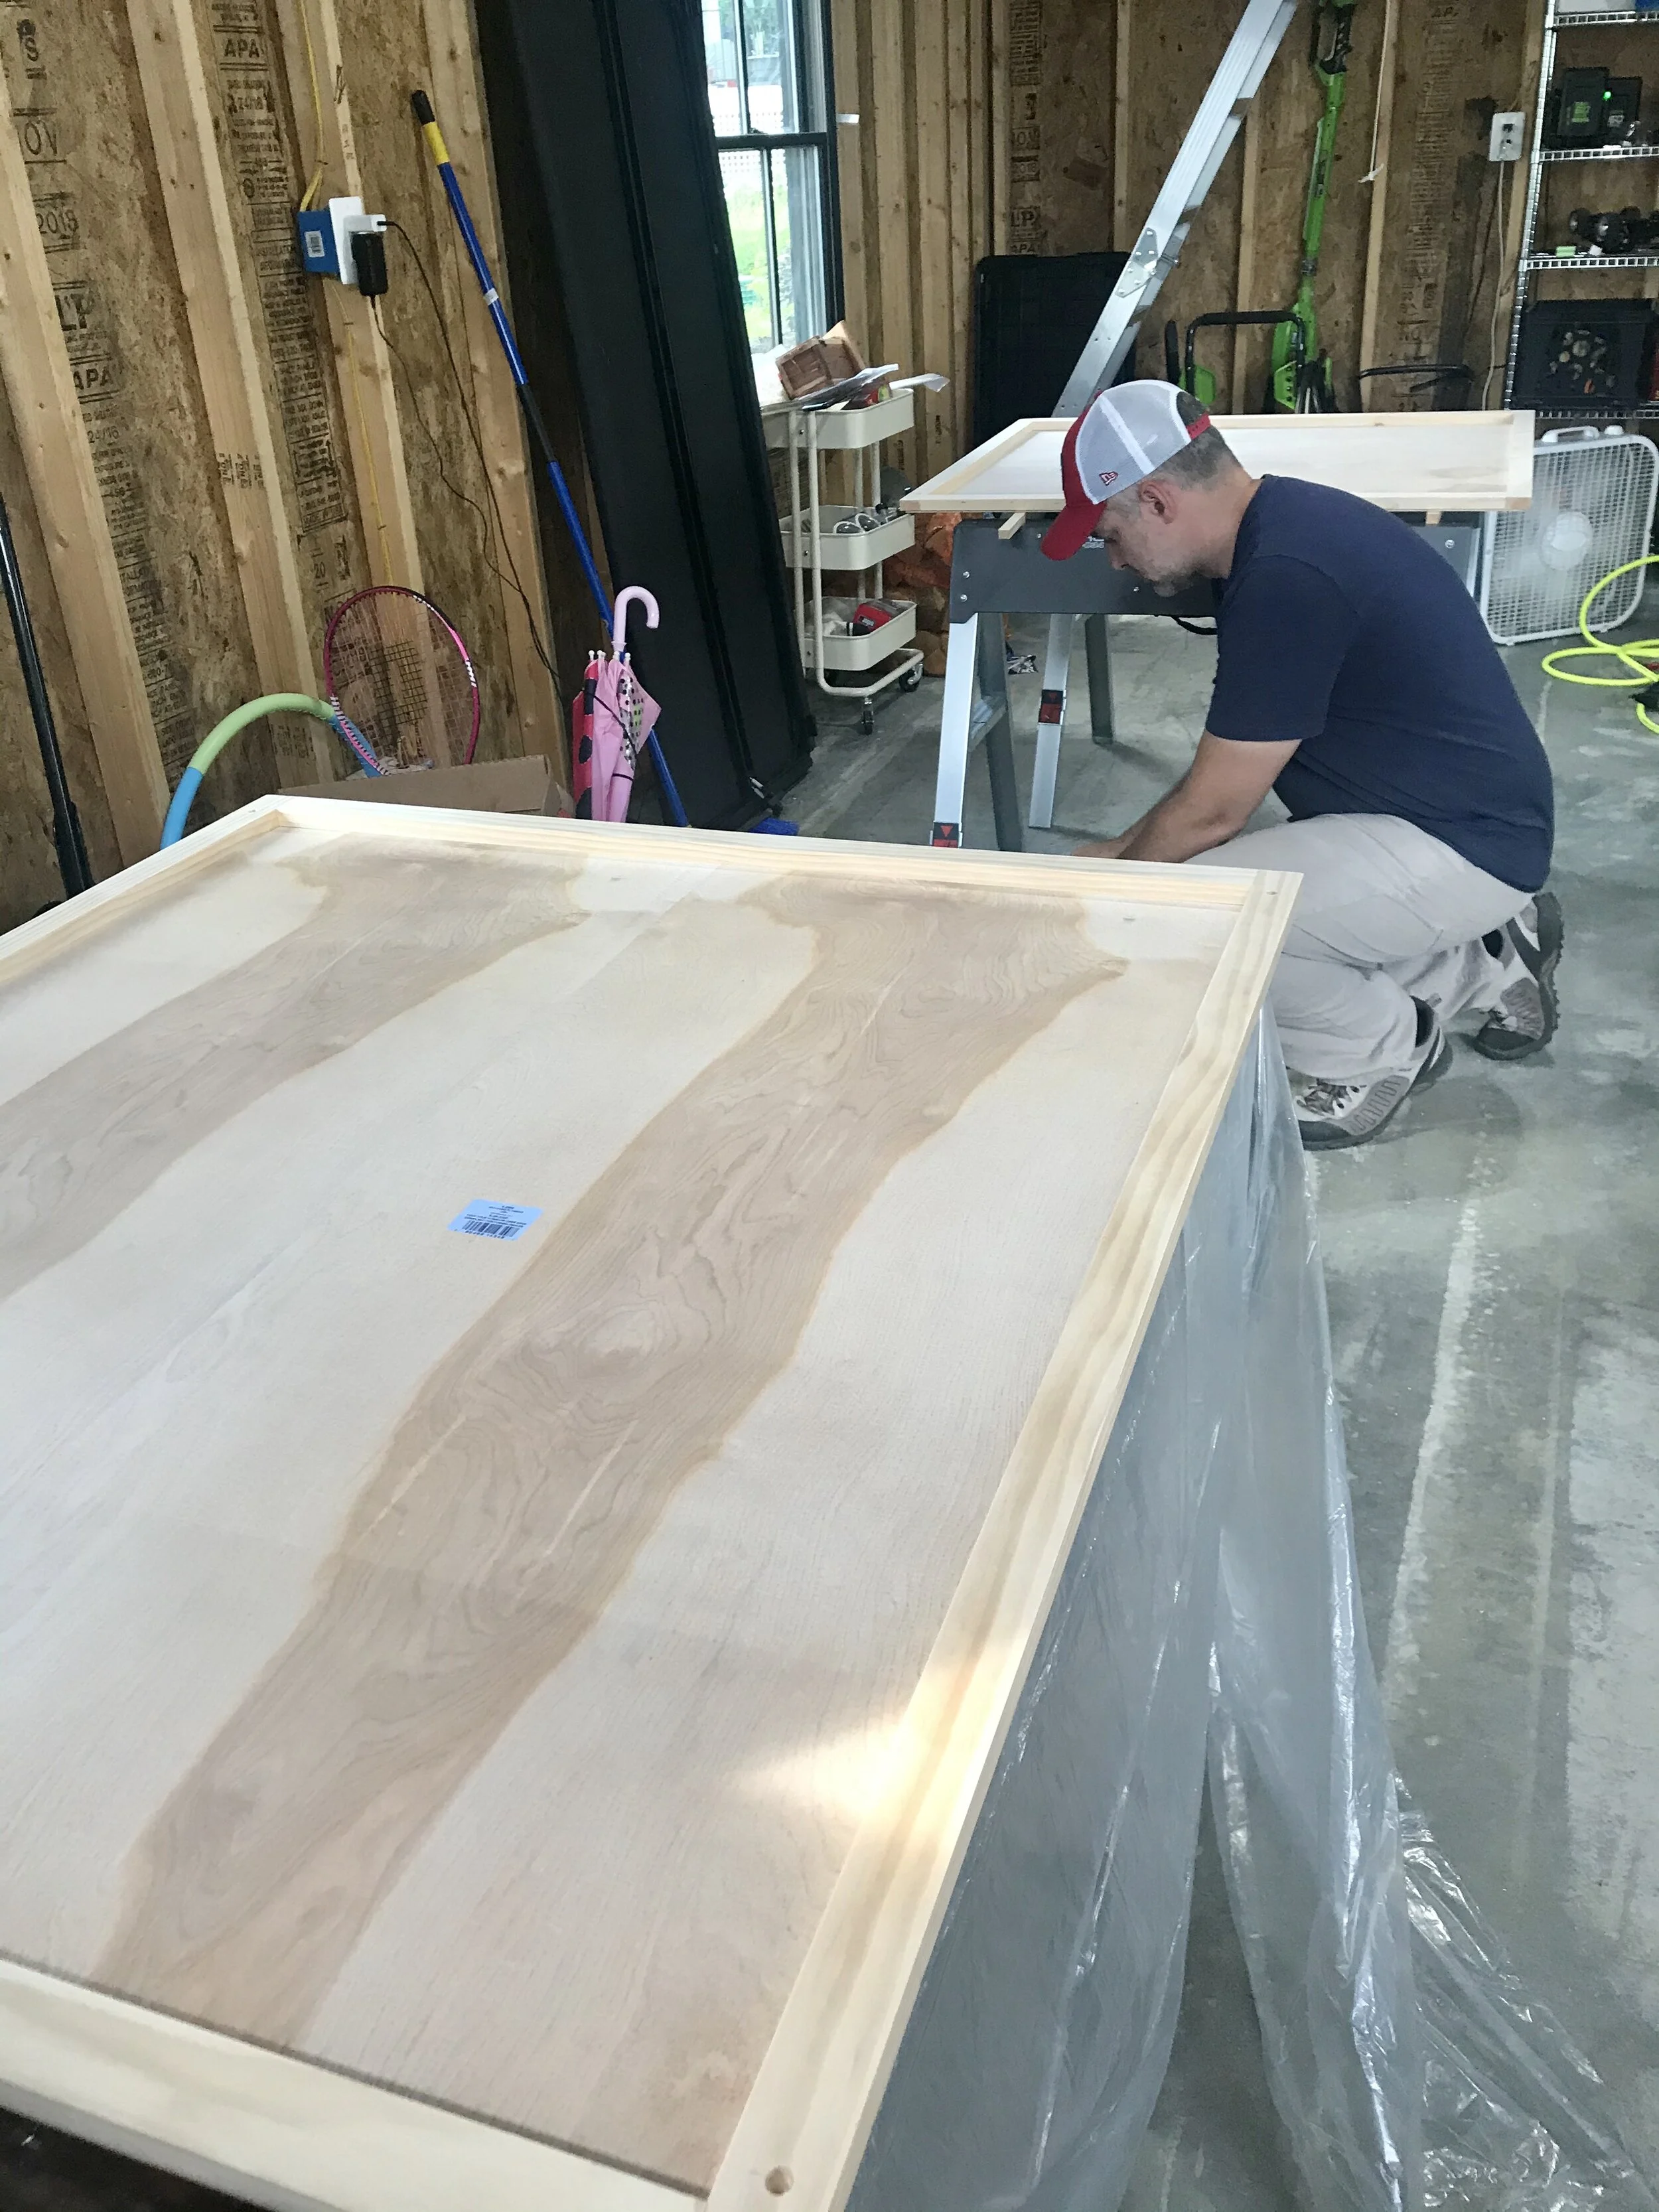
5. Next we used wood glue and brad nails to attach the frame to two 1/4 in. x 4 ft. x 2 ft. plywood boards . Depending on the size of your giant pin board, get your ply cut before leaving the hardware store.

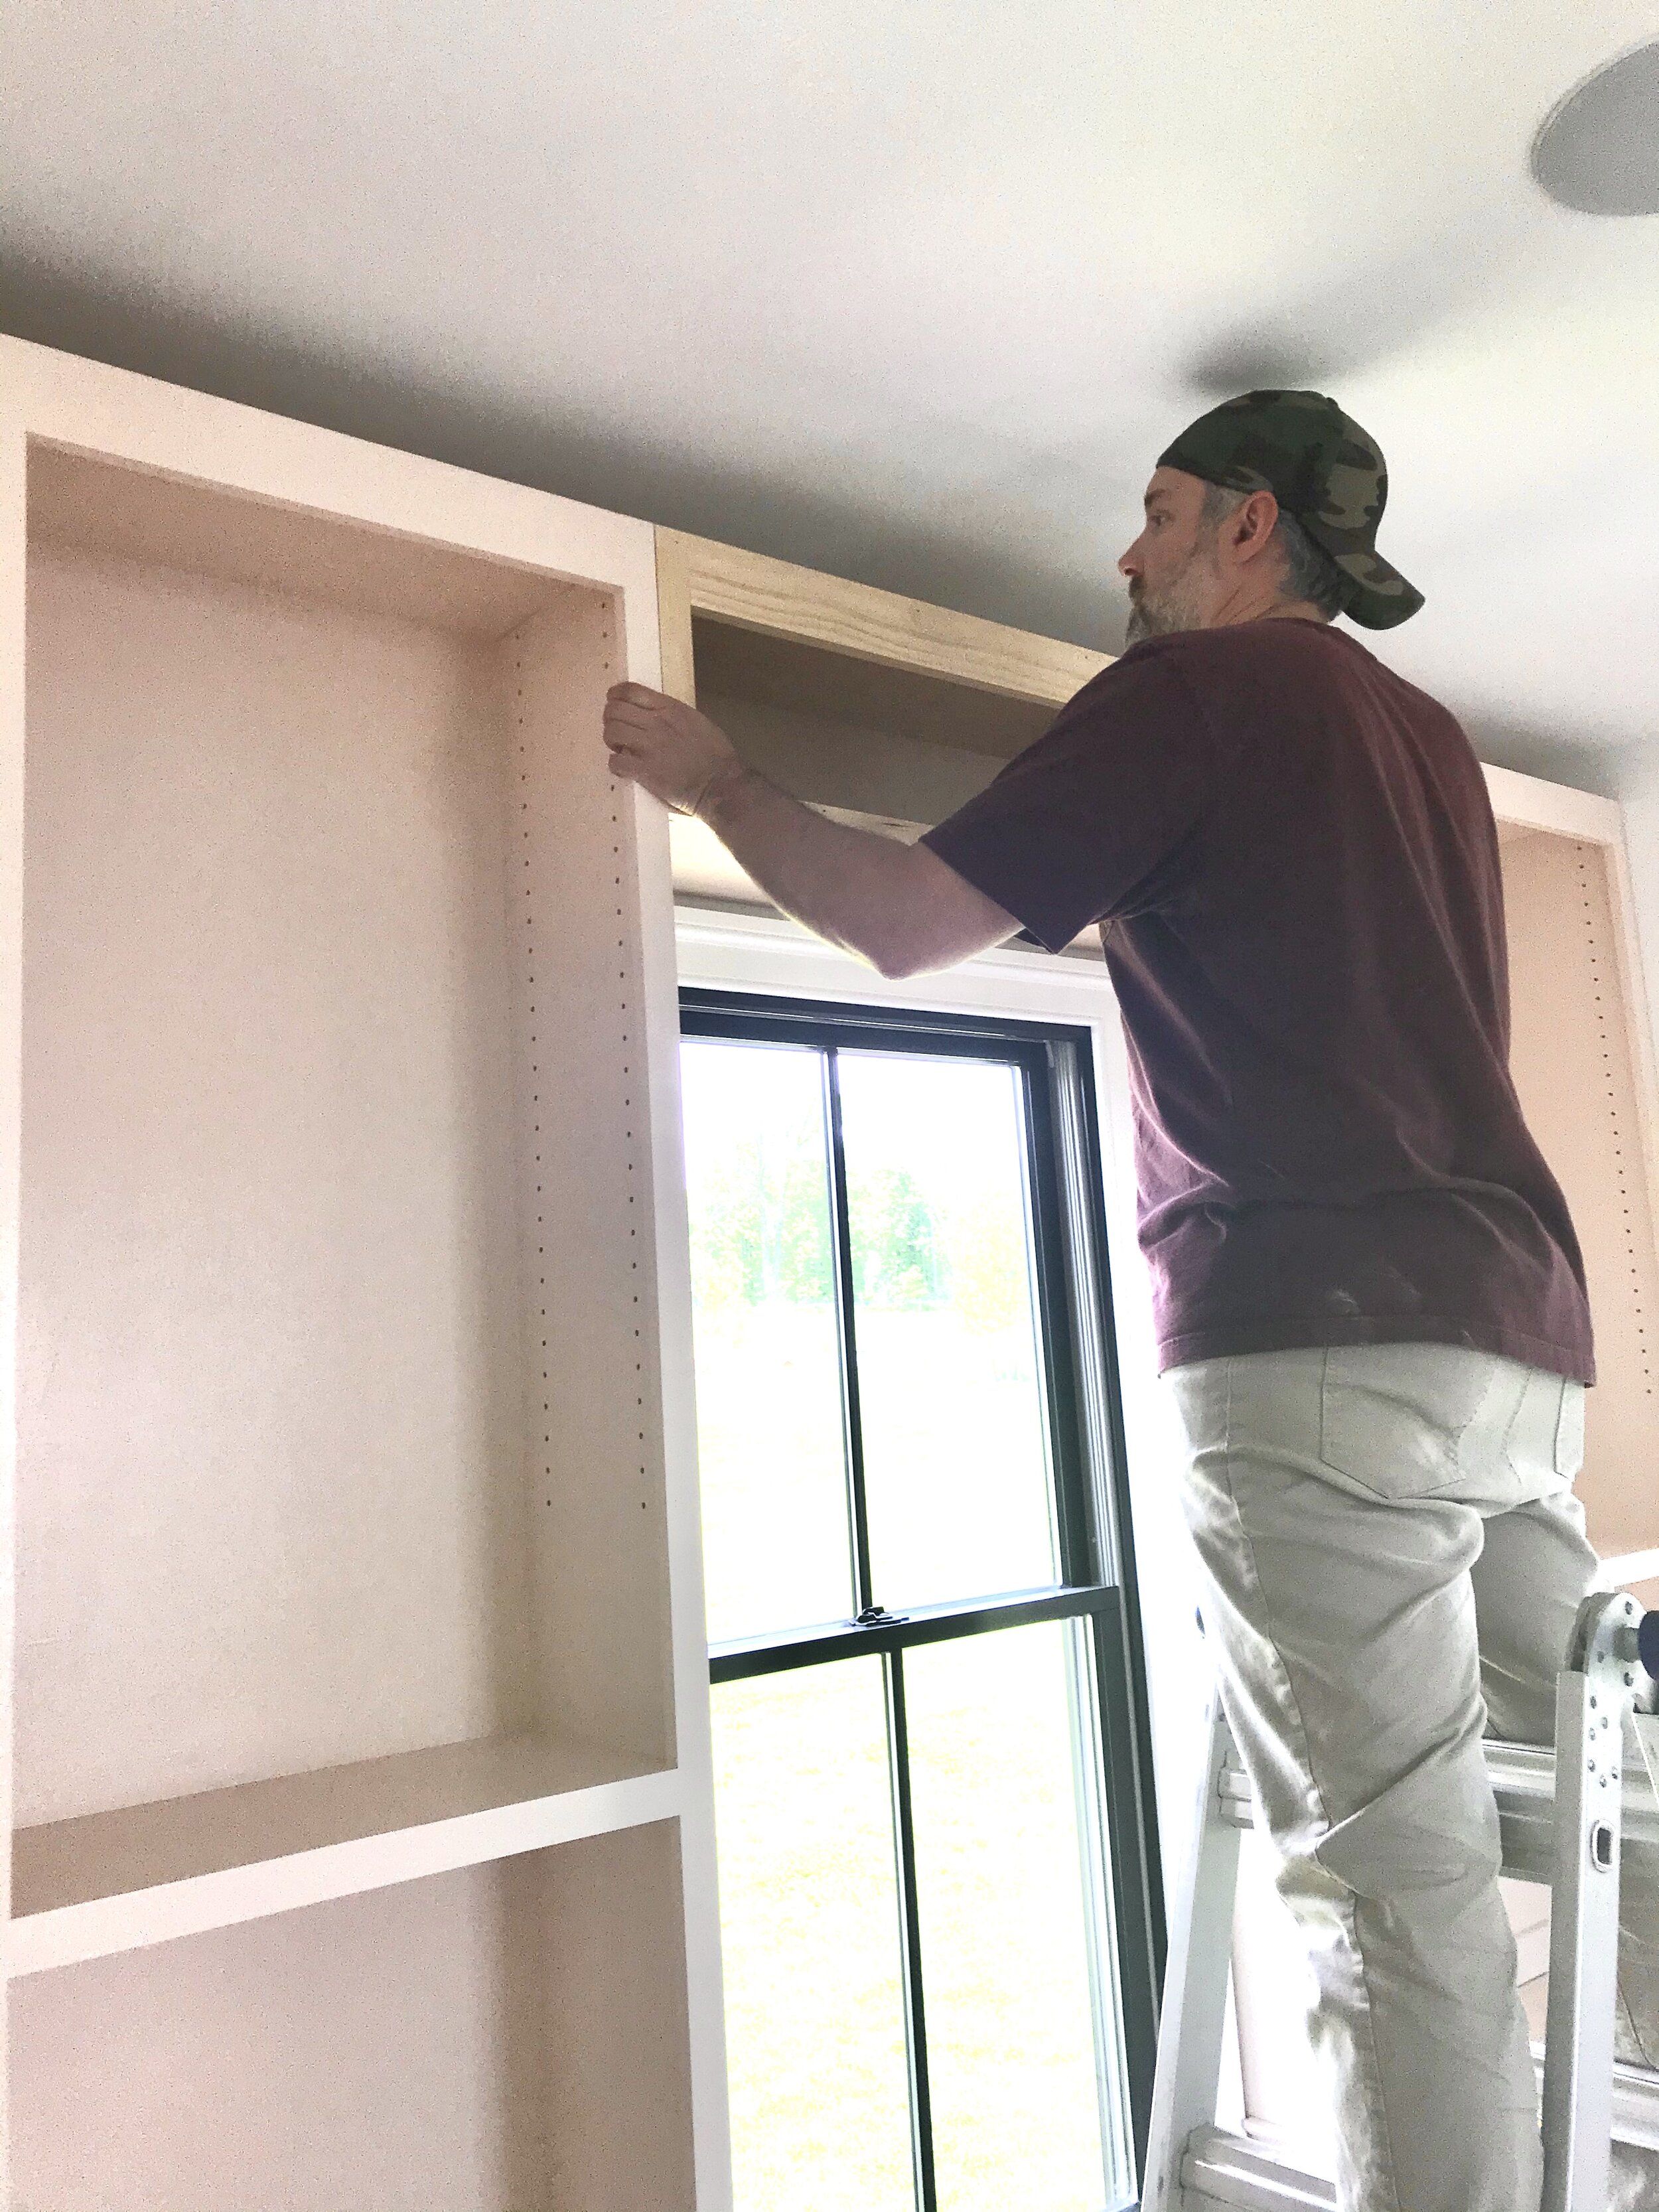
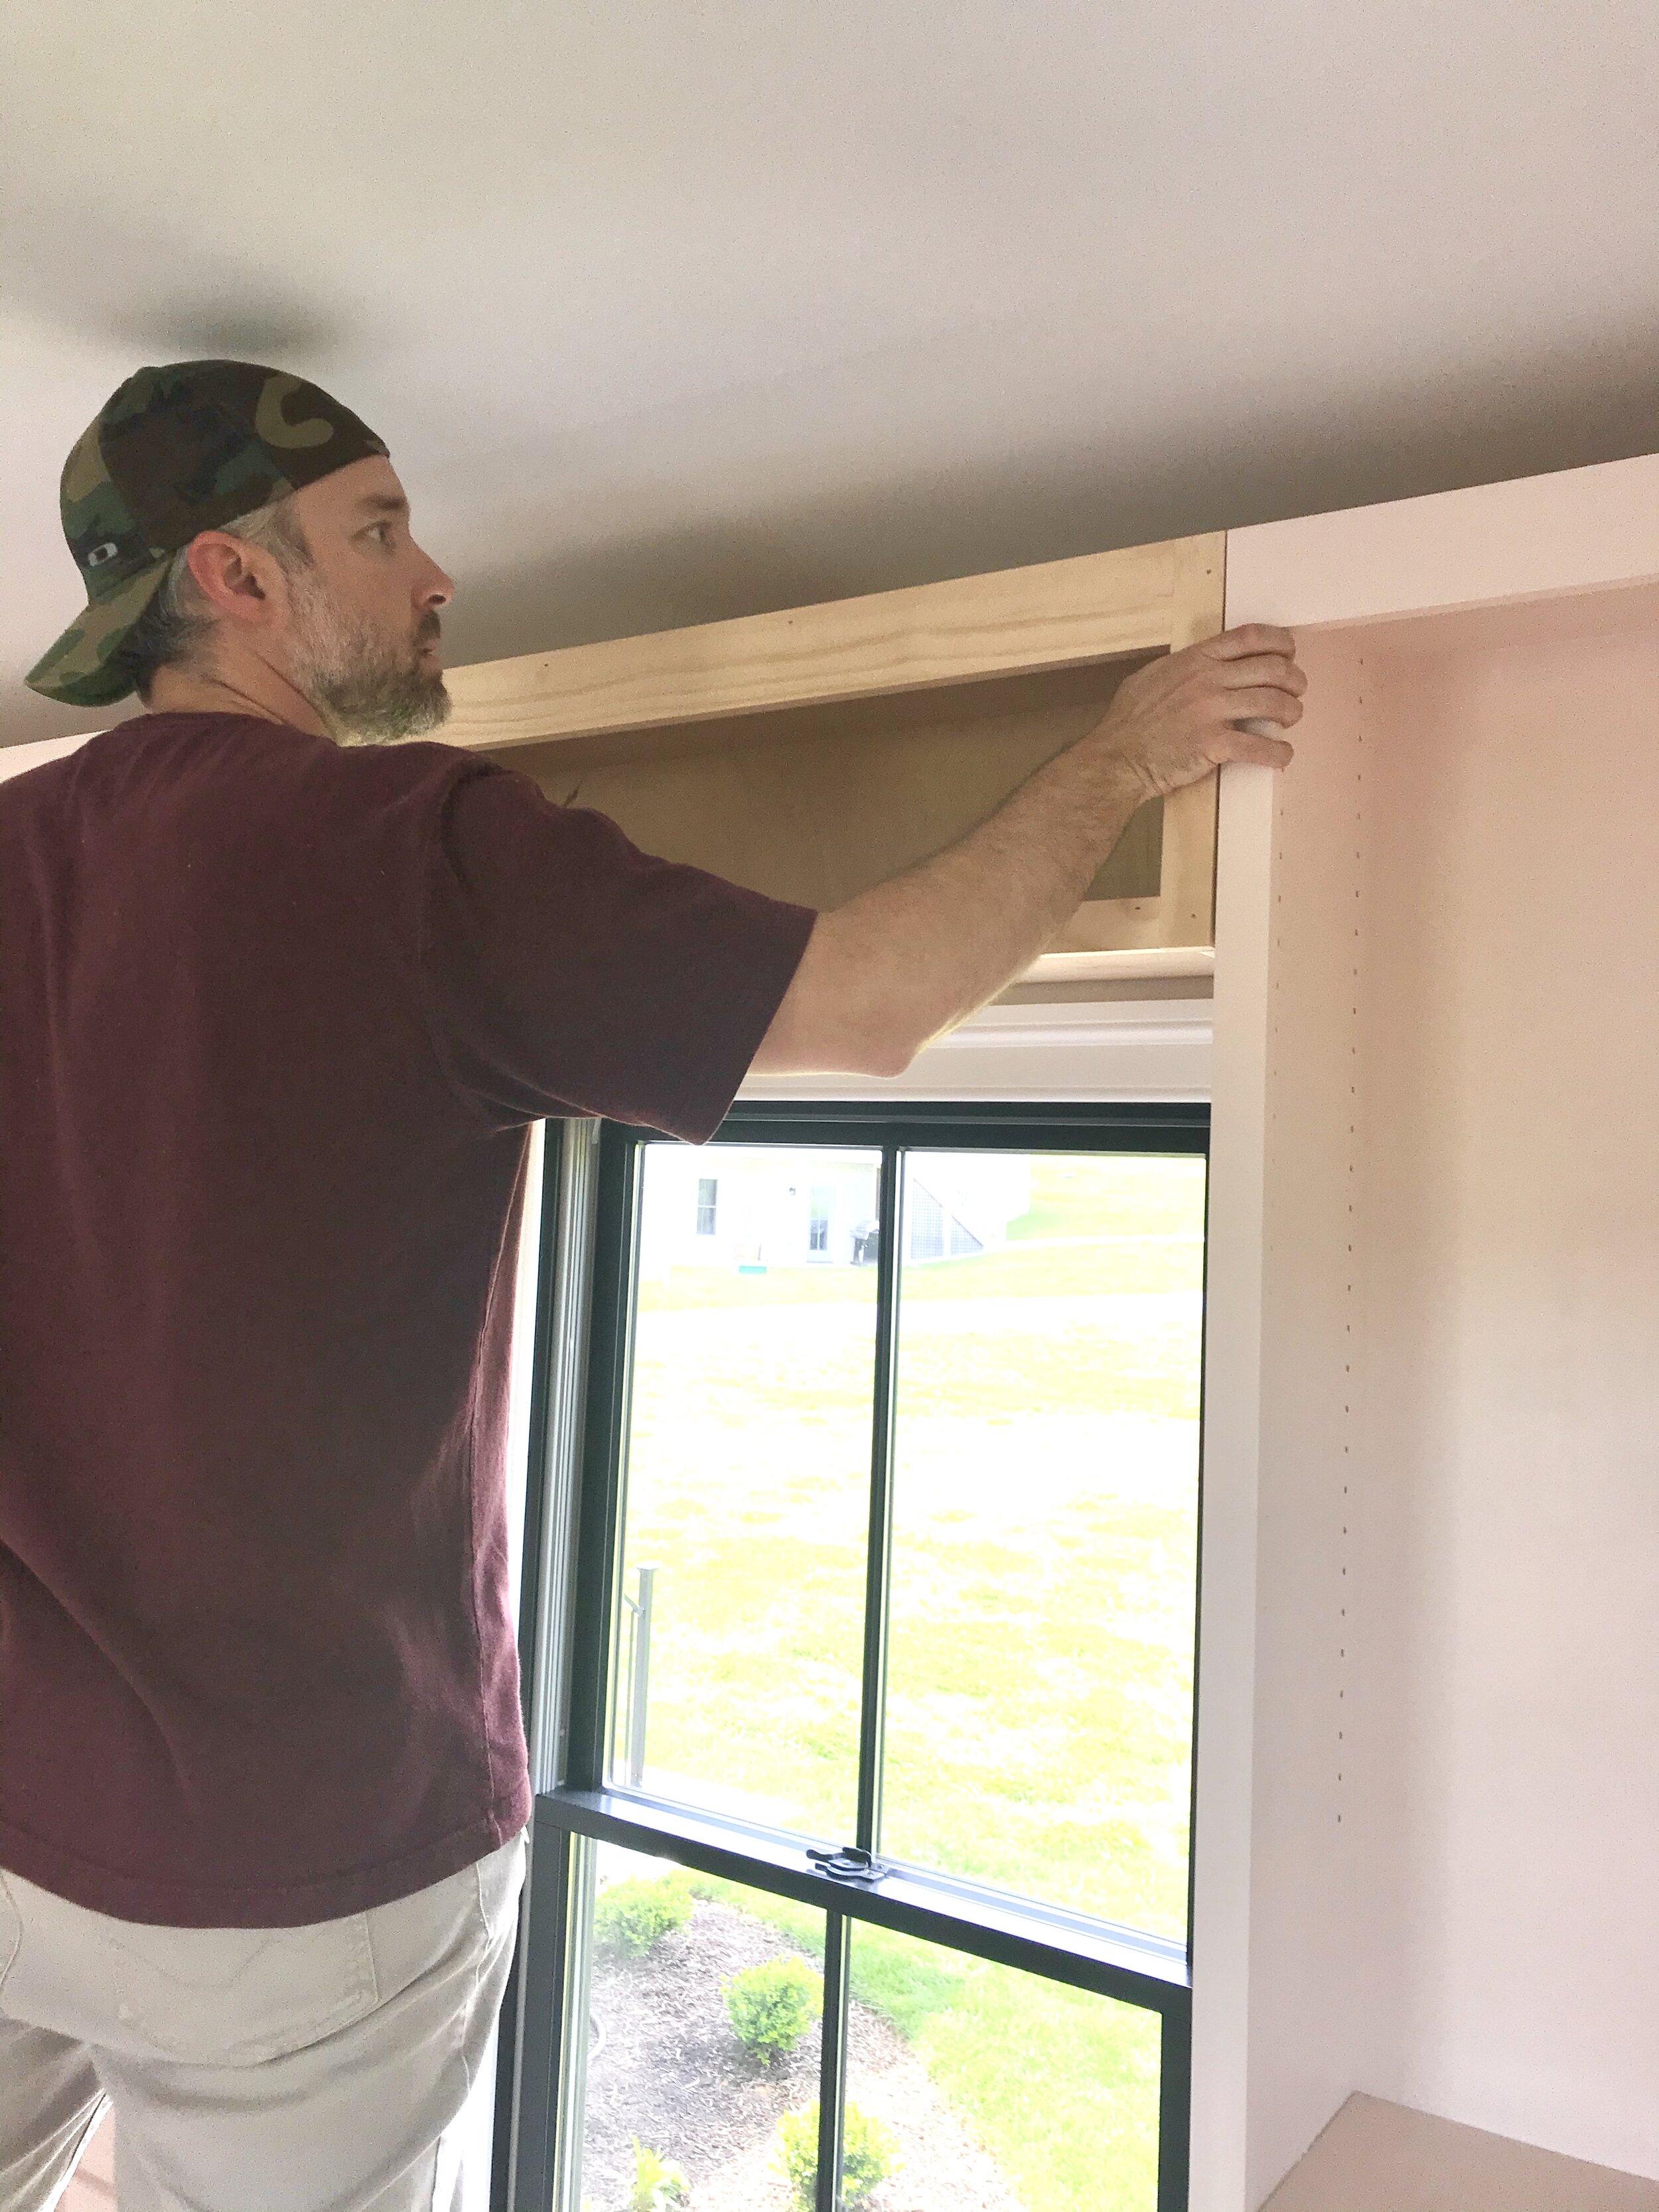
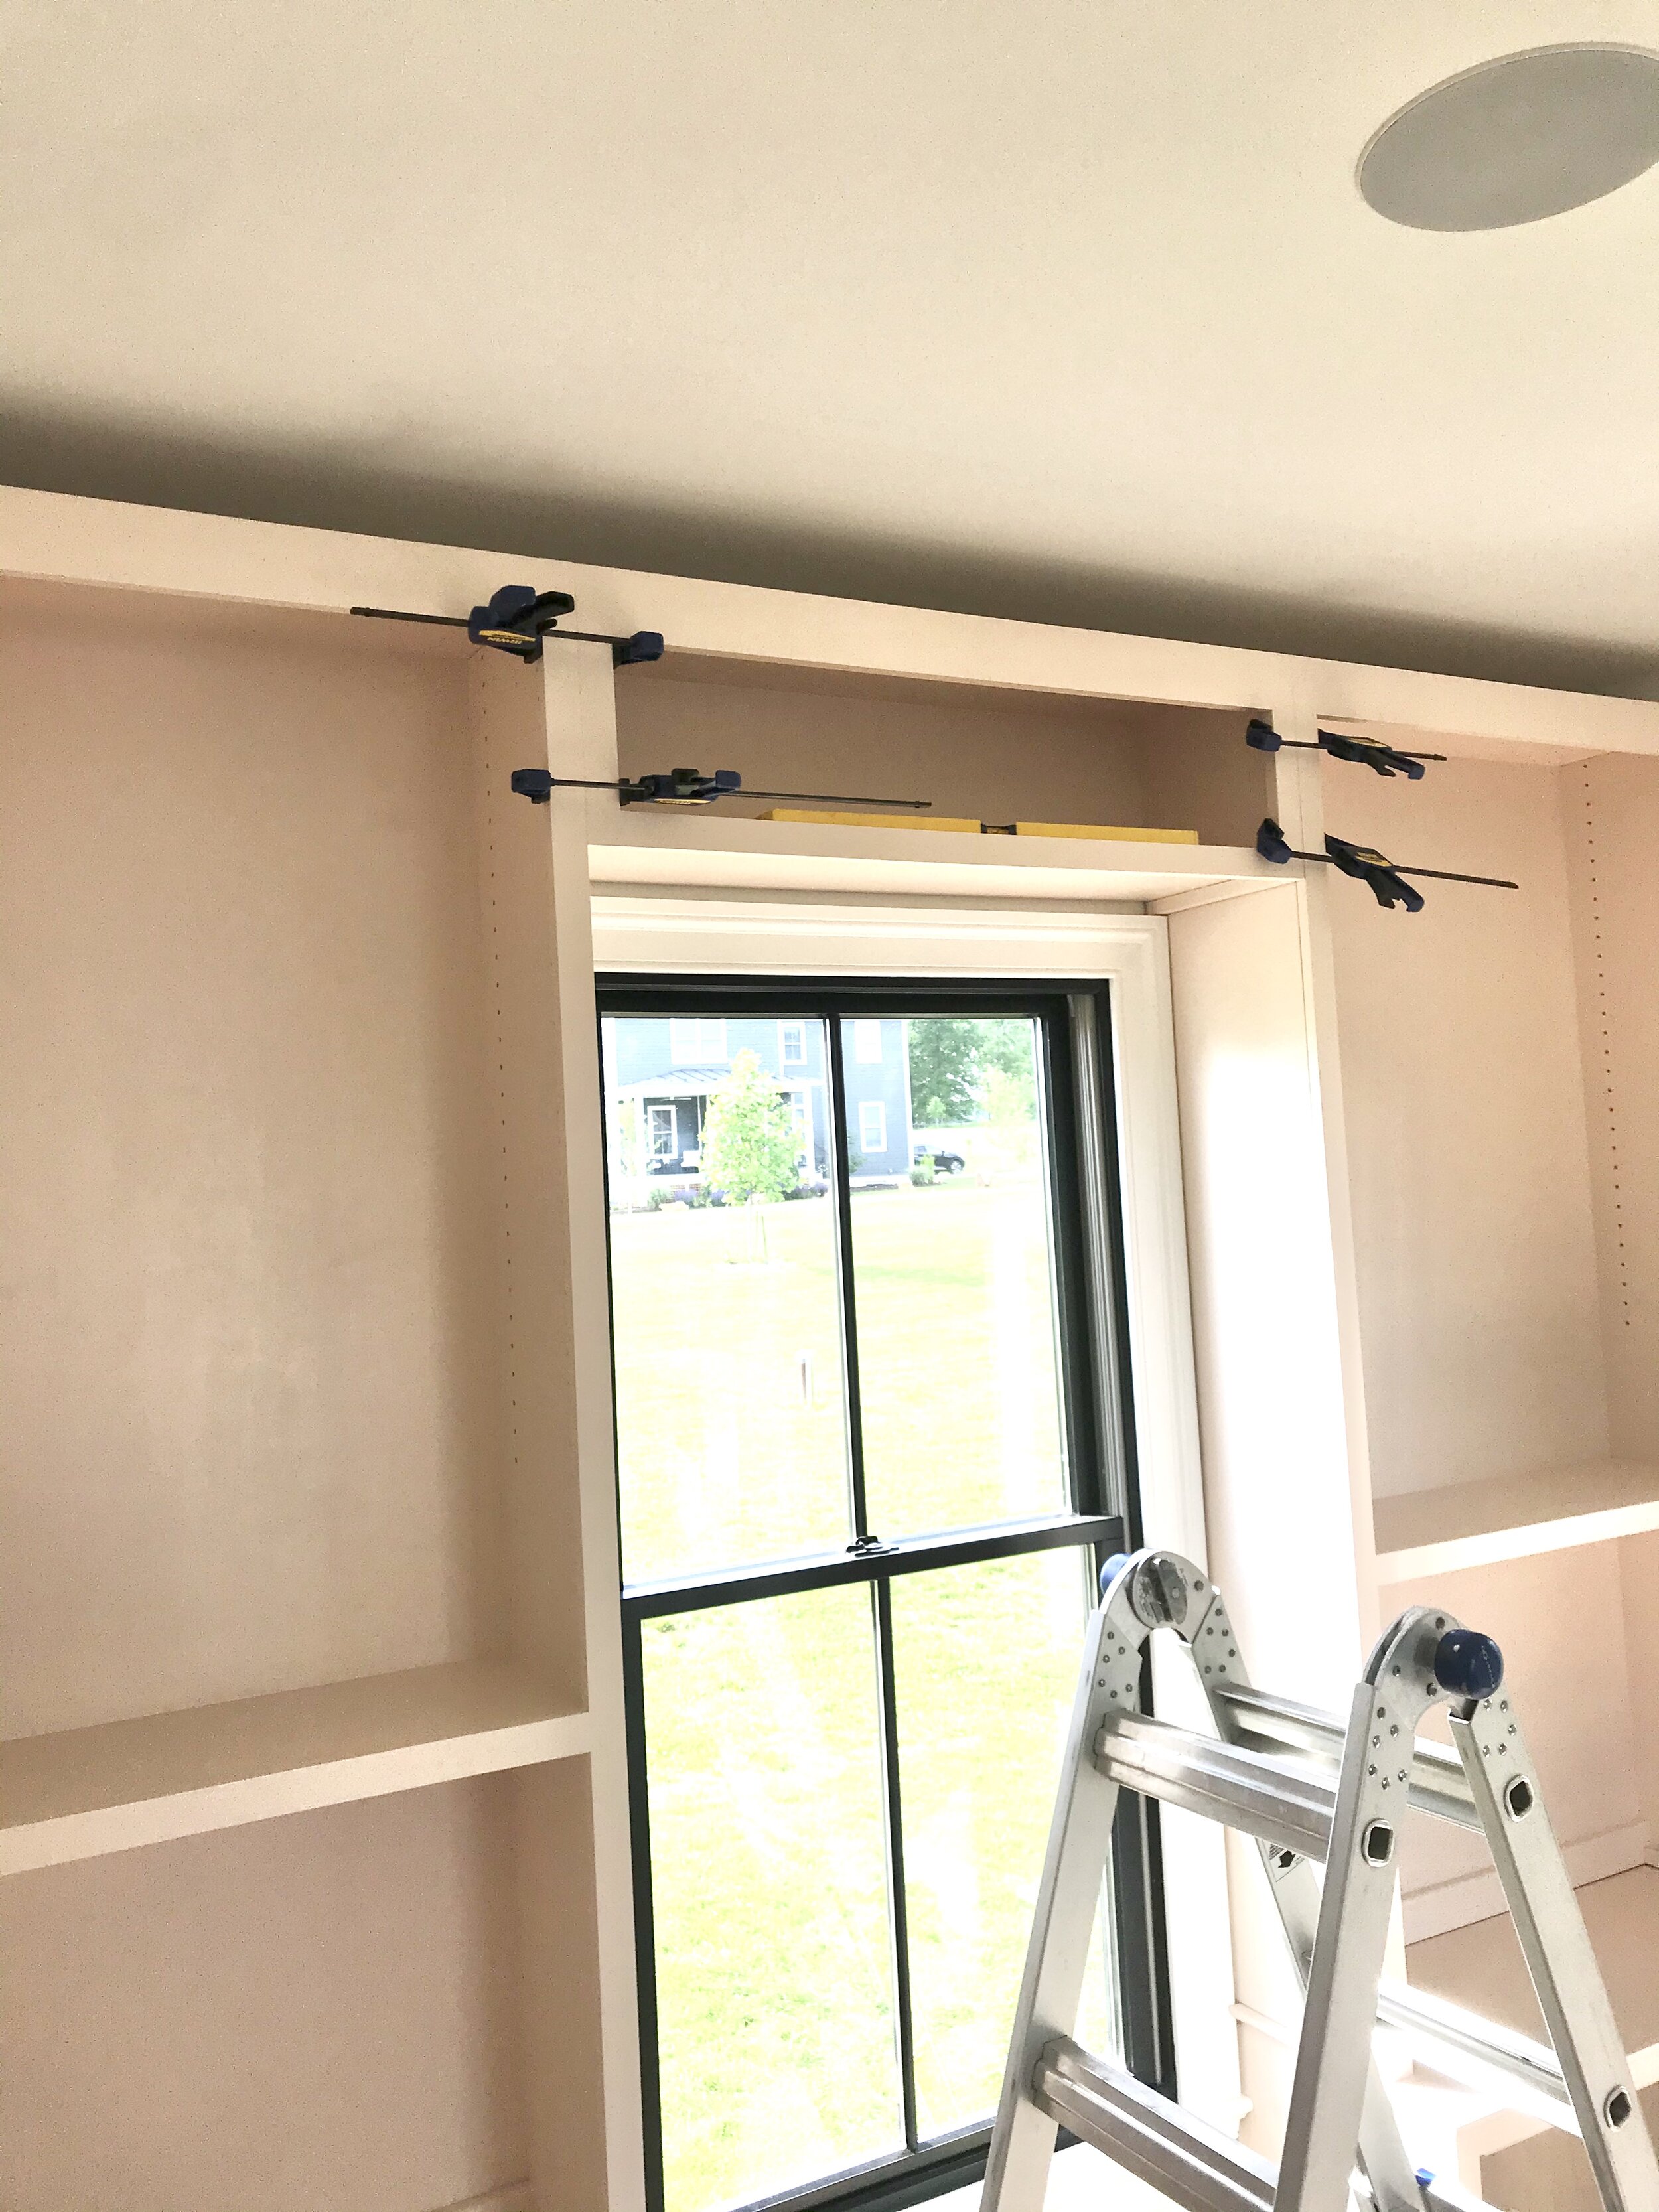
6. TEST FIT before moving to the next step (if it is going to be wedged between the window and wall - cue the song).

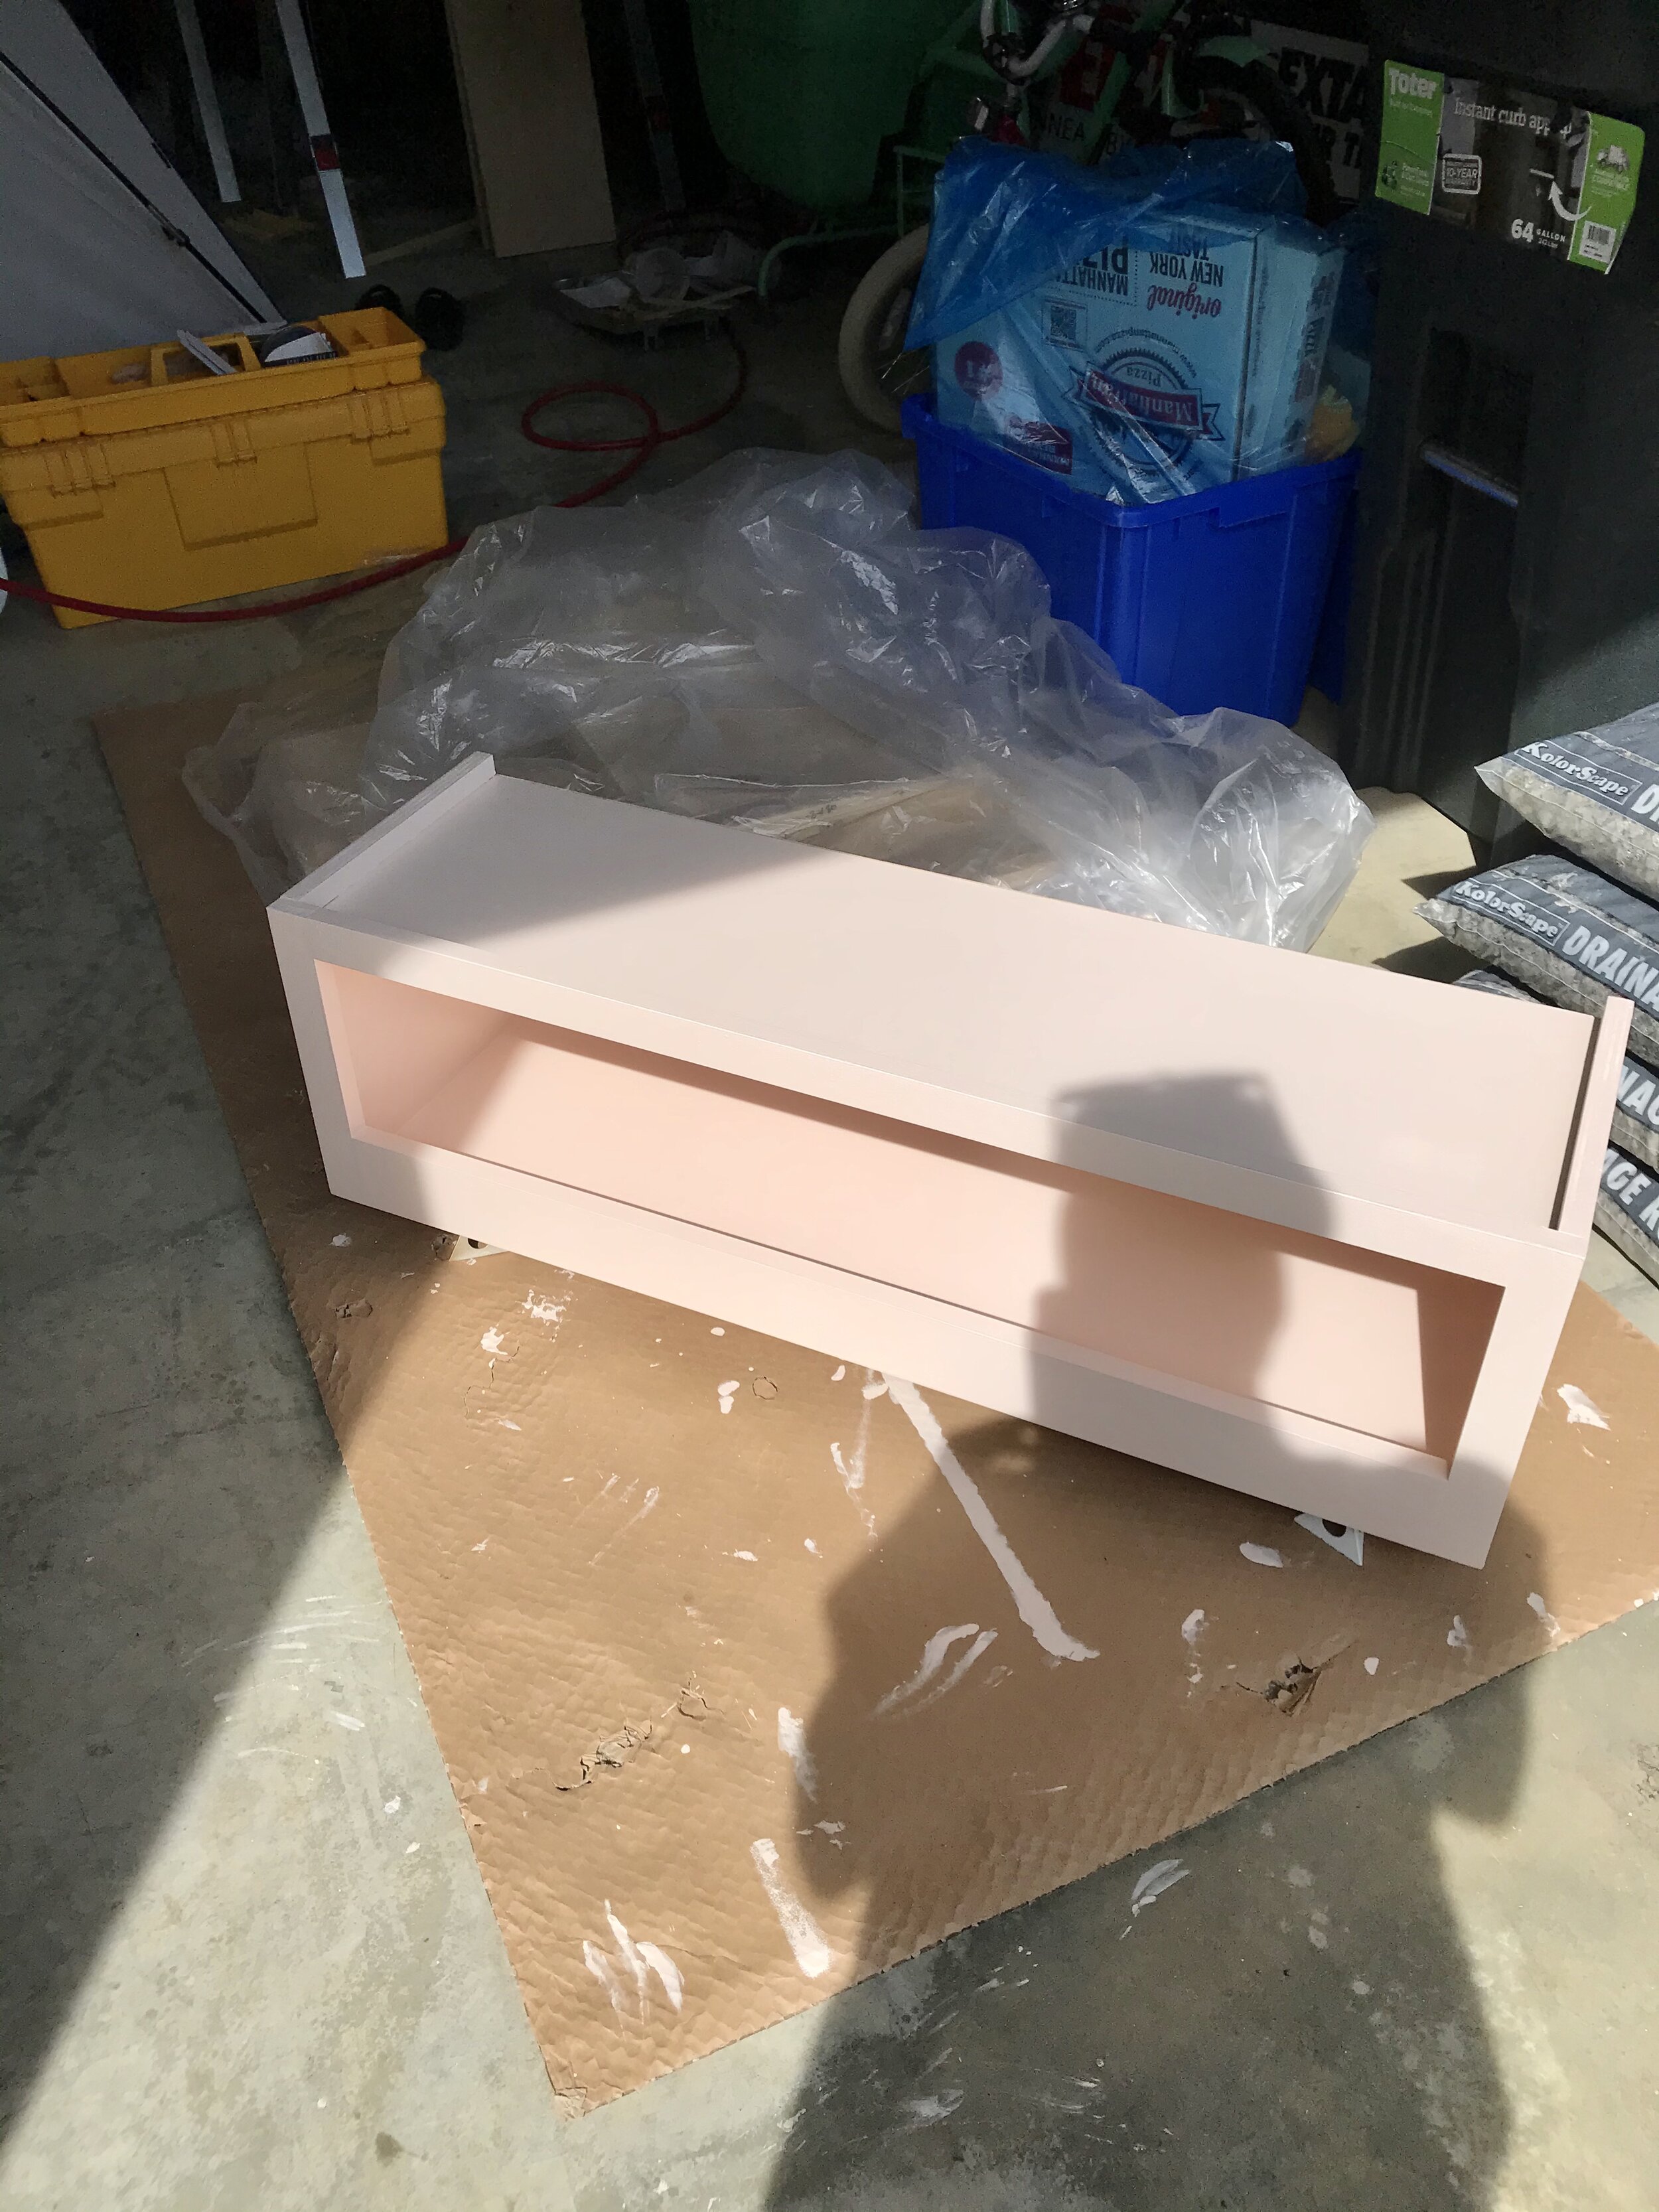
7. Paint the frame (use a sample pot if you have one because you really don’t need that much paint for the frame). Using the adhesive backs, stick the cork squares to the ply backer board.
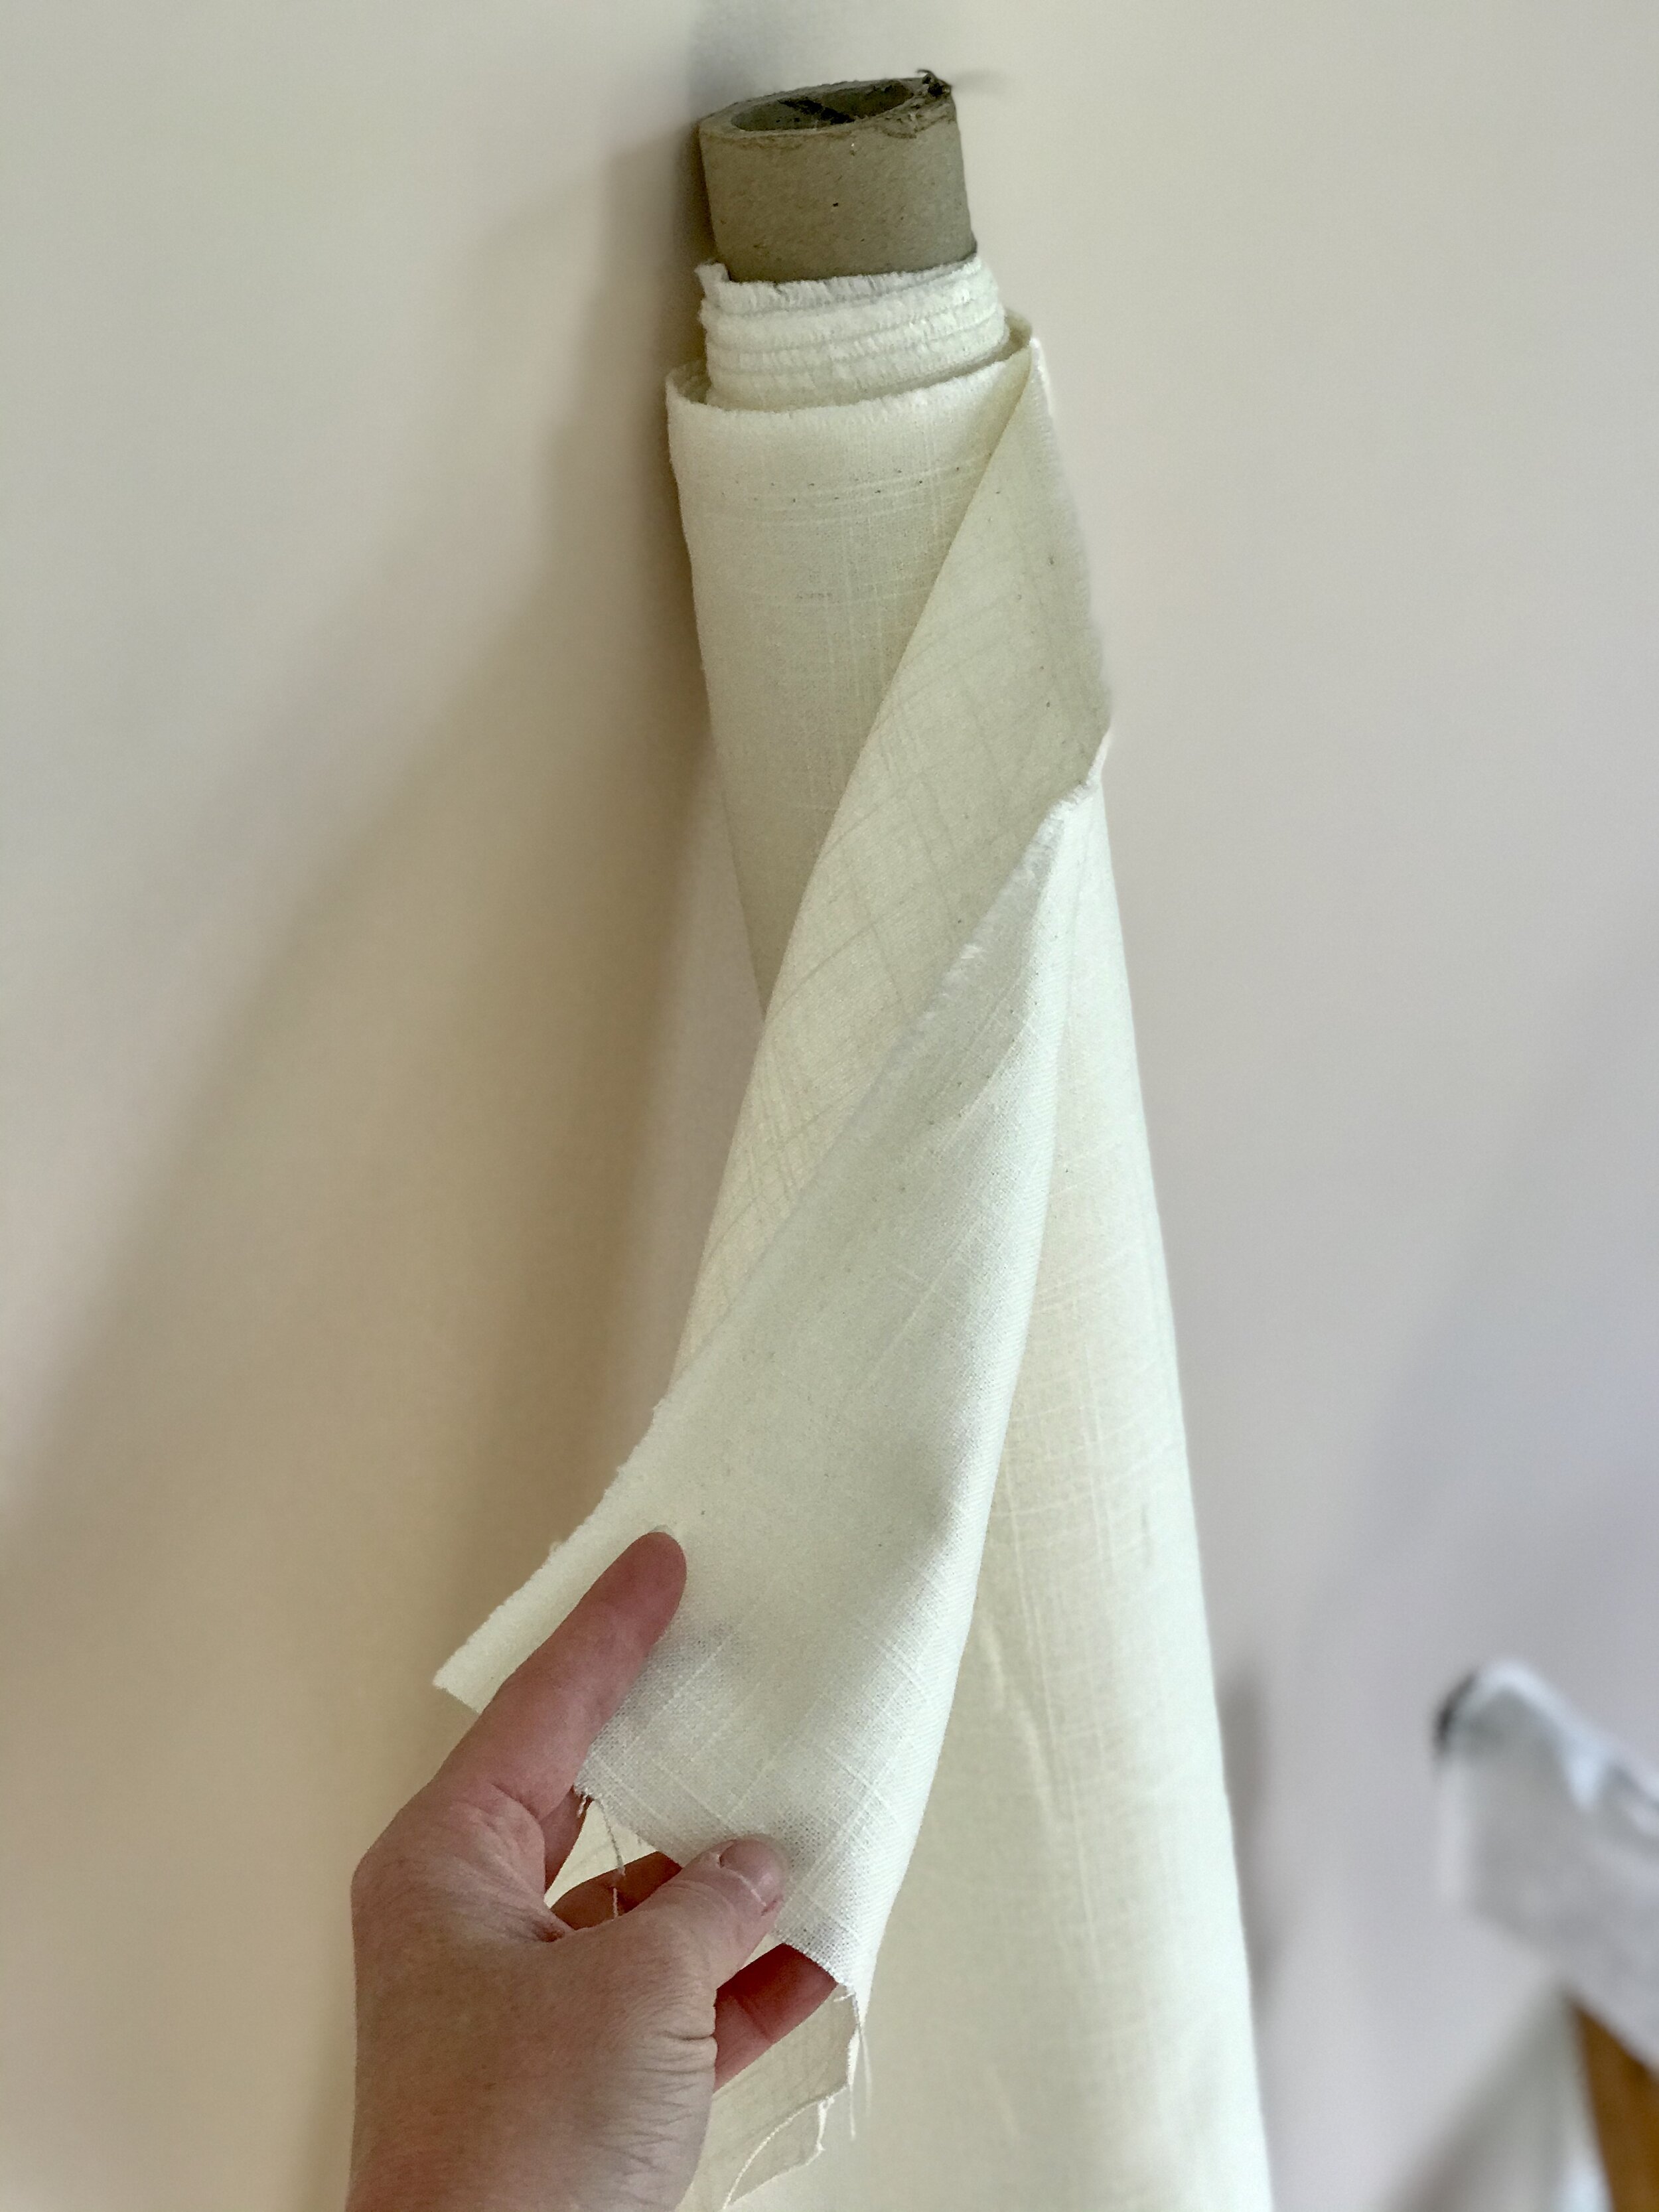
8. Source some linen (not drapery linen) but a solid hobby fabric that is budget friendly.

9. Use a staple gun to attach the linen to the inside edge of the frame.
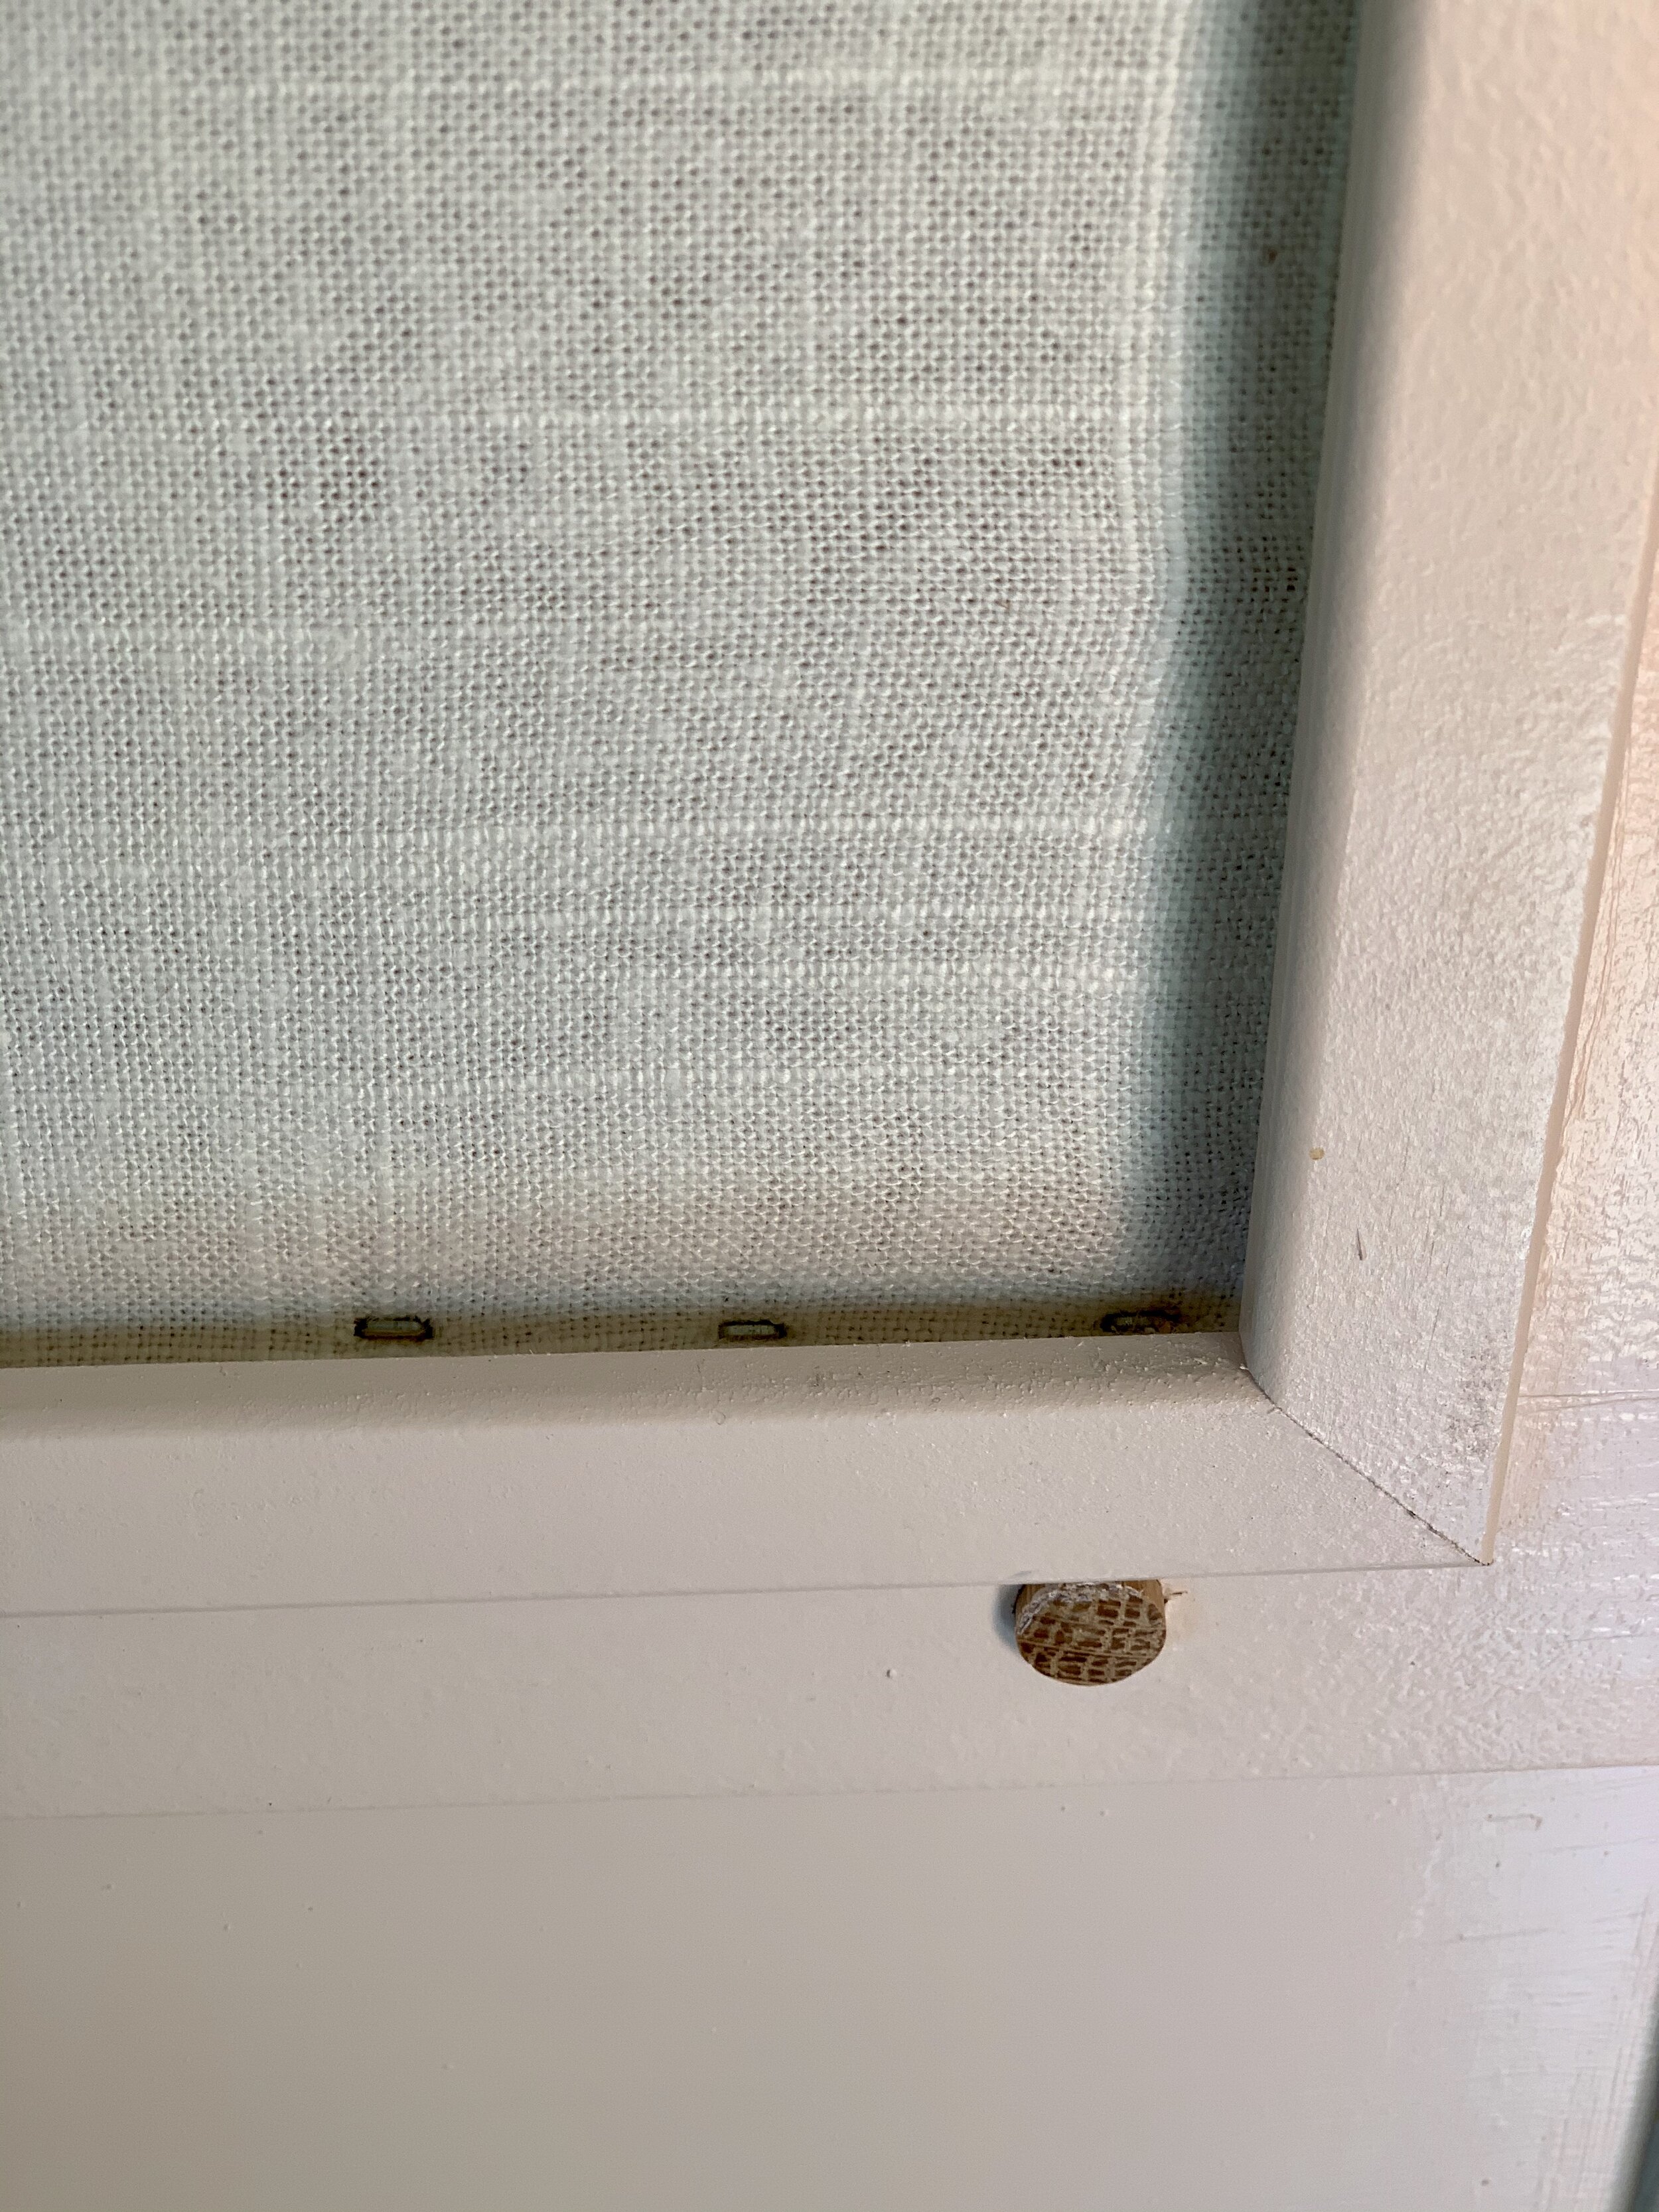
10. Cut to size (we used a 45 degree mitered edge) and paint the pine screen molding pieces. Set and glue these pieces over the inside edge of the frame to cover the staples that attach the linen to the frame.

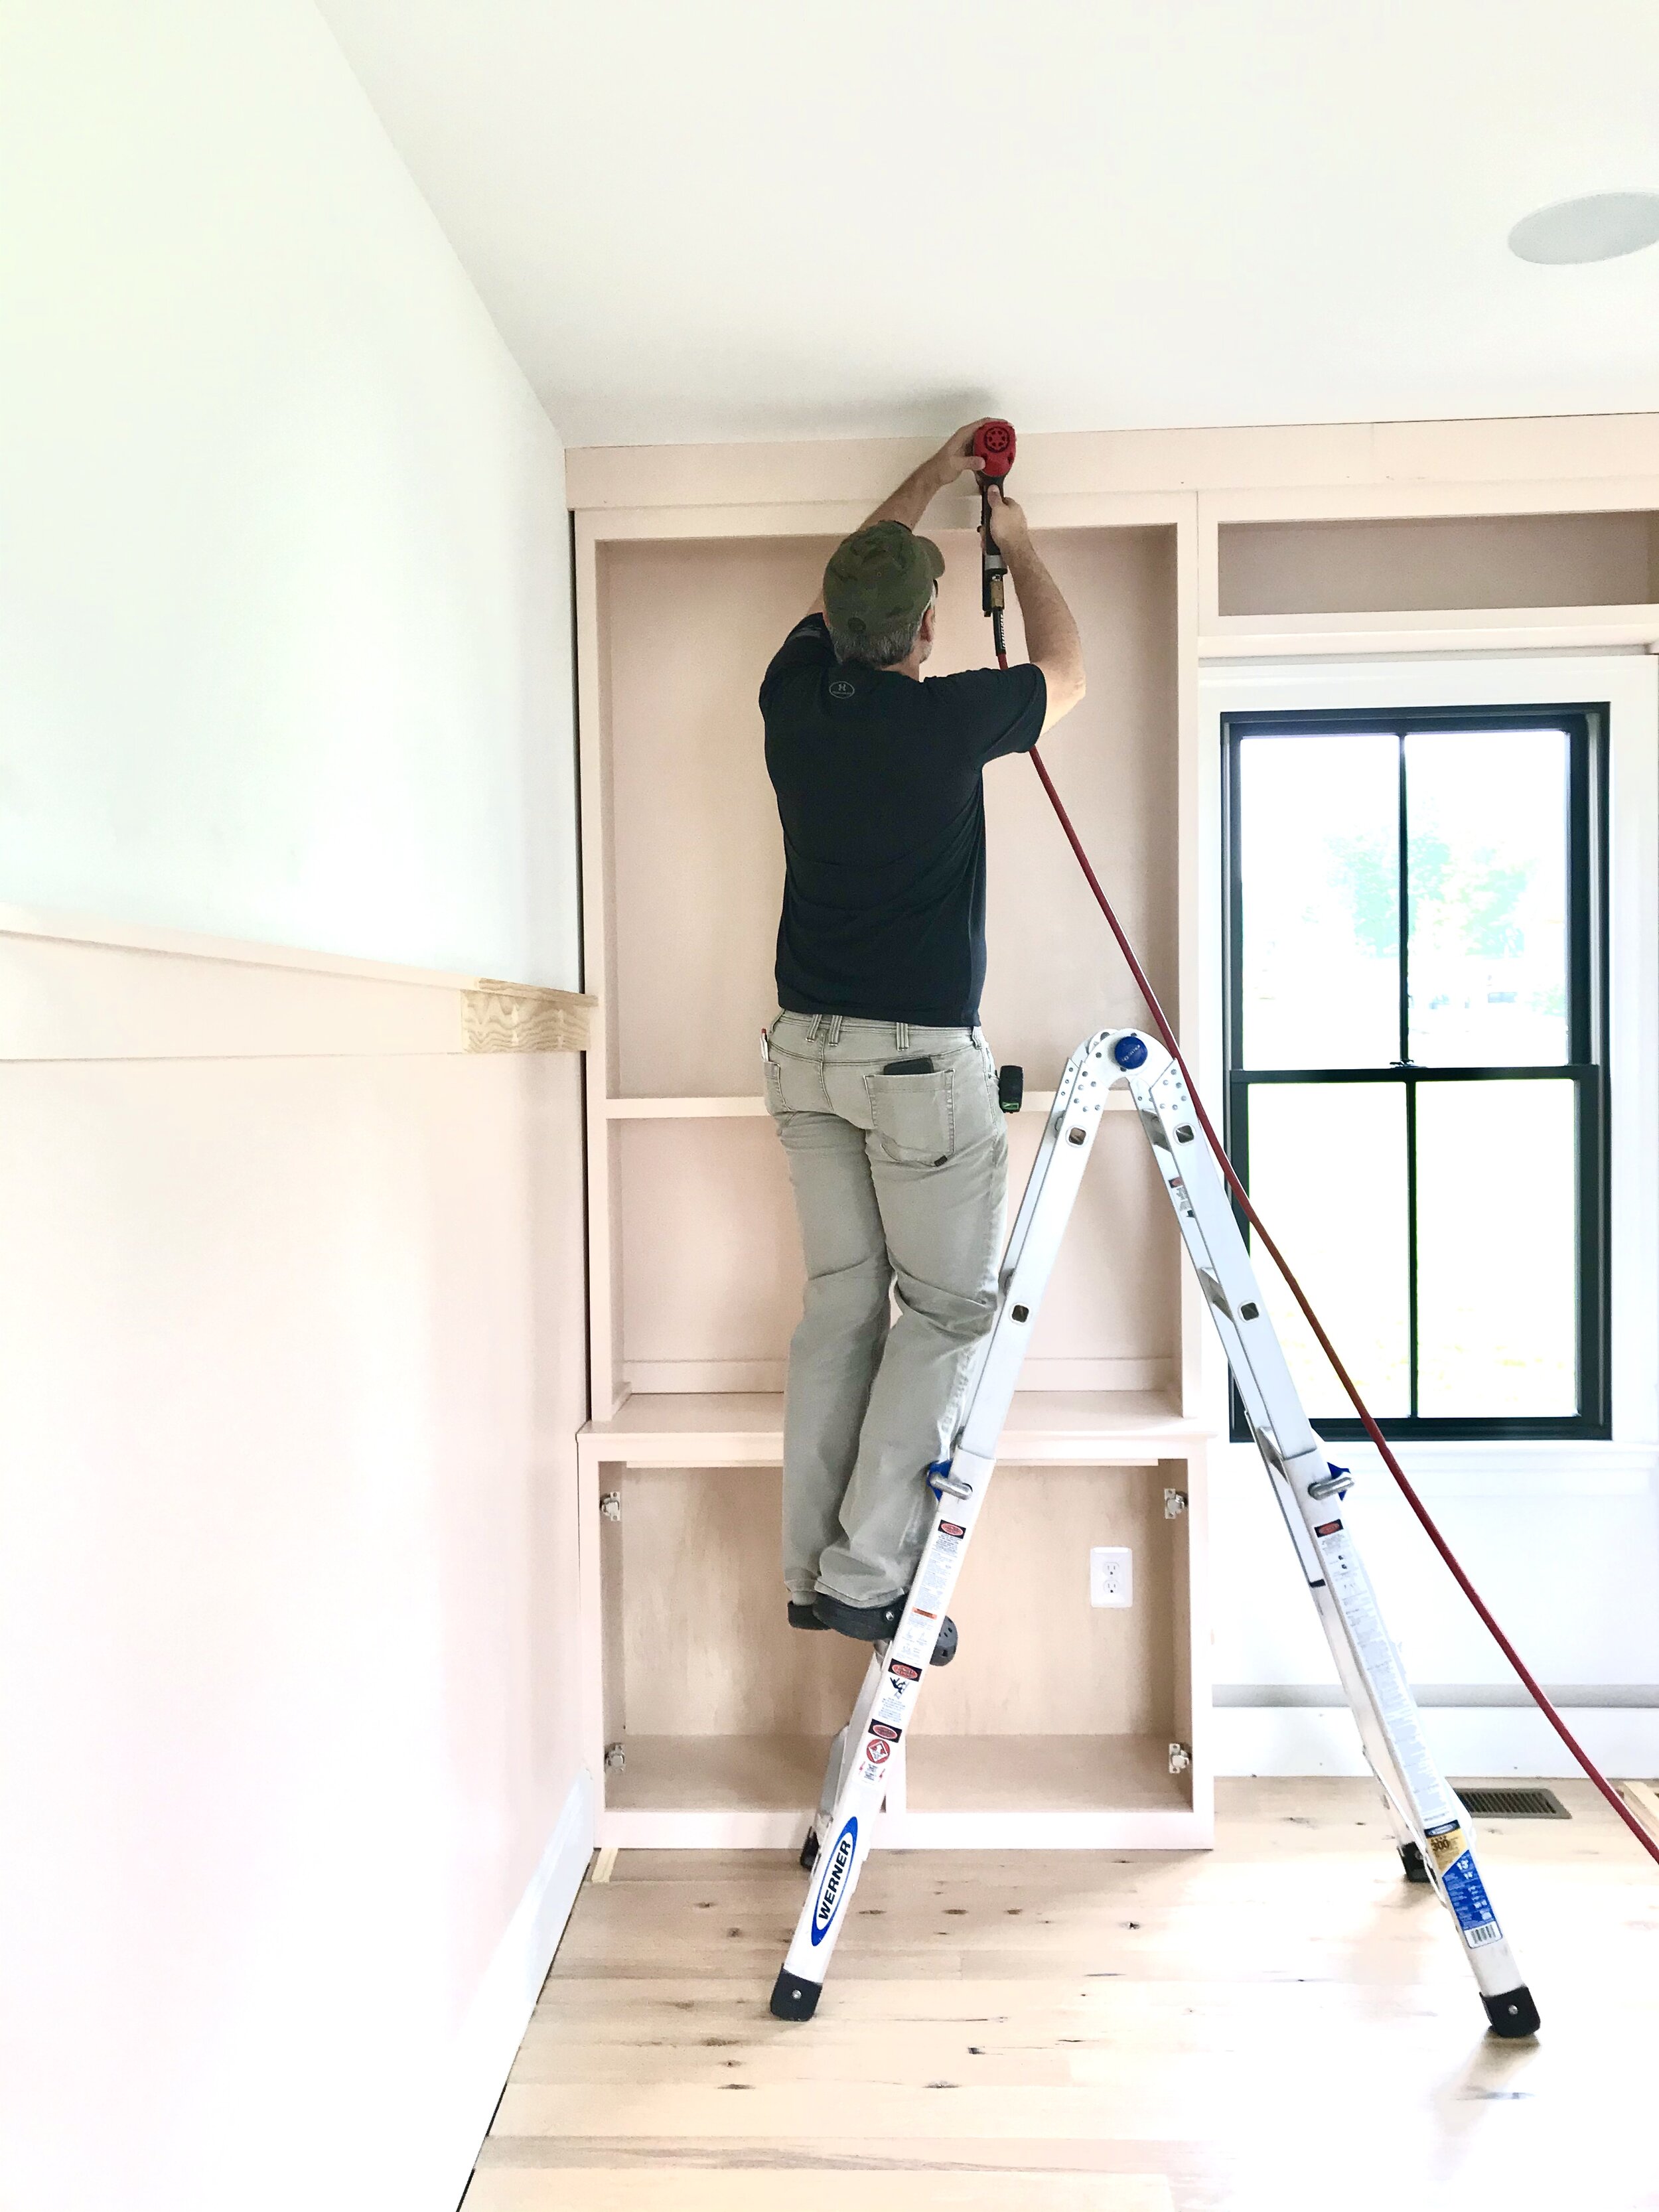
11. Use a counter sink bit to drill a hole in each corner of the frame and screw to wall. We covered the screw holes with natural colored wood plugs which added a custom design detail as well.

12. Starting pinning, IRL, all the things!