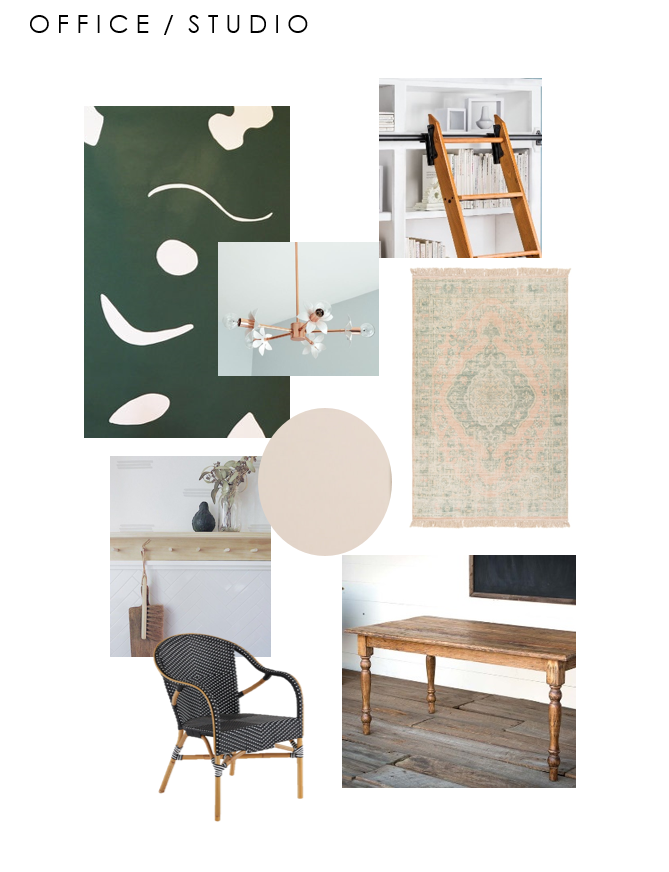
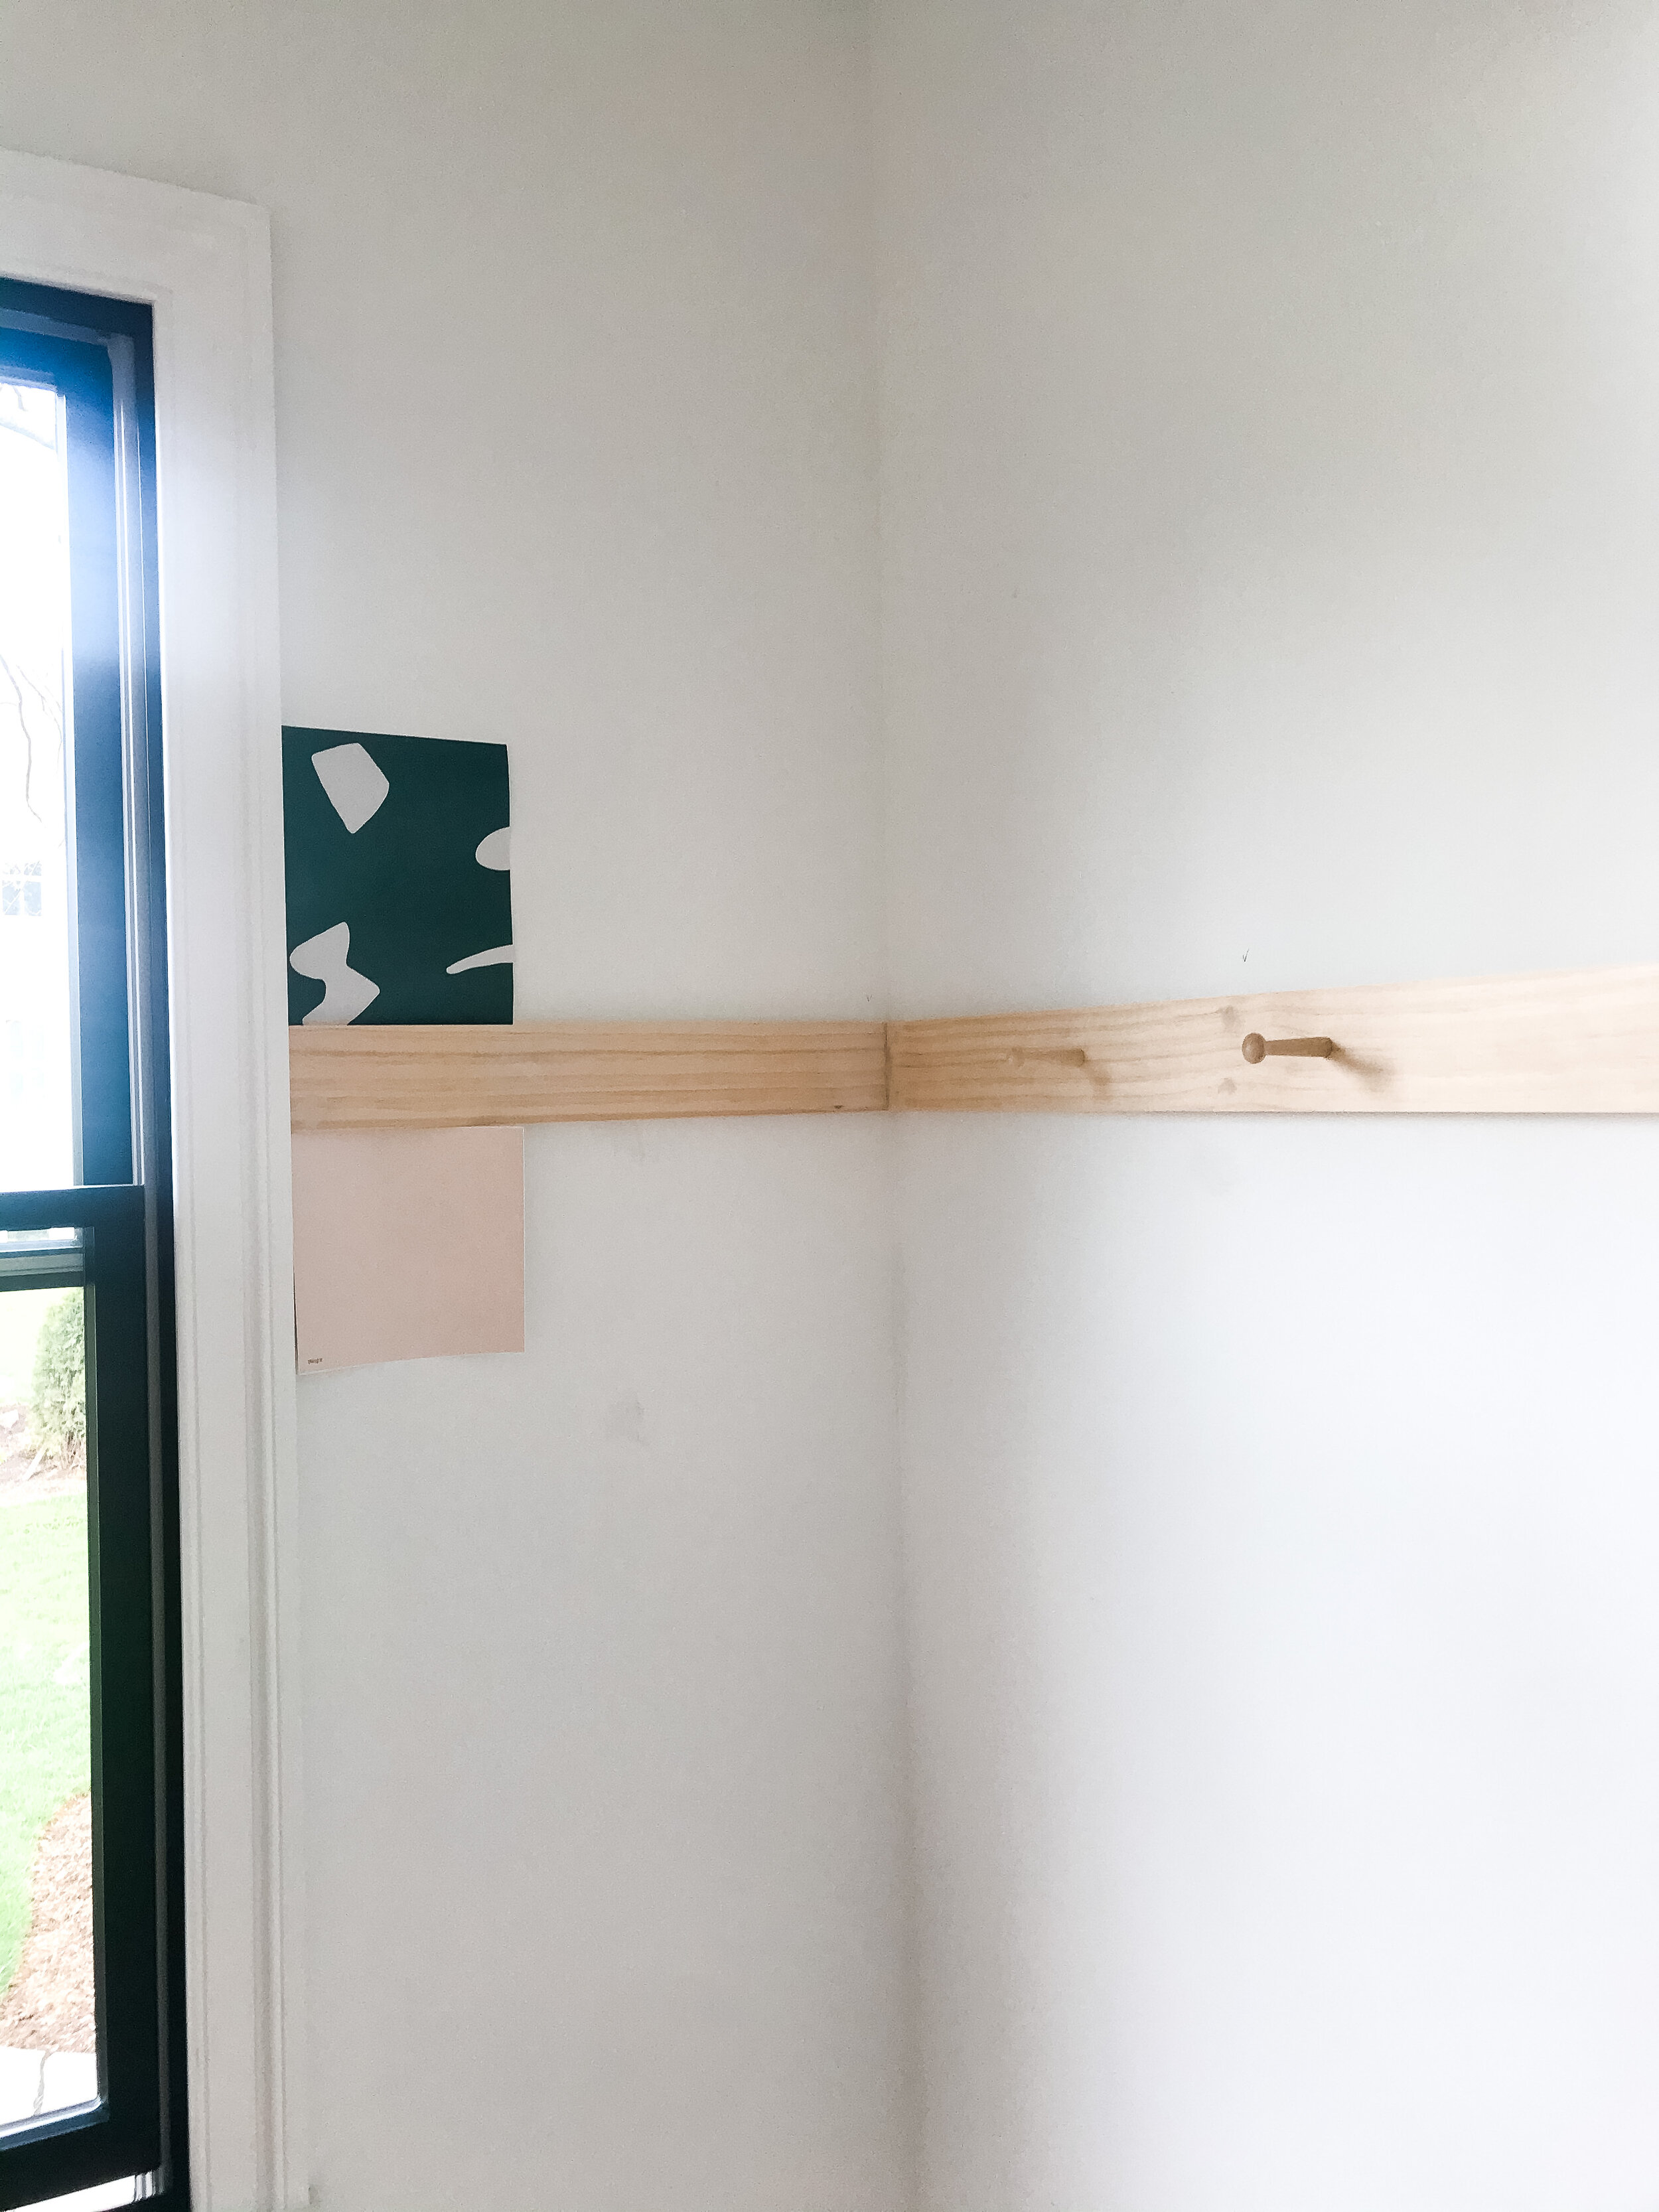
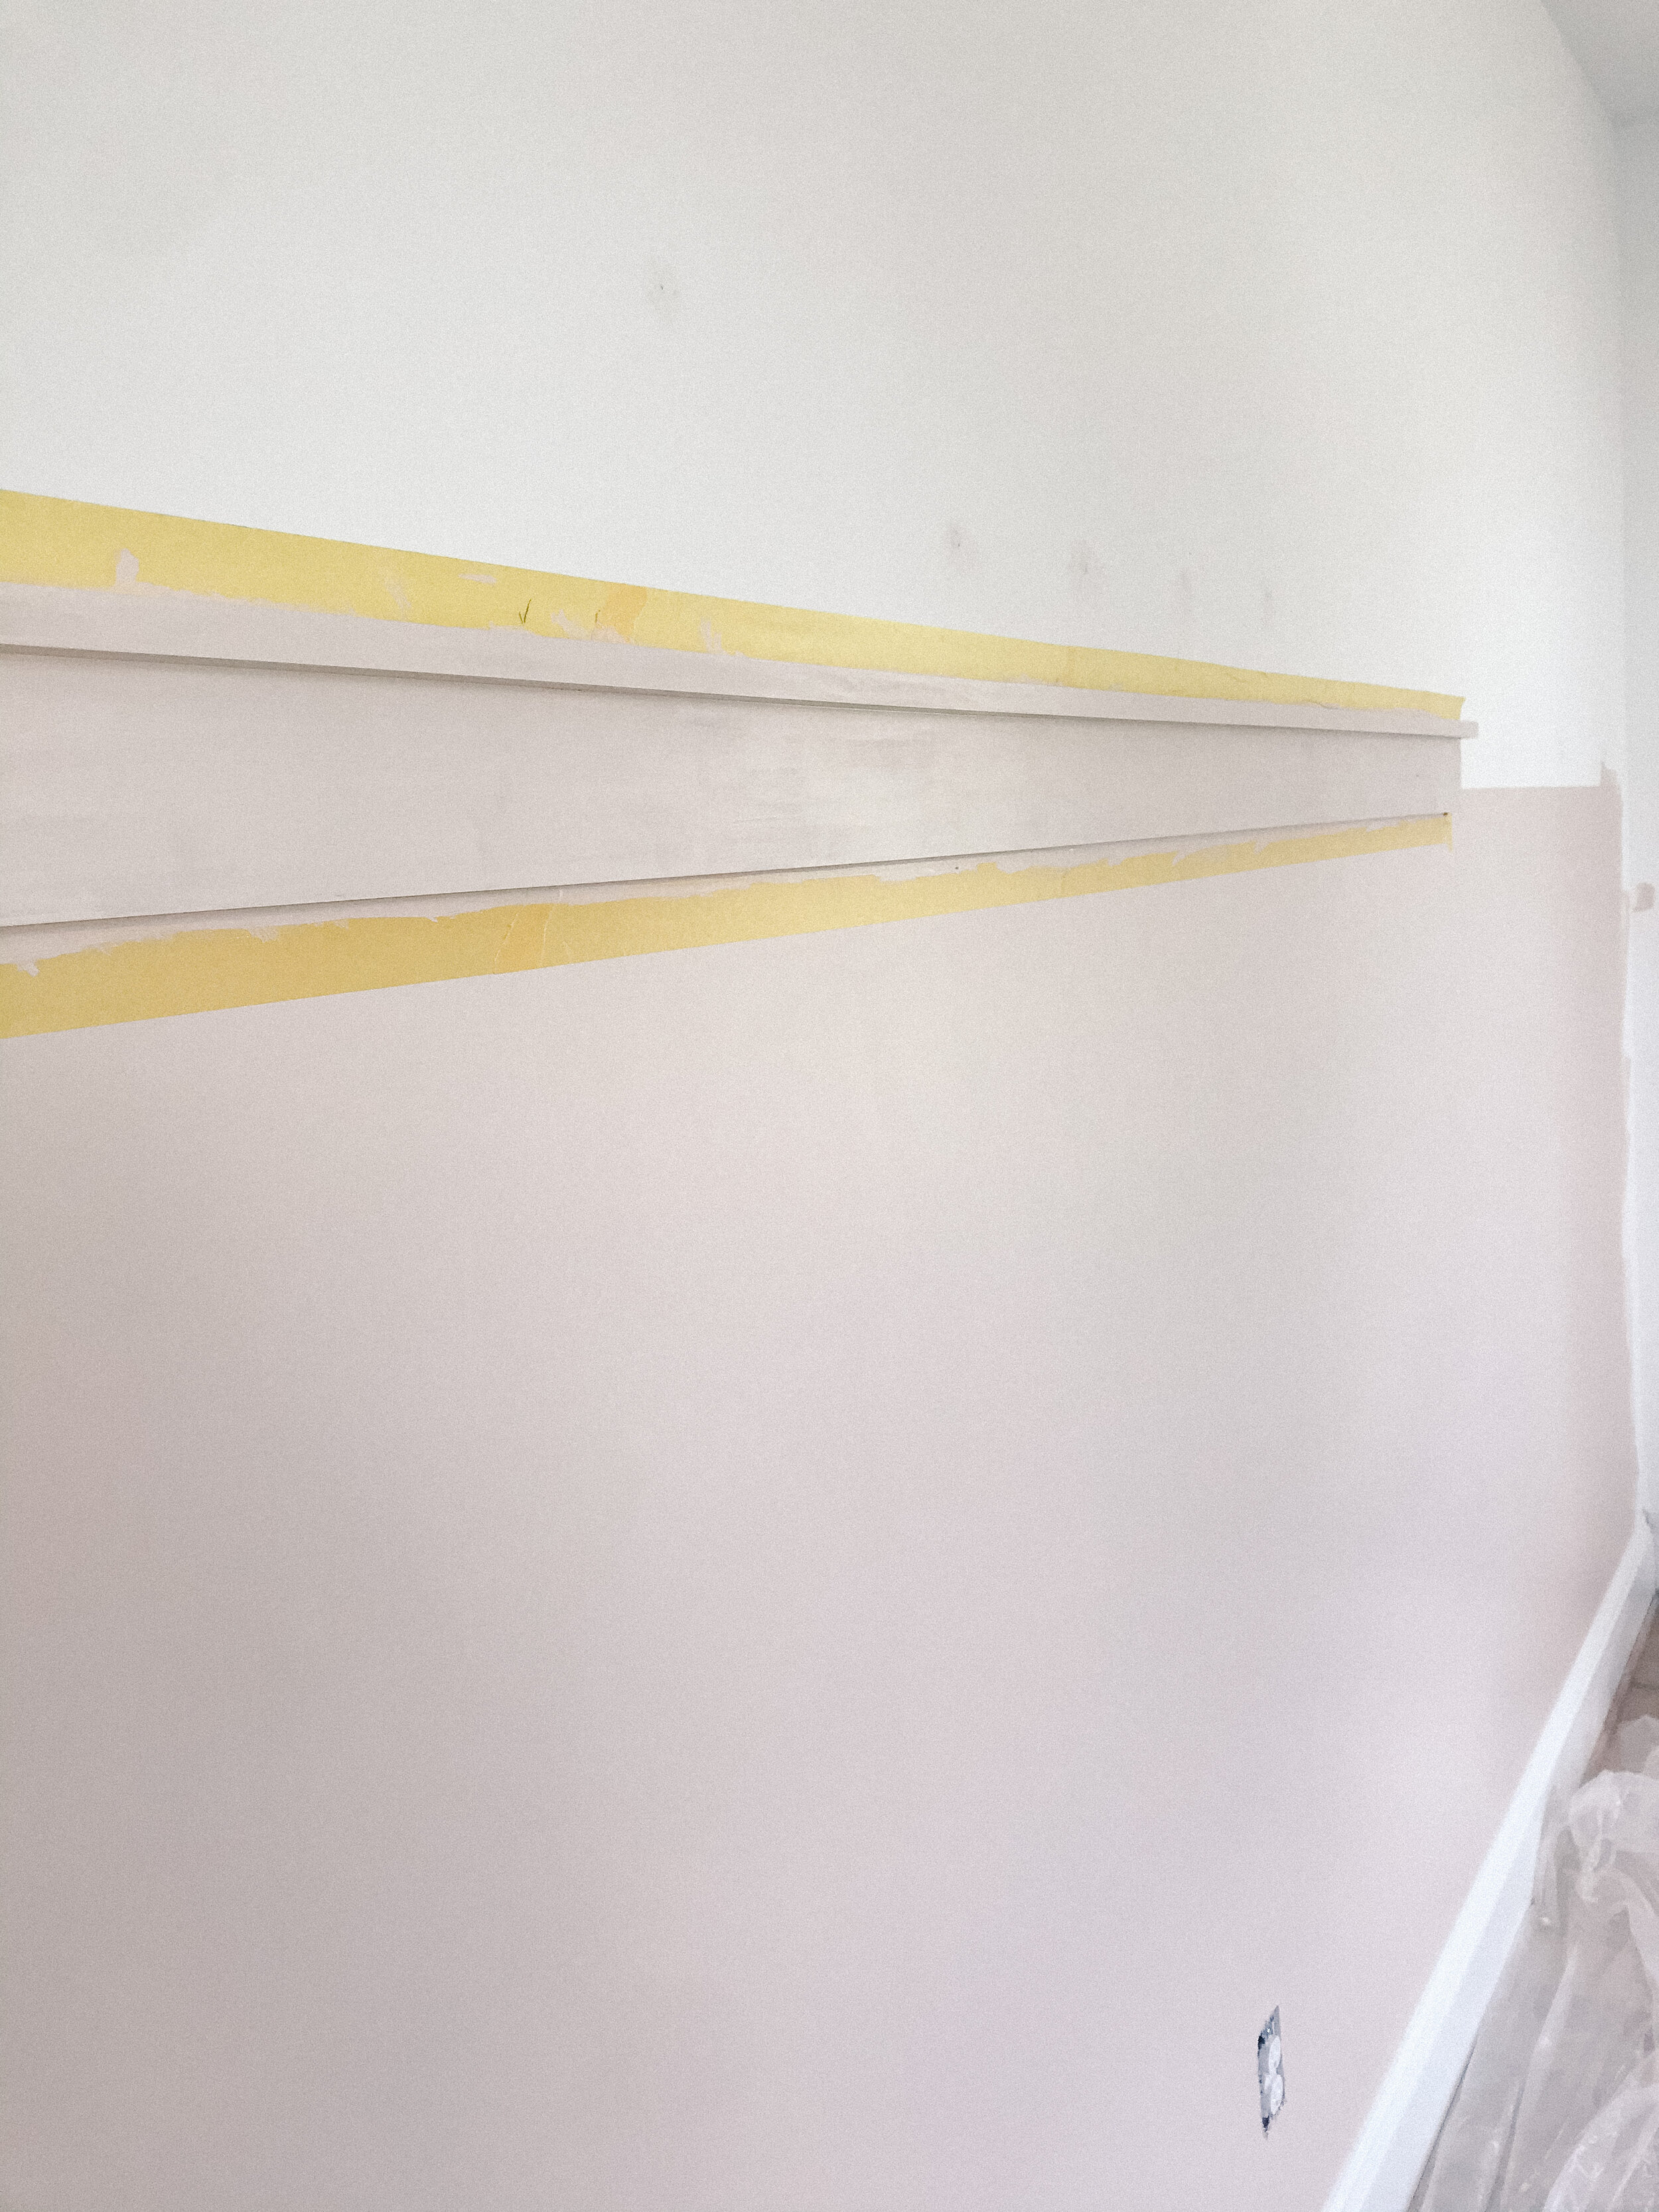
Let’s recap Week 2 , shall we? For the Spring 2020 ORC, I’m a first-timer, I am renovating and refreshing my office/studio space in our home. My mood board is bold and feminine including pale pink paint and dark inky green wallpaper. Last week, we used Wing It by Clare Paint to paint the walls and decorative wall trim/pegs all a uniform pink color.

Pink Wall and Peg Trim - ORC Week 2 Recap

ORC Week 2 - Let’s paint everything pink!

Click on the logo to checkout the other guest posts!
Week 3 of the One Room Challenge is complete and I am both surprised and relieved to be typing this post. At the beginning of March, prior to Covid shutdowns, I ordered the individual units for our built-in shelving project from a local unfinished wood furniture company. The company’s manufacturing facility happens to be in Pennsylvania, which was a state that halted all construction during their stay-at-home order so I wasn’t sure that we would even have the units in time for the One Room Challenge. BUT PA construction opened back up a few weeks ago and the local company was able to deliver the cabinetry on Friday and we got to work over the weekend getting the pieces painted.


The quality and craftsmanship of this maple cabinetry is superb and I felt a pang of guilt painting them pink but a plan is a plan and it’s all going to come together beautifully in the end - trust and believe. Let’s take a step back to look at the design plans for these built-ins. The 10 foot long office wall, where we decided to install this cabinetry, has a window in the middle of it - not directly centered because that would make this project too easy.

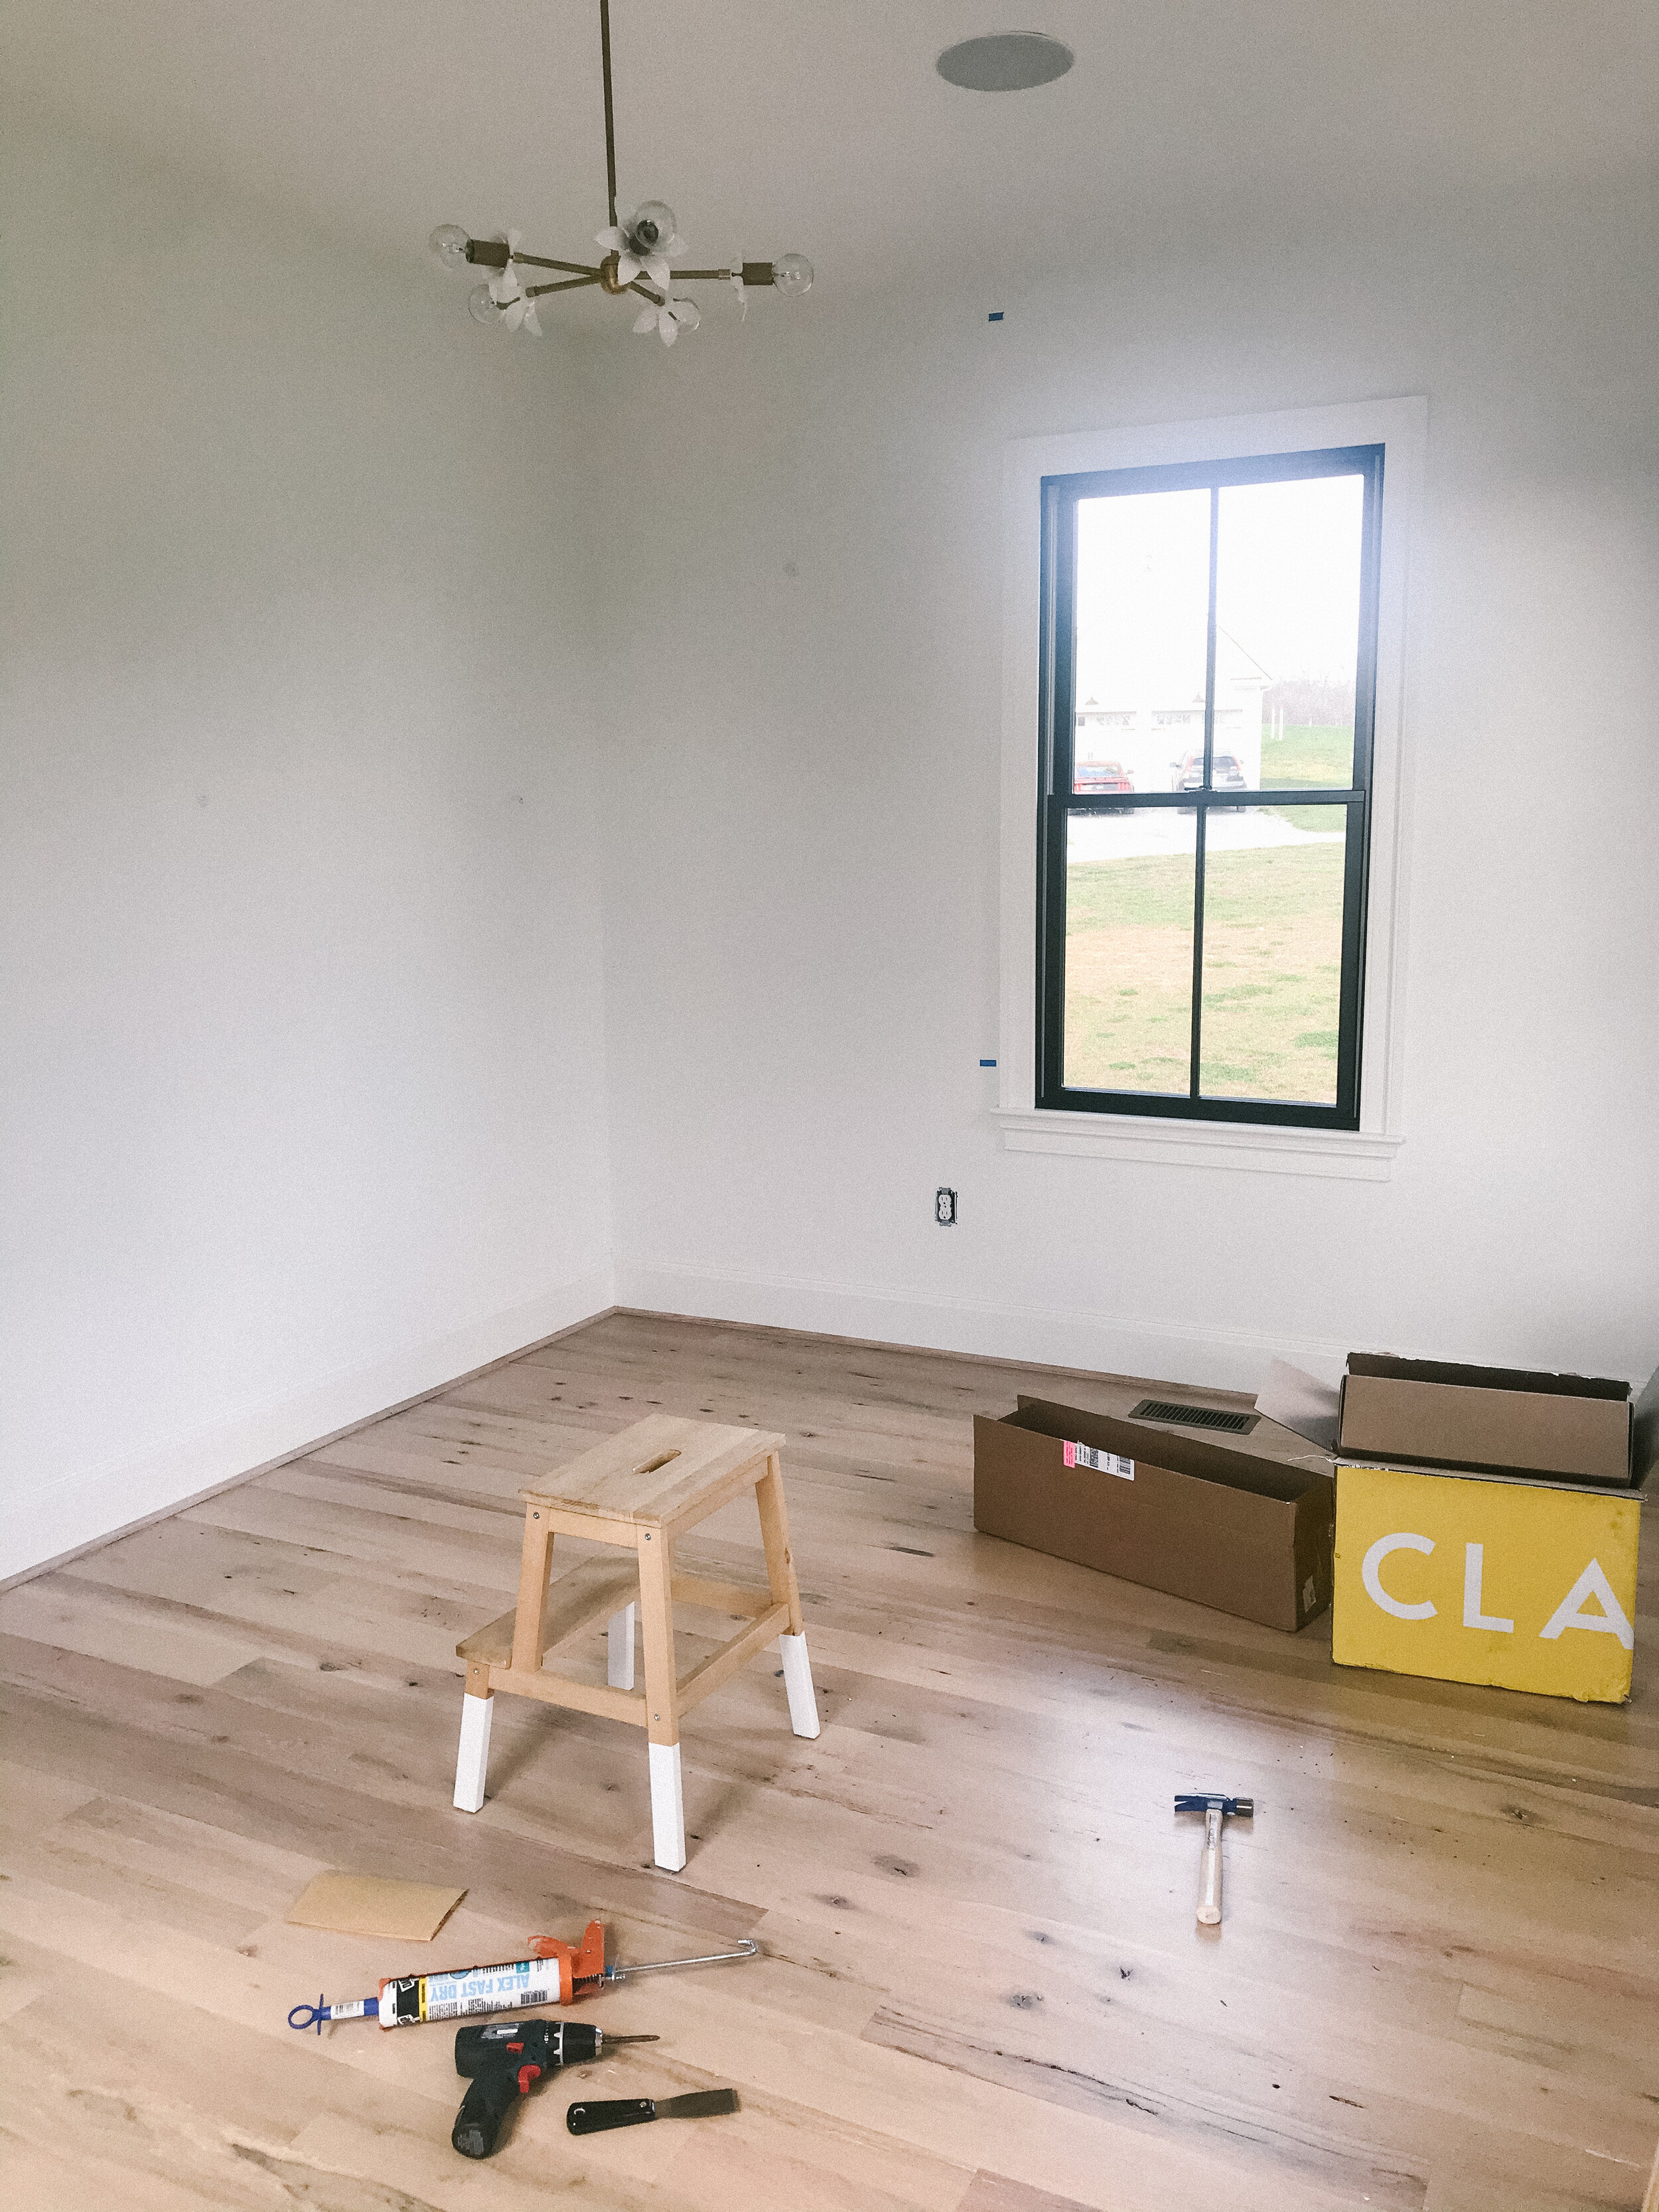
This room is filled with beautiful natural light thanks to 3 of the 4 walls having windows. But while it’s rich in light, the room is lacking a closet and if it’s going to serve as a functional office space, we knew we needed to add storage. I need both covered and open storage but there were some considerations we needed to account for before designing including the window position being to the right of the center of the wall, the room’s floor register is under the window and can’t be covered by cabinetry, and the window ledge is wider than the casing around the window.
OFFICE BUILT-IN DESIGN + MEASUREMENTS


With those considerations in mind we moved on to designing. We decided on two base cabinets and two bookshelves, connected above the window by a cabinet bridge and below the window by a simple shelf. We triple measured because we knew if we were off at all, the puzzle would not fit together. We sent our measurements off to the local shop and hubs started planning on how he was going to connect and trim it…OH and how he was going to attach the library ladder rail (more on that in a future post).
Just picture her in all of her glowing glory!
So, back to painting all these pieces that had finally arrived! We used the same Clare Wing It Trim Paint for the cabinetry that we used on the decorative wall trim. Painting cabinetry is a huge undertaking and at first we thought we would be spraying the units, but the sprayer was not cooperating so we quickly changed courses and started rolling with foam cabinetry paint rollers. Painting took us both Saturday and Sunday to complete (well not exactly complete because I still need to finish the cabinet doors and shelves).


And once all the paint was dry, we brought the units inside while holding our breath that everything fit in place…and it didn’t. Whomp whomp. There were two issues…the top of the base cabinet on the right side was too wide and the bridge above the window was too wide. Where did we go wrong with our measurements, you ask?! Well, we figured out that the casing and window ledge on the right side of the window were different dimensions than the left side (and we only measured the right and used those measurements for the calculations on both sides). Luckily hubs is resourceful and was able to take a small notch out of the top of the base cabinet to get it to fit and he is going to build a custom bridge to attach the two bookshelves over the window. I’m taking suggestions on how to use the bridge piece that didn’t fit.


At the end of week 3, I am thankful for the below photo because all the big pieces are painted and in place! Still working hard on all the details of this built-in…so stay tuned for Part II next week.


DISCLOSURE: Some of the links above are affiliate links, meaning, at no additional cost to you, I will earn a commission if you click through and make a purchase.